
Learn how to crochet the lemon peel stitch in this quick and easy tutorial, including common problems, video and photo tutorials and more.

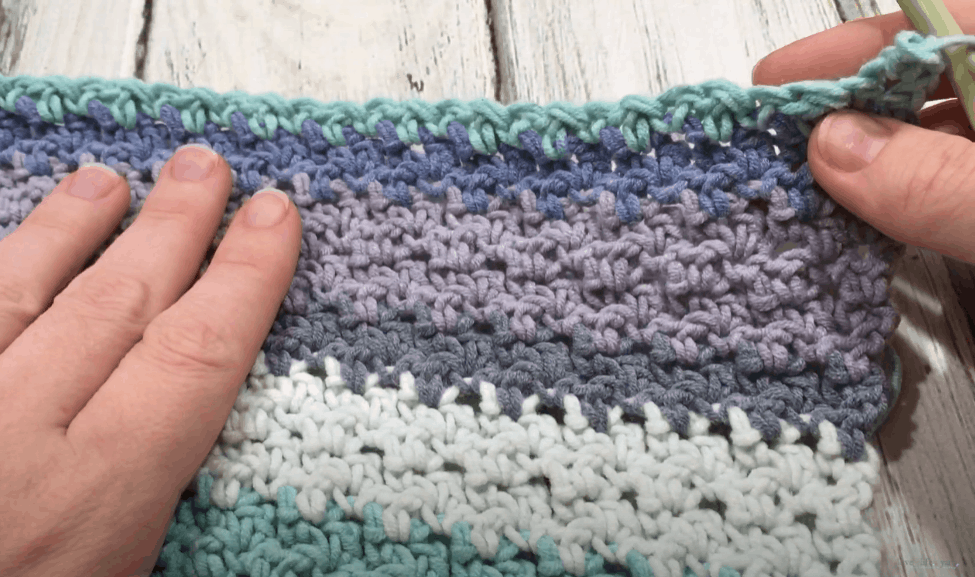
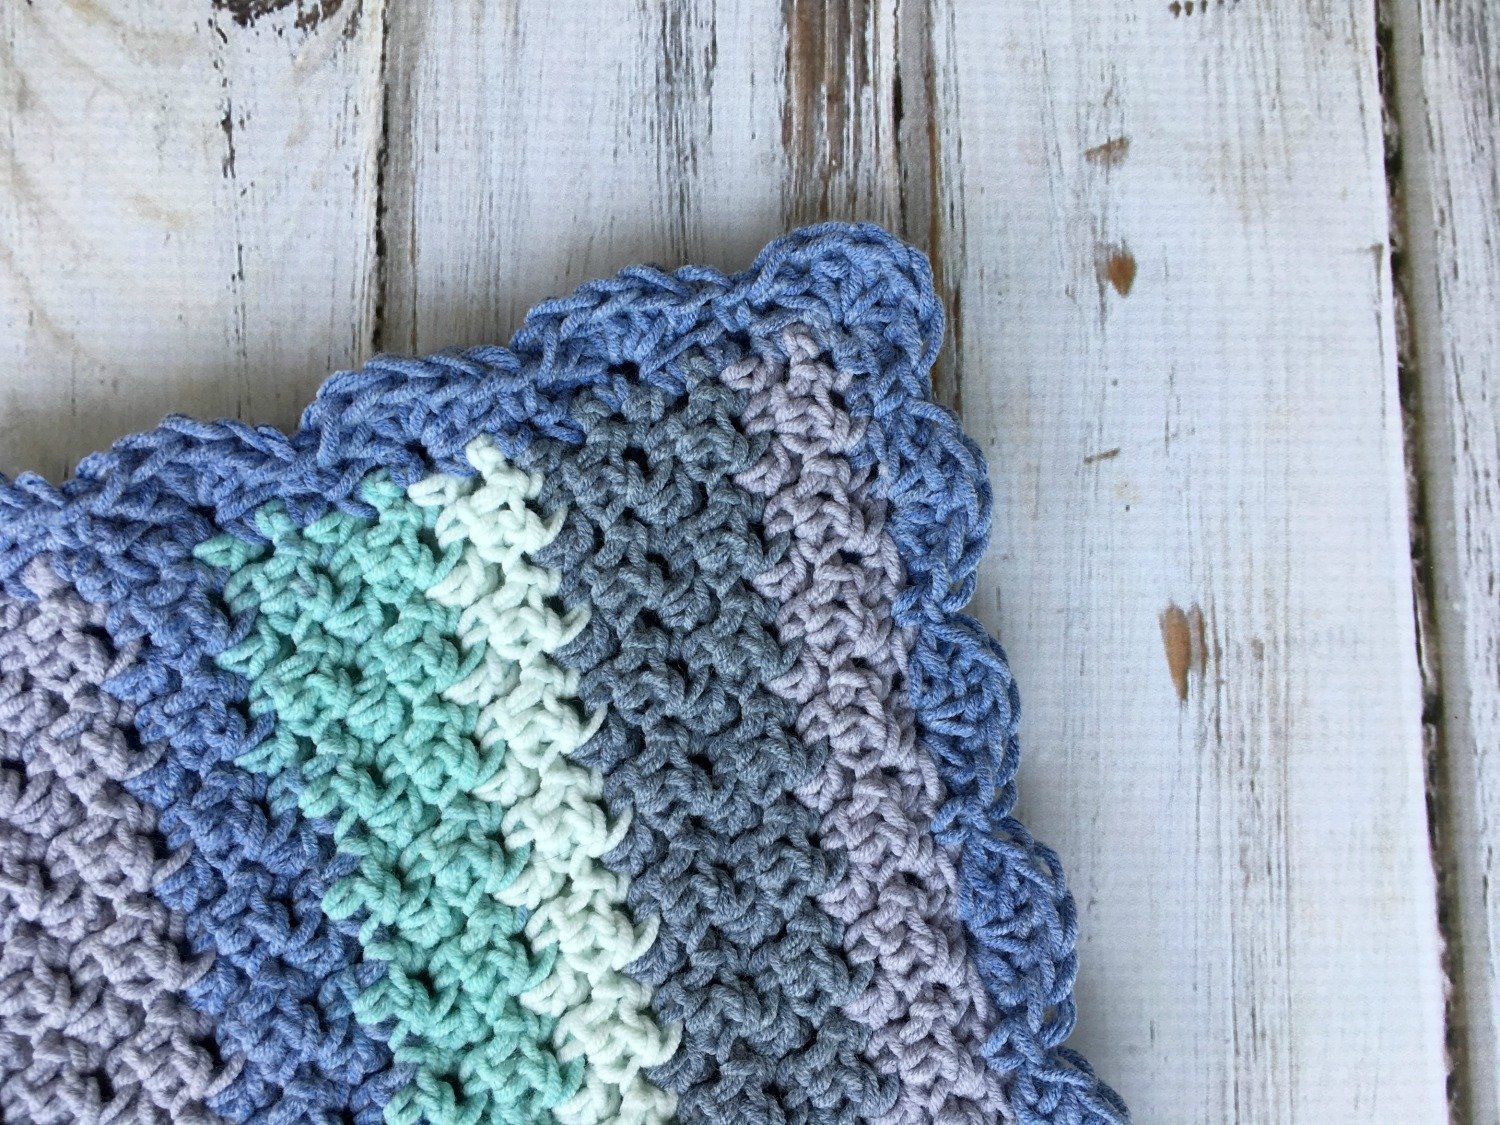
The lemon peel stitch is really one of my favorite crochet stitches. It is simple enough that a beginner can work it, but it gives amazing texture.
Today we are going to take a deep dive into all things lemon peel stitch, so grab a hook and some yarn and let’s jump in!
How to Crochet the Lemon Peel Stitch
Stitch Abbreviations:
Chain (ch)
Single Crochet (sc)
Double Crochet (dc)
Step One: Chain an odd number of stitches.
By chaining an odd number, we have an even number of stitches plus one chain for the turning chain. This means we can always end with a dc and always begin the next row with a sc.
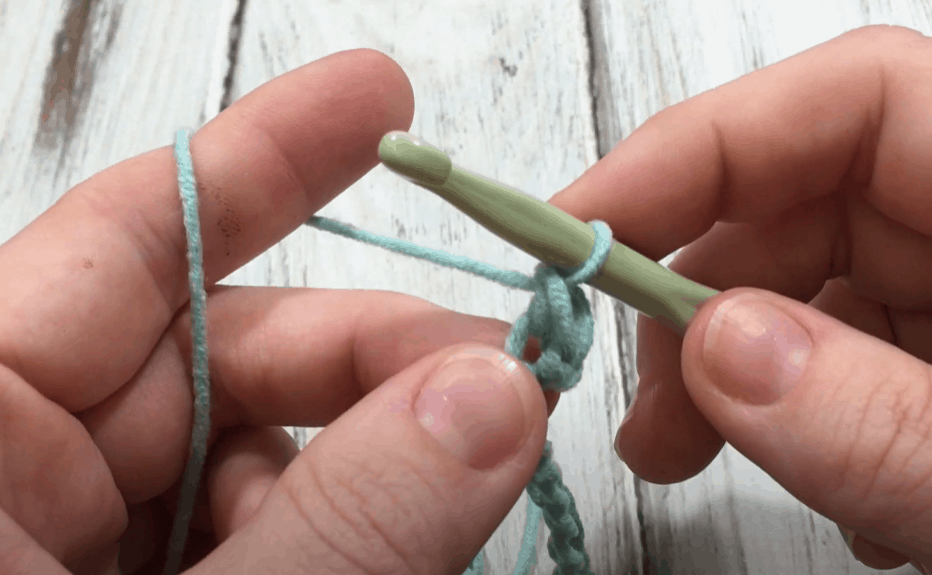
Step Two: Single crochet in the second chain from the hook.
We will always begin a row with a sc. A sc only needs a turning chain of one to get the yarn up to the right height, and is the most basic stitch in crochet.
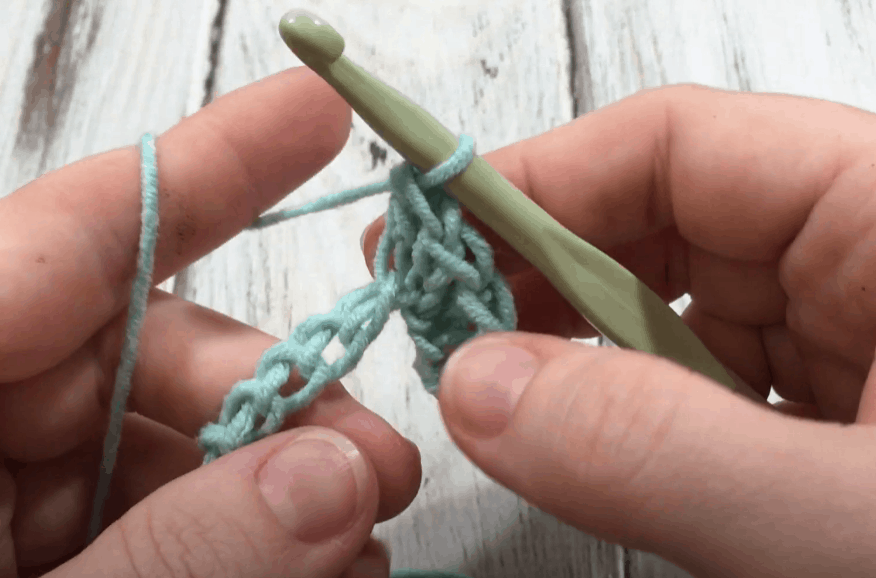
Step Three: Double crochet in the next chain.
This alternating of single crochet and double crochet is what gives the lemon peel stitch its texture.
Repeat steps two and three, working a sc then a dc to the end of the row.
You should end with a dc.
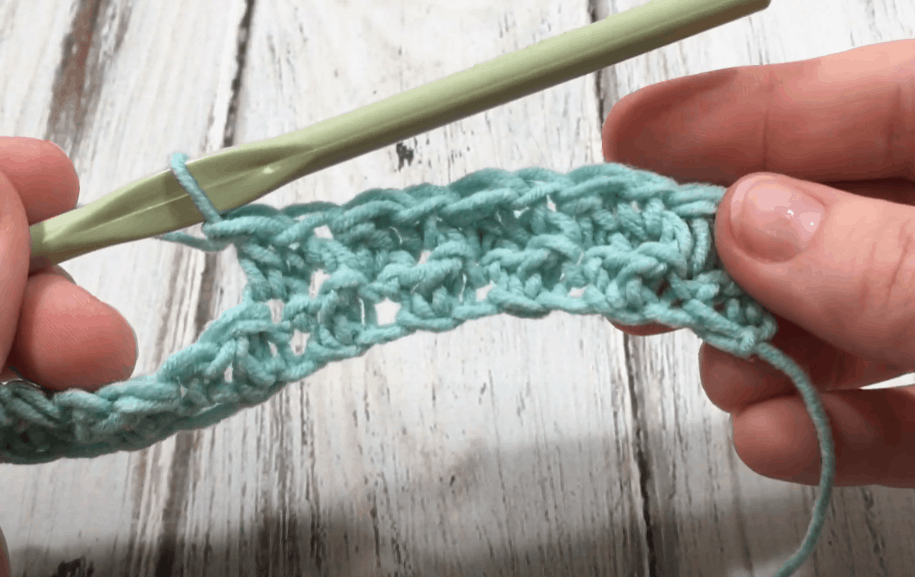
Turn at the end of each row, chain 1 and begin again with sc, dc to the end.
That’s it! Such a simple and beautiful stitch. If you need help, be sure to view the video tutorial.
Lemon Peel Stitch Video Tutorial

Find the left handed version here.
Common Problems
The most common problem is not knowing when to work a sc or a dc if you lose track in the middle of a row.
Maybe you put your work down to attend to something or just got sidetracked and now you’re not sure if you are supposed to be single or double crocheting.
To fix this, look at the row below. If the stitch you are working into is simple and short, it is a sc and you should work a dc into it.
If the stitch you are working into is taller and bent over, it is a dc and you should work a sc into it.
The more you practice and work this stitch, the better you will get at recognizing the single and double crochet stitches. Just like anything else, practice makes perfect!
Patterns that Use the Lemon Peel Stitch
Today we learned how to crochet the Lemon Peel Stitch, one of my favorites!! You’ve seen some common problems and questions people have about this stitch, as well as video and photo tutorials.
I hope this inspires you to try out the Lemon Peel Stitch for yourself!
You can view all of my free crochet patterns here.
Happy Crocheting!
Amanda
I didn’t know the name of this stitch until now….. Currently using 2 strands of #3 varigated held together to make a winter weight baby blanket with these stitches…. Love how it looks with the 2 yarns. Thank you for the info re stitch name!
It’s a wonderful stitch! One of my favorites 🙂