
Learn the many ways to tie a slip knot with this simple and easy tutorial from Love.Life.Yarn.

A slip knot is the foundation of every crochet project. Okay, well there is a way to do a knotless starting chain, but most people start a crochet project with a slip knot.
This is the first step to starting any knit or crochet project. Today we will be looking at the different ways you can tie a slip knot. If you’re new to your craft, don’t worry! Soon you’ll be tying a slip knot like a pro.
Before You Begin a Slip Knot
Make sure you leave a long tail. This will be for weaving in later. Six to eight inches should be plenty.
There are many different ways to tie a slip knot. We are just going to look at a few for this tutorial.
When working with yarn, keep in mind that there are two terms for the different ends of the yarn. The working end of the yarn is attached to the skein, and the tail end of the yarn is the end you started with, usually sticking out of the bottom corner of your project.
Crochet Slip Knot Video Tutorial
In this easy tutorial I’ll walk you through the three different ways seen in this post for tying a slip knot. There are also written instructions and photos below!
While you’re there, be sure to subscribe to my YouTube channel!
How to Tie a Slip Knot
Tying a slip knot using the hook

Step One: Hold yarn around hook with tail end in front.

Step Two: Create a circle around the working yarn.

Step Three: Insert tail end into circle and pull tight.

Step Four: Pull slip knot up to hook, making sure it is taut but not super tight.
Crochet slip knot on finger

Step One: Hold the yarn around your index finger with the tail end in front.

Step Two: Insert hook between finger and yarn.

Step Three: Twist hook toward you and under hand to form a loop.

Step Four: Yarn over with working end of yarn and pull up a loop.
Step Five: Tighten slip knot gently.
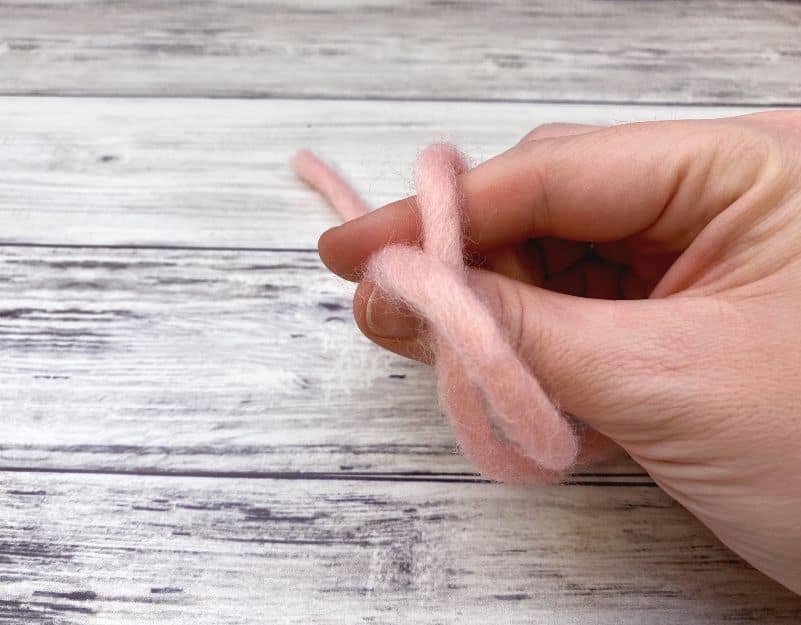
Pinch method for a slip knot
Step One: Make a loop with the tail end of the yarn on the top of the working end. Remember to leave a long tail – I’m using a shorter one in this tutorial just to be sure we can see it.

Step Two: Bring your thumb and index finger inside the loop and pinch the tail end.
Step Three: Grab the working yarn and pull tightly, drawing the loop through that you’re holding on to. The loop that goes on your needle will be the piece you are holding on to.
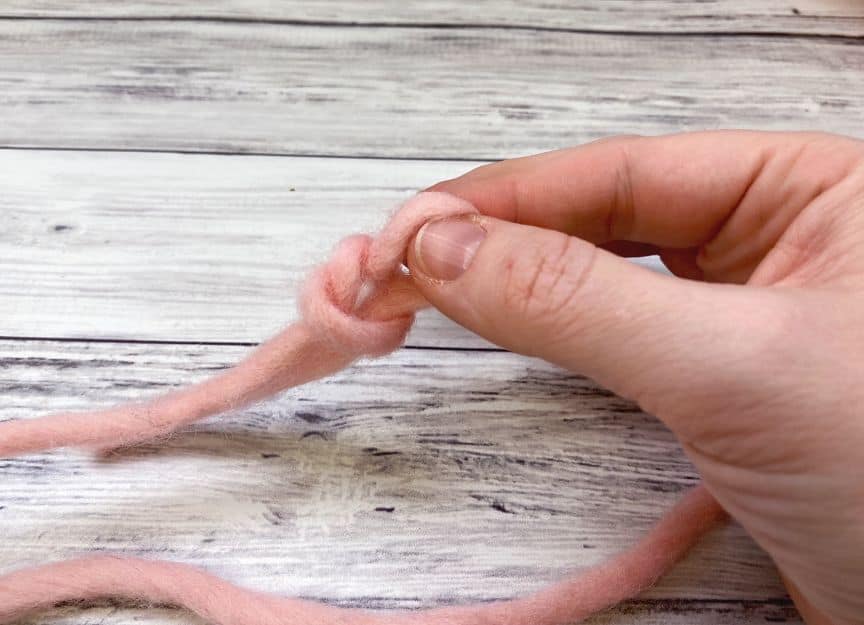
Step Four: Place the stitch on your hook and pull the knot tight
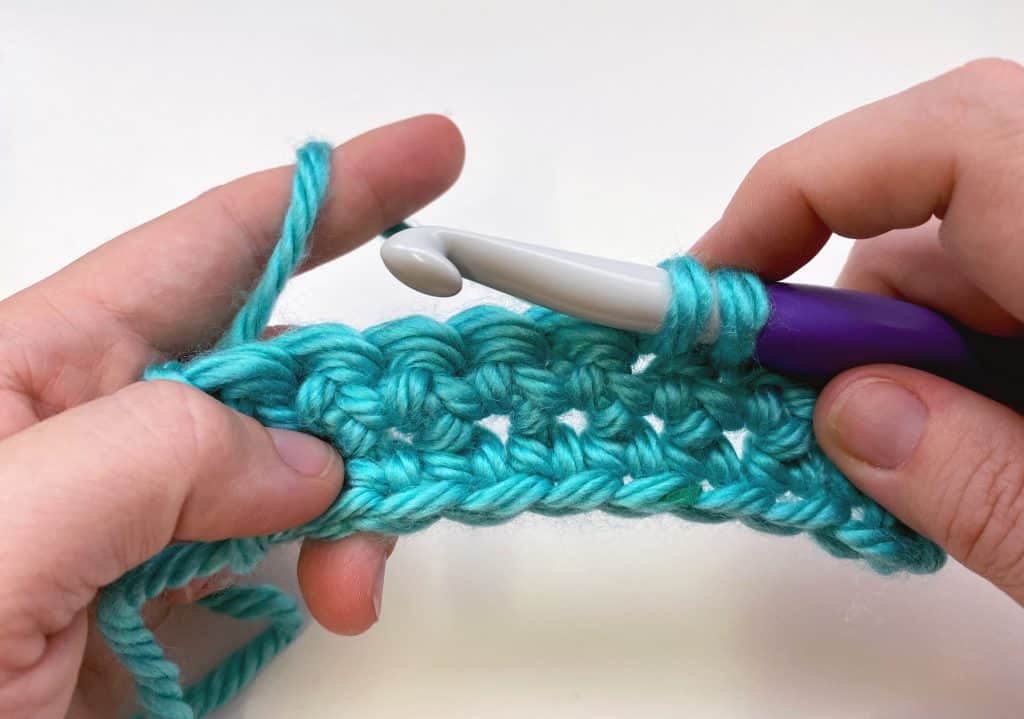
Common Problems with Slip Knots
My slip knot is too tight. This can happen when you pull the yarn tail too tightly when you create your slip knot. Use a larger hook if this continues, or pull on the working end of the yarn to loosen up your knot.
My slip knot is too loose. When you create your slip knot, make sure you are pulling the yarn taught on the hook, but never too tight. Pull on the tail end of the yarn while the slip knot is still on the hook.
You Might Also Like…

I hope you’ve enjoyed this tutorial for tying a crochet slip knot! Be sure to visit all of my tutorials here!
Happy Crocheting!
Amanda
I teach young new crocheters to slip knot this way: take the tail end, wrap it around your index finger two times. Take the loop (the back one, nearest your hand) and “leap-frog” it over the other loop. Do that again. Pull that back loop up a bit and insert your hook. Works great, they remember it (the “leap-frog” bit I think) and it makes a good slip knot. I often use this method myself. I appreciate learning these new methods! I’ve bookmarked this page to refer back to it. Thanks so much for teaching us these easy methods to do something that seems tricky at first. Once you learn it, you realize how easy it really is!
That sounds like a wonderful way to teach how to tie a slip knot! Anytime you can use an illustration or idea that helps them get the hang of it – that’s the best!