
Have you ever known someone who waited to find out the gender of their baby? I’m working on a project for a friend at work who just had a baby last week. She and her husband waited to find out the gender and I didn’t really want to make anything until I knew if it was a boy or girl. I was always way too impatient to wait until the birth to find out what I was having!! My friend had a girl, all of mine are little guys (four of them!) Next time I’ll whip up a little sweater like this one in a neutral color!
Buy the ad-free PDF of this pattern in my shop here!
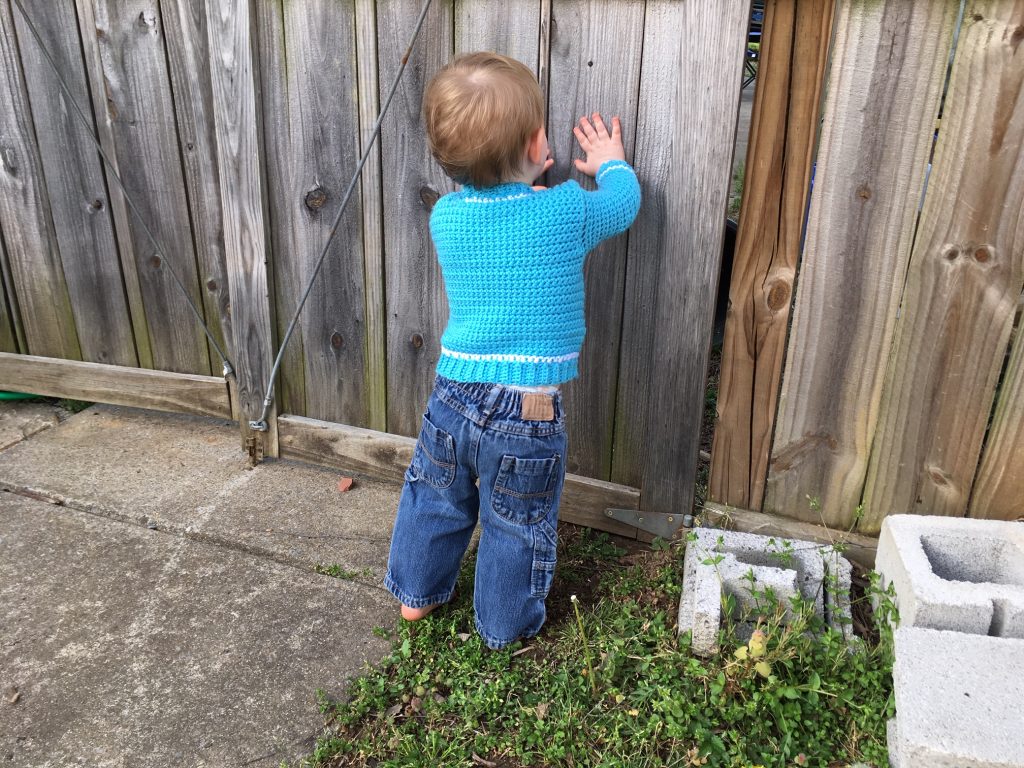
My “baby” is quickly growing up on me and isn’t really a baby anymore, but I still had him model this sweater for me. Although next time I will make it a size bigger! My boys are all big for their ages and they grow out of clothes and shoes quickly. Good thing we have plenty to hand down!! Only the oldest really “needs” new things since he has no one to hand them down to him, but the other boys get new things sometimes, too. Okay, well, new to them! We don’t buy too many brand new clothes because kids just wear them out too fast! Right now we are going through a pants destruction stage with our oldest two.
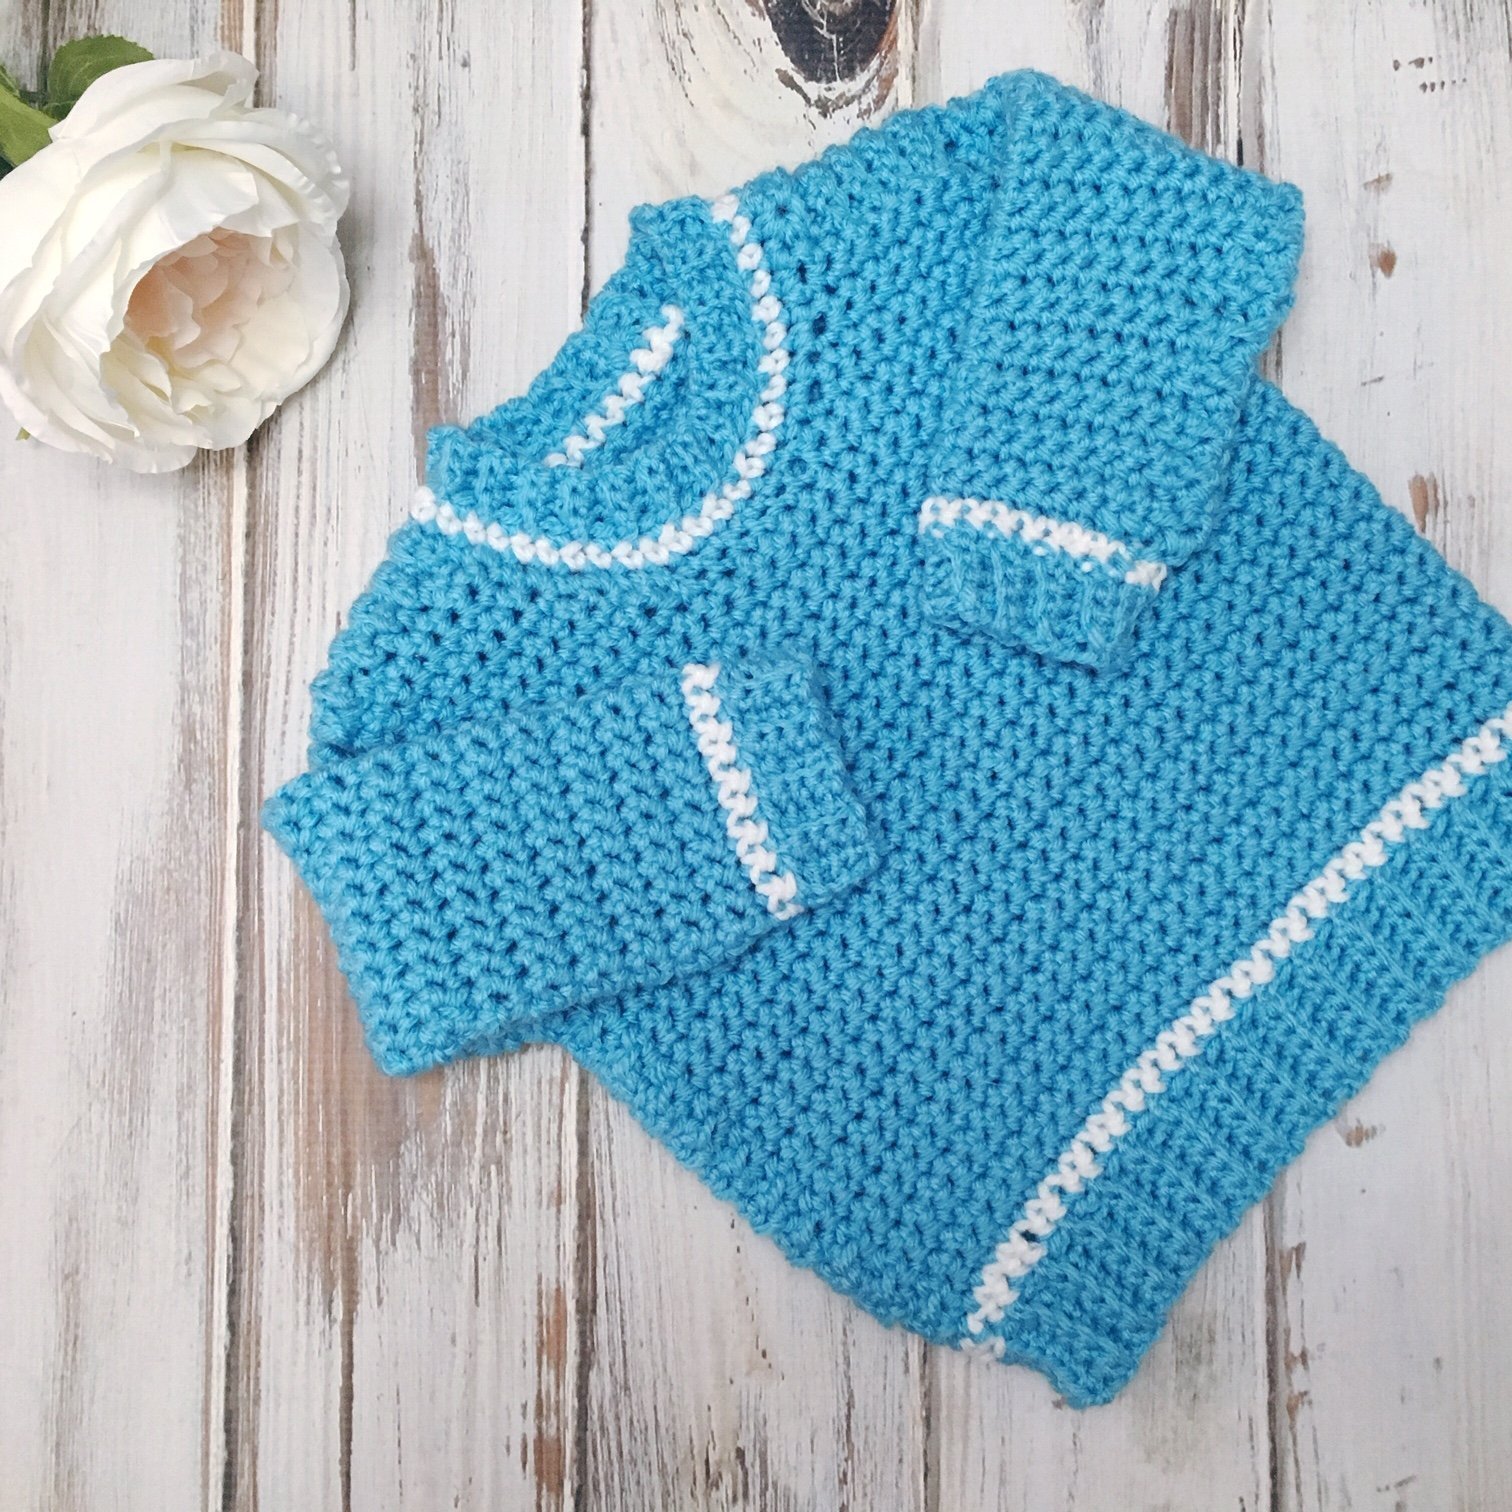
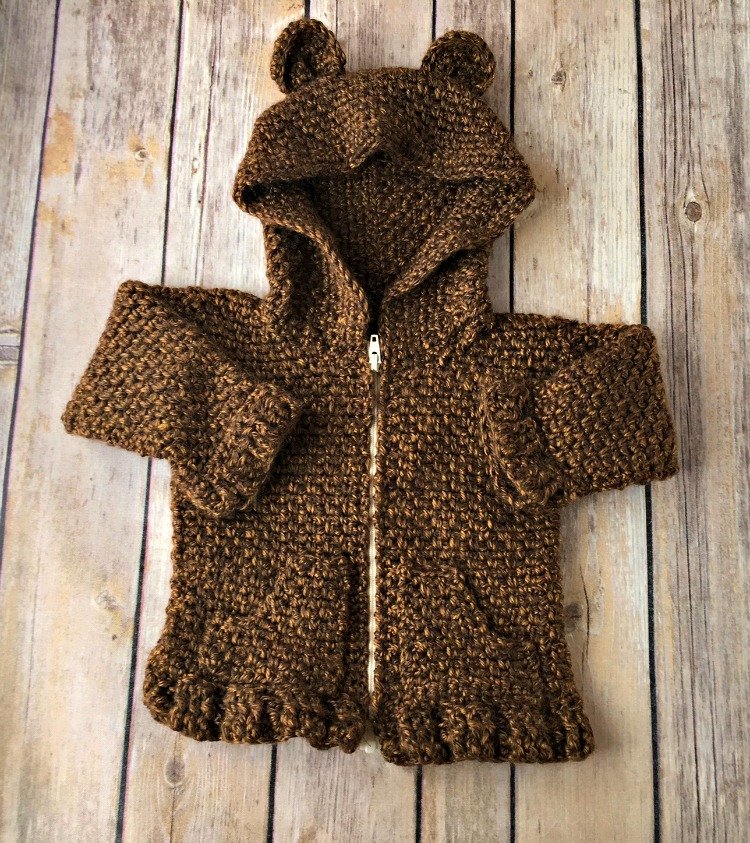
I love making baby things. If you’ve been around the blog for a while, you know that baby makes are my favorite. They work up so quickly and are simply adorable! Plus, they make great gifts and babies just look so darn cute in them. I just had to make this mini version of the popular Varsity Sweater – the Baby Ribbed Shoulder Sweater!
This winter I designed a sweater for all of my boys (you can check out all of those designs here) and the oldest three all received sweaters made with this technique. I really love it. The only seaming is at the ribbed edges, and some testers have said they just slip stitch that part together for NO seaming! It is worked top-down from the ribbed little panels (called Saddles) at the shoulders, then joined at the underarms to be worked in the round to the hem. Then, you crochet the sleeves in. Super simple and this worked up so amazingly fast!
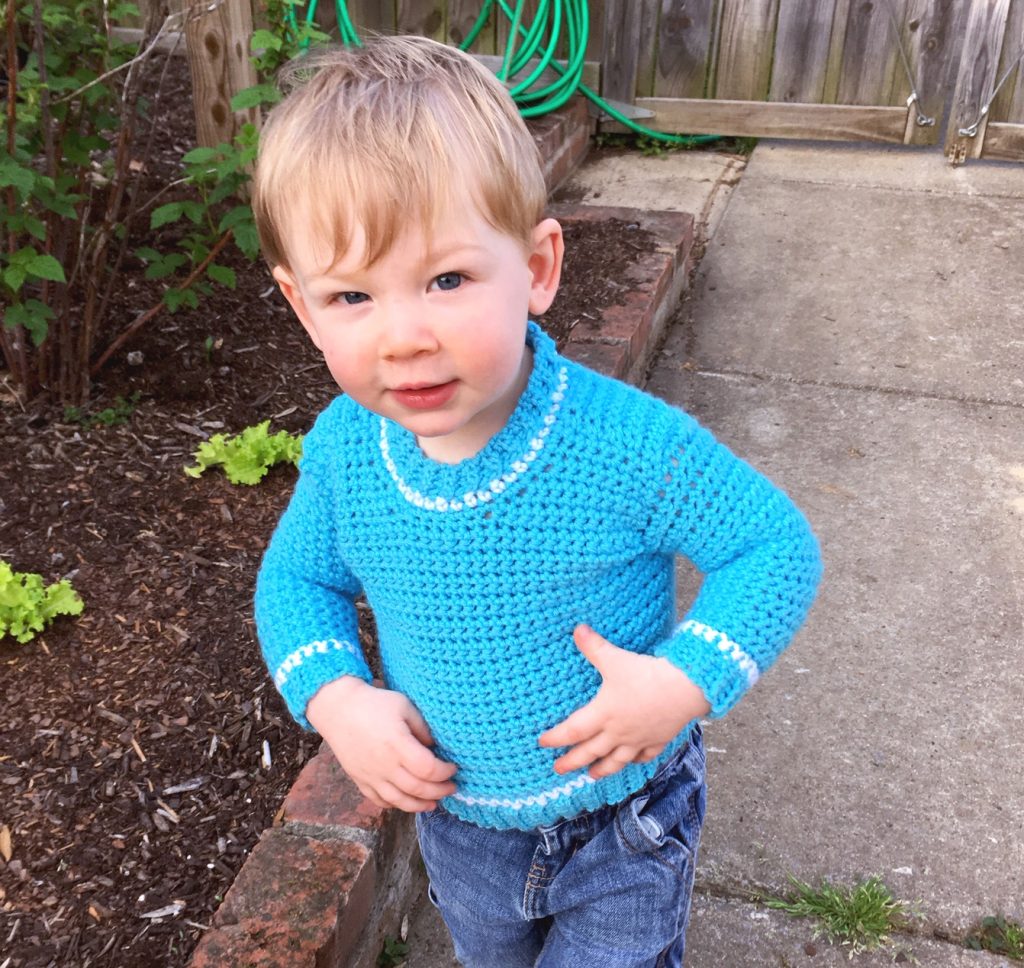
I hope you enjoy this little pattern – check out my little guy modeling it for me. 😀 I’ll definitely make him the 24 months next time.
Want to keep in touch? Sign up for my email newsletter and receive a FREE eBook with the Unforgettable Collection – three amazing patterns as a Thank you!
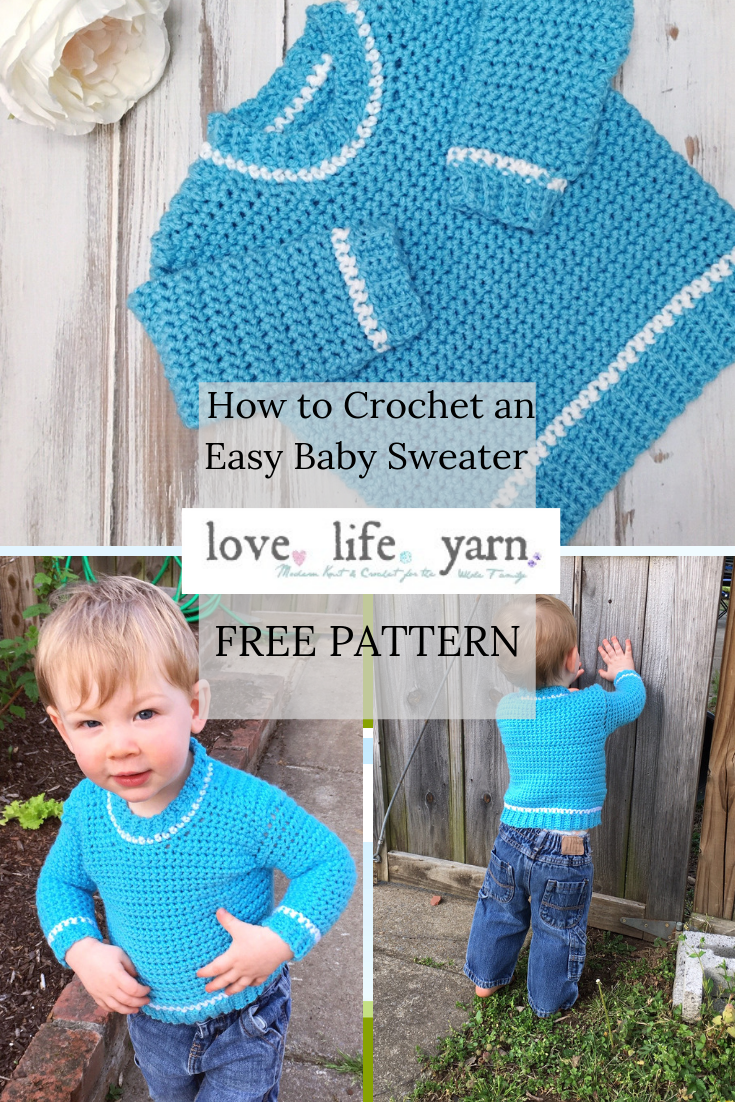
Baby Ribbed Shoulder Sweater
What You’ll Need
Yarn: Red Heart Baby Hugs Medium: 1 (1, 2, 2, 3) skeins Sky (MC) and 1 skein Frosting (CC)
Hook: US size L/11 (8.0 mm); US size I/9 (5.5mm)
Notions: Yarn needle
Skill Level: Easy
Size: Finished Chest Size 18.5 (20, 21, 22.5, 25)” to fit baby size 3 (6, 12, 18, 24) months.
Gauge: 12 sts and 16 rows = 4” [10 cm] in sc with larger hook
PATTERN NOTES
Sweater is crocheted from the top down, starting with the ribbed saddles at the shoulders. The back is worked across the saddles to the armholes, then the front is worked to the armholes and the pieces are joined. Sleeves are crocheted around armhole edges, leaving only the ribbing to be seamed.
Special Stitches:
Blo: Work into the back loop only of the indicated stitch.
Find this pattern on Ravelry here!
Pattern
Saddle (make 2)
With MC and smaller hook, ch 7.
Row 1 (RS): Sc in 2nd ch from hook and in each ch across; turn – 6 sc.
Row 2: Ch 1, sc blo in each sc across; turn.
Rep Row 2 until Saddle measures 2 (2, 2.5, 2.5, 3)” from beginning. Do not turn at end of last row. Fasten off at end of first saddle. At end of second saddle, change to larger hook.
Back
Turn second saddle and continue across long side as follows:
Row 1: Ch 1, sc 6 (6, 8, 8, 10) sts evenly across second saddle, ch 10 (12, 10, 12, 10) for back neck, sc 6 (6, 8, 8, 10) sts evenly across long side of first saddle, turn – 22 (24, 26, 28, 30) total sts.
Work even in sc until piece measures 3.5 (4, 4.5, 4.5, 5)” from center of saddle – NOT center back.
Shape Armholes
Row 1: Ch 3, sc in 2nd ch from hook and next ch, sc to end, turn – 24 (26, 28, 30, 32) sts.
Row 2: Repeat row 1 – 26 (28, 30, 32, 34) sts.
Fasten off.
Buy the ad-free PDF of this pattern in my shop here!
Front – For sizes 3 (12) months work right front first
For sizes 6 (18, 24) months work left front first
Right Front
Row 1: With RS facing, MC and larger hook, sc 6 (6, 8, 8, 10) sts across right saddle edge opposite back, beginning at armhole edge, turn – 6 (6, 8, 8, 10) sts.
Work 2 (2, 3, 3, 4) rows even in sc.
Size 3 months only
Row 4: Ch 1, 2 sc in first st, sc to end; turn – 7 sts.
Row 5: Ch 1, sc to last st, 2 sc in last st; turn – 8 sts.
Fasten off. Work left front.
Size 6 months only (work Left front first)
Row 4: Ch 1, 2 sc in first st, sc to end; turn – 7 sts.
Row 5: Ch 1, sc to last st, 2 sc in last st; turn – 8 sts.
Row 6: Repeat row 4 – 9 sts.
Do not fasten off. Continue to front joining row.
Size 12 months only
Row 5: Ch 1, sc to last st, 2 sc in last st; turn – 9 sts.
Row 6: Ch 1, 2 sc in first st, sc to end; turn – 10 sts.
Row 7: Repeat row 5 – 11 sts.
Fasten off. Work left front.
Size 18 months only (work Left front first)
Row 5: Ch 1, sc to last st, 2 sc in last st; turn – 9 sts.
Row 6: Ch 1, 2 sc in first st, sc to end; turn – 10 sts.
Row 7: Repeat row 5 – 11 sts.
Row 8: Repeat row 6 – 12 sts.
Do not fasten off. Continue to front joining row.
Size 24 months only (work Left front first)
Row 6: Ch 1, 2 sc in first st, sc to end; turn – 11 sts.
Row 7: Ch 1, sc to last st, 2 sc in last st; turn – 12 sts.
Row 8: Repeat row 6 – 13 sts.
Do not fasten off. Continue to front joining row.
Left Front
Row 1: With RS facing, MC and larger hook, sc 6 (6, 8, 8, 10) sts across left saddle edge opposite back, beginning at neck edge, turn – 6 (6, 8, 8, 10) sts.
Work 2 (2, 3, 3, 4) rows even in sc.
Size 3 months only
Row 4: Ch 1, sc to last st, 2 sc in last st; turn – 7 sts.
Row 5: Ch 1,2 sc in first st, sc to end; turn – 8 sts.
Do not fasten off. Continue to front joining row.
Size 6 months only
Row 4: Ch 1, sc to last st, 2 sc in last st; turn – 7 sts.
Row 5: Ch 1,2 sc in first st, sc to end; turn – 8 sts.
Row 6: Repeat row 4 – 9 sts.
Fasten off. Work right front.
Size 12 months only
Row 5: Ch 1, 2 sc in first st, sc to end; turn – 9 sts.
Row 6: Ch 1, sc to last st, 2 sc in last st; turn – 10 sts.
Row 7: Repeat row 5 – 11 sts.
Do not fasten off. Continue to front joining row.
Size 18 months only
Row 5: Ch 1, 2 sc in first st, sc to end; turn – 9 sts.
Row 6: Ch 1, sc to last st, 2 sc in last st; turn – 10 sts.
Row 7: Repeat row 5 – 11 sts.
Row 8: Repeat row 6 – 12 sts.
Fasten off. Work right front.
Size 24 months only
Row 6: Ch 1, sc to last st, 2 sc in last st; turn – 11 sts.
Row 7: Ch 1, 2 sc in first st, sc to end; turn – 12 sts.
Row 8: Repeat row 6 – 13 sts.
Fasten off. Work right front.
All Sizes
Front Joining Row: Ch 1, sc 8 (9, 11, 12, 13), ch 6 (6, 4, 4, 4) for front neck, sc 8 (9, 11, 12, 13) sts of other front, turn – 22 (24, 26, 28, 30) sts.
Work even in sc until same length as back before armhole shaping.
Work armhole shaping same as back. Do NOT fasten off front.
Lower Body:
Round 1: Ch 1, sc across front, ch 2, sc across back, ch 2, join to first sc with slip st, turn – 56 (60, 64, 68, 72) sts.
Round 2: Ch 1, work even in sc, join to first sc with slip st, turn.
Repeat round 2 until lower body measures 3.5 (4, 4, 5, 5.5)” from joining round. Work 1 round in CC. Change to smaller hook and MC.
Ribbing:
Ch 7.
Row 1: Sc in 2nd ch from hook and next 4 sts, sc2tog next ch and next sc of body, slip st in next st of body; turn – 6 sts.
Row 2: Ch 1, sc blo in each st; turn.
Row 3: Ch 1, sc blo to last st, sc2tog blo of next sc and body, slip st in next st of body, turn.
Repeat rows 2-3, working row 3 into every other sc of body (the sts that you do not slip st into). If ribbing seems to flare out, you have made your rows too close together.
Fasten off.
Sleeve
With RS facing and larger hook, join yarn at center underarm stitch.
Round 1: Ch 1, sc 22 (24, 28, 28, 30) sts evenly around armhole edge, turn – 22 (24, 28, 28, 30) sts.
Rounds 2-4: Ch 1, work even in sc, join with slip st to first sc, turn.
Round 5 (Dec round): Ch 1, sc2tog, sc to last 2 sts, sc2tog – 20 (22, 26, 26, 28) sts.
Size 3 months only
Rows 6-8: Ch 1, work even in sc, join with slip st to first sc, turn.
Round 9 (Dec round): Repeat round 5 – 18 sts.
Rounds 10-17: Repeat rounds 6-9 – 16 sts.
Rounds 18-19: Ch 1, work even in sc, join with slip st to first sc, turn.
Sizes – (6, 12, 18, 24) months only
Rows 6-9: Ch 1, work even in sc, join with slip st to first sc, turn.
Round 10 (Dec round): Repeat round 5 – (20, 24, 24, 26) sts.
Rounds 11-20: Repeat rounds 6-10 – (16, 20, 20, 22) sts.
Size 12 months only
Round 21: Ch 1, work even in sc, join with slip st to first sc, turn.
Round 22: Repeat round 5 – 18 sts.
Size 18 months only
Rounds 21-24: Ch 1, work even in sc, join with slip st to first sc, turn.
Round 25: Repeat round 5 – 18 sts.
Size 24 months only
Rounds 21-24: Ch 1, work even in sc, join with slip st to first sc, turn.
Round 25: Repeat round 5 – 20 sts.
Rounds 26-27: Ch 1, work even in sc, join with slip st to first sc, turn.
All Sizes
Work one round in CC. Change to smaller hook and MC.
Sleeve Ribbing:
Ch 5.
Row 1: Sc in 2nd ch from hook and next 2 sts, sc2tog next ch and next sc of body, slip st in next st of body; turn – 4 sts.
Row 2: Ch 1, sc blo in each st; turn.
Row 3: Ch 1, sc blo to last st, sc2tog blo of next sc and body, slip st in next st of body, turn.
Repeat rows 2-3, working row 3 into every other sc of body (the sts that you do not slip st into). If ribbing seems to flare out, you have made your rows too close together.
Fasten off.
Collar
With RS facing and larger hook, join CC with sl st at right back, directly behind saddle.
Work 1 round even in sc. Change to MC and smaller hook.
Ch 4.
Row 1: Sc in 2nd ch from hook and next st, sc2tog next ch and next sc of body, slip st in next st of body; turn – 3 sts.
Row 2: Ch 1, sc blo in each st; turn.
Row 3: Ch 1, sc blo to last st, sc2tog blo of next sc and body, slip st in next st of body, turn.
Repeat rows 2-3, working row 3 into every other sc of body (the sts that you do not slip st into). If ribbing seems to flare out, you have made your rows too close together.
Fasten off.
Finishing
Sew ribbing seams at sleeves, collar and hem.
Weave in ends.
© Amanda Saladin. For personal use only, not to be copied, distributed, altered or sold. lovelifeyarn.com
You Might Also Like…
What kind of yarn and hook are needed?
Wow, that part totally disappeared from this pattern! Technical error. I have gone back and added it back in. Thanks for bringing it to my attention! 🙂
Oh Ok! 🙂 🙂 🙂 Thank you for the pattern 🙂 🙂
Thank you very much for this pattern. It is classic.
Hi Amanda, we added a page with your adorable pattern info to our collection of free patterns (thanks for the permission!). Here is a link: https://redbasketcrafts.com/products/crochet-patterns/free-crochet-patterns/baby-ribbed-shoulder-sweater.
Hi,
I’ve started your Ribbed shoulder sweater.
Could you please help. I don’t understand how to attach the left front. I’m really stuck, any chance a pic with arrows to match the pattern PLEASE.
Any clues please x
Thank you in anticipation
Therezze
Hi! The construction of this pattern is really similar to the Varsity Sweater, which I made a video for. You can find that pattern and video here. Hopefully it will help. 🙂