
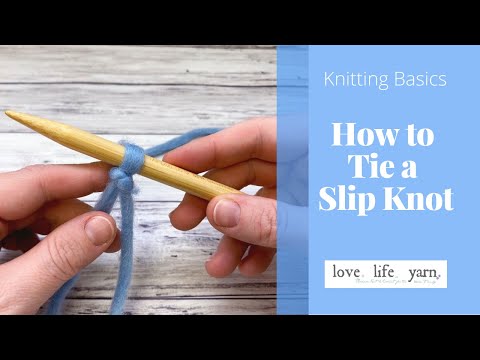
Knitting Basics: Learn the many ways to tie an adjustable slip knot for beginners with this simple and easy knitting tutorial from Love.Life.Yarn.

A slip knot is the foundation of every knitting pattern. It is the very first knitting technique you will need to master before you can learn to cast on or make your first knit stitch.
A slip knot isn’t your traditional idea of a “knot”. In fact, if you pull on this knot without a needle in the loop, it will easily come undone! It’s called a “stopper knot” because of this ability and is related to an overhand knot.
It’s special ability to adjust is what makes it perfect for knitting. It’s also commonly used by sailors, just a fun fact!
Today we will be looking at the many different ways you can tie a slip knot. There is no right or wrong way to do this, so with some practice you will be tying a slip knot like a pro!
What is a Slip Knot?
A slip knot is a type of stopper knot or running knot that is used for a variety of purposes. It is commonly used by knitters, crocheters, and sailors to anchor something in place. Unlike other knots, it can be easily undone by pulling on one end. This makes it an ideal choice for situations where the knot needs to be adjusted or removed quickly and easily.
The slip knot is created by looping a length of rope around itself and then passing one end through the loop. The two ends are then pulled tight to create the knot. It can be used as a starting point for more complex knots, such as lanyards or macramé projects. It can also be used to secure items together, such as tying up packages or securing cords together. Its versatility makes it an essential tool in any crafter’s arsenal.
You can also use these methods to create a slip knot for crochet.
Before You Begin a Slip Knot
You will need to leave a long enough tail so that you can weave it in later, so be sure to leave at least 6-8″ hanging from your project so that you can weave it in after you complete the project, and even longer if you are using a cast on method like the long tail cast on. If you are using the cable cast on or knitted cast on, 6-8″ will be plenty.
There are many different ways to tie a slip knot and we are going to be looking at just a few of them.
Before we begin, let’s take a minute to look at some common terminology. The two ends of the yarn have different names.
The working end (working yarn) is the end that is attached to the skein or yarn ball, so if it tells you to “pull the working end” you will grab the yarn attached to the skein. This might also be called the “ball end”.
The tail end of the yarn is the end that is not attached to the yarn and will remain hanging on the corner of your project until you weave it in. I often call this a yarn tail and it can also be called the yarn end.
The Many Ways to Tie a Knitting Slip Knot
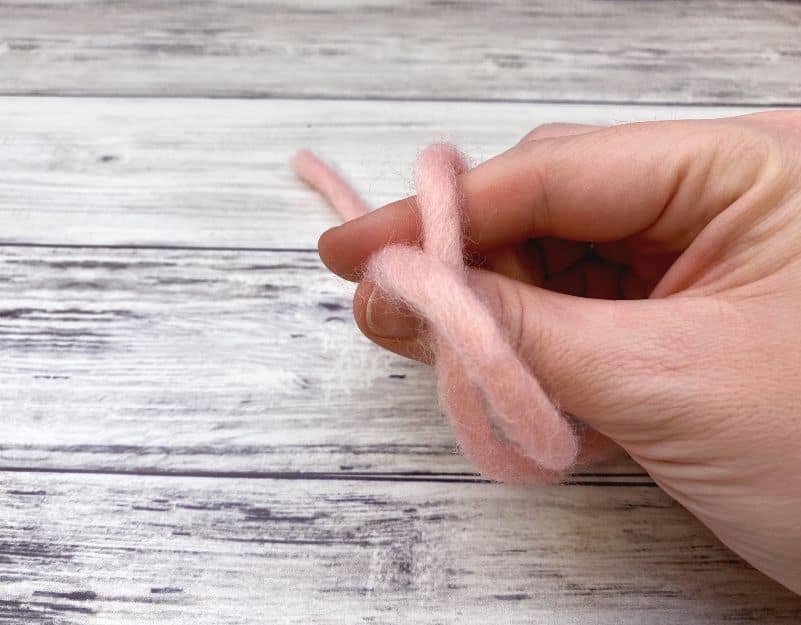
1. Making a slip knot with your finger
Step One: Make a loop with the tail end of the yarn on the top of the working end (this yarn strand is attached to your ball of yarn). Remember to leave a long tail – I’m using a shorter one in this tutorial just to be sure we can see it.

Step Two: Bring your thumb and index finger inside the loop and pinch the tail end.
Step Three: Grab the working yarn and pull tightly, drawing the loop through that you’re holding on to. The loop that goes on your needle will be the piece you are holding on to.
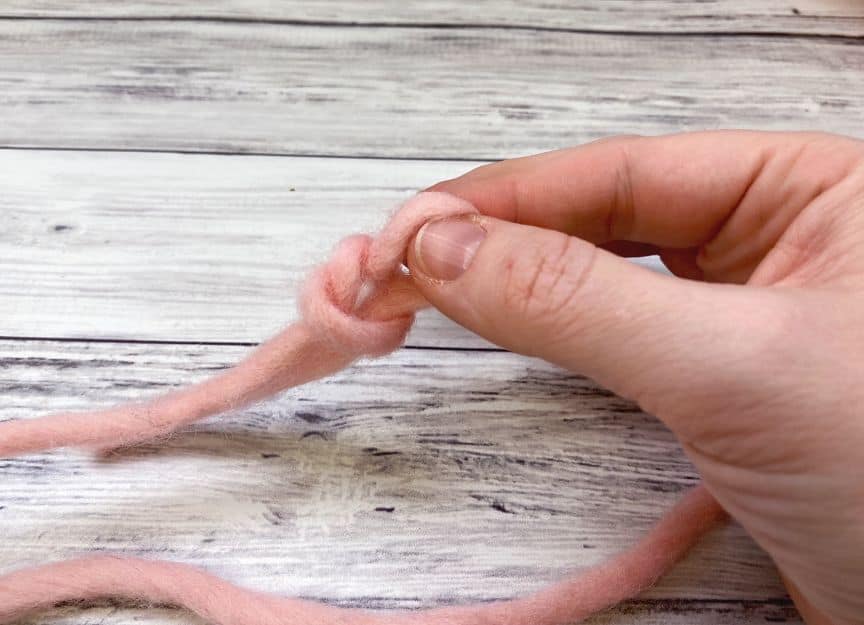
Step Four: Place the stitch on your needle and pull the knot tight
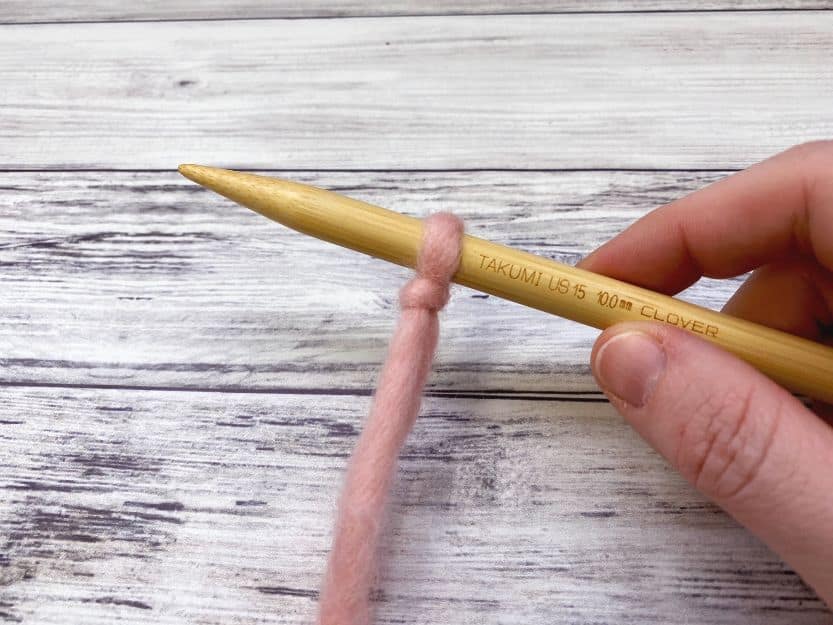
That’s the first stitch! Now you are ready to cast on, and there are several methods for that.
View the crochet cast on here, one of my favorites, which uses a crochet hook and the chain stitch.
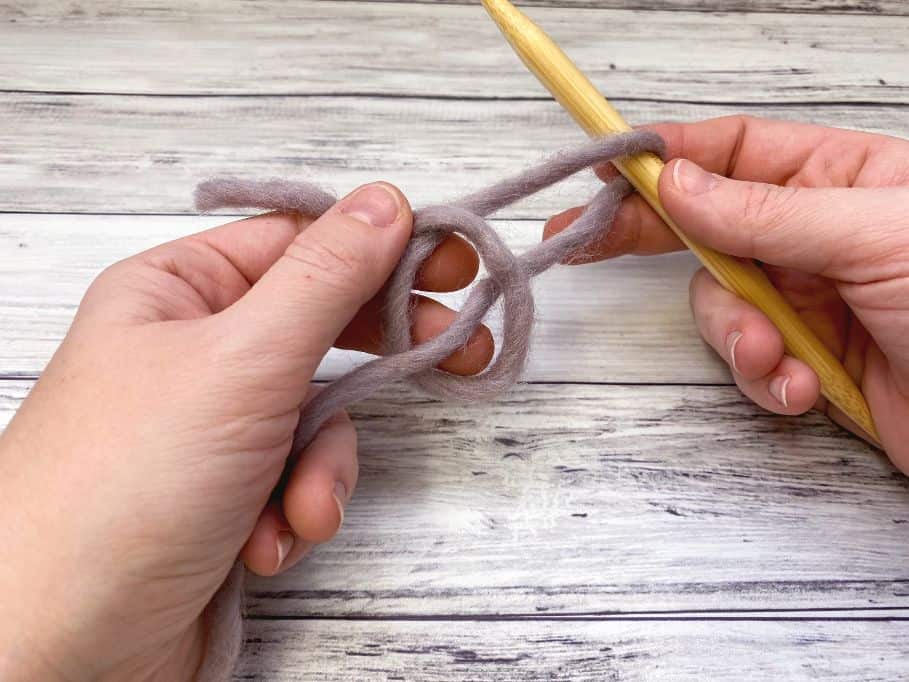
2. “Casting on” the slip knot
This is the way I always tie a slip knot on my knitting needle. You use one needle for this, so there isn’t a left needle or right needle for this yet. Once you’ve cast on your stitches, it will become the left hand needle.
Step One: Loop the yarn around the knitting needle.
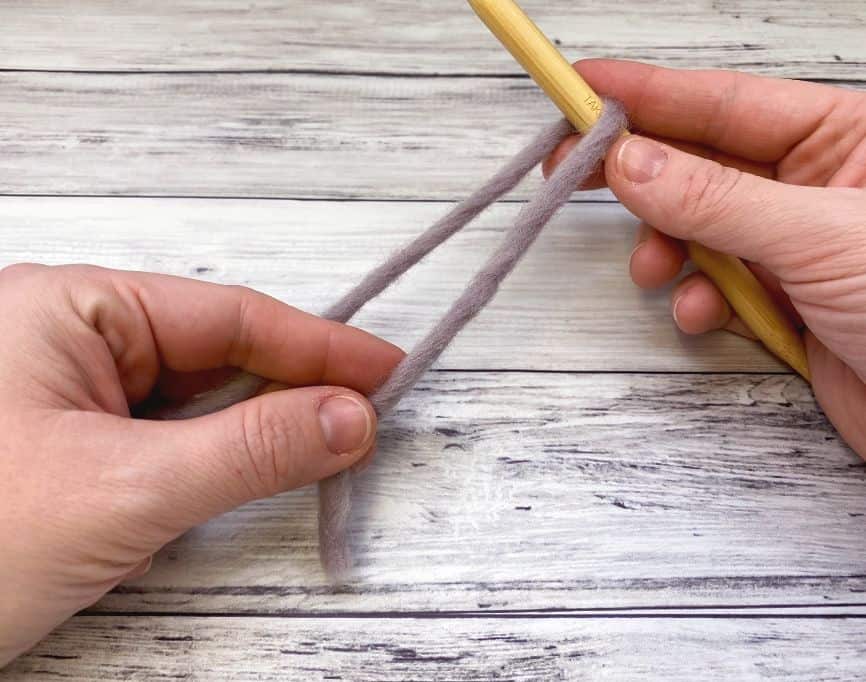
Step Two: Loop the tail end of the yarn around the working yarn. (Create a circle around the working yarn).
Step Three: Pull the tail end through the loop
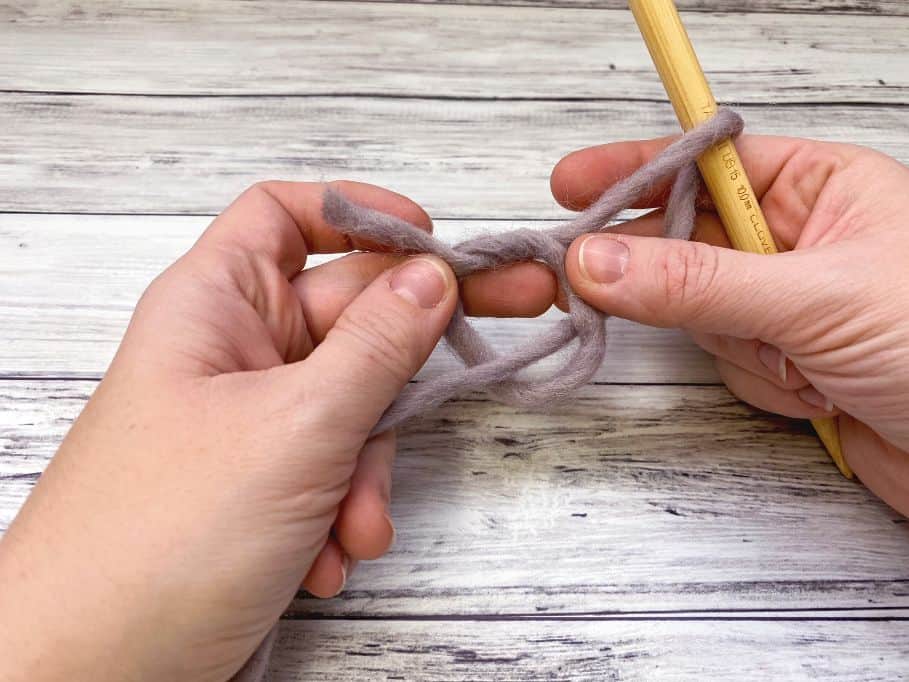
Step Four: Tighten the knot, bringing it close to the needle

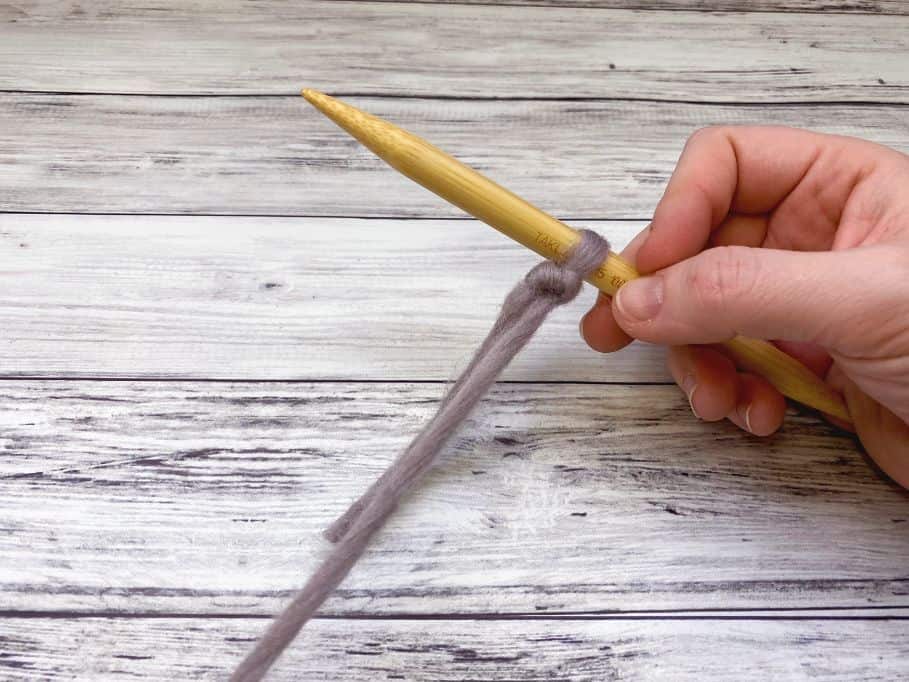
Now you’re ready to cast on and get the knit stitch or purl stitch going!
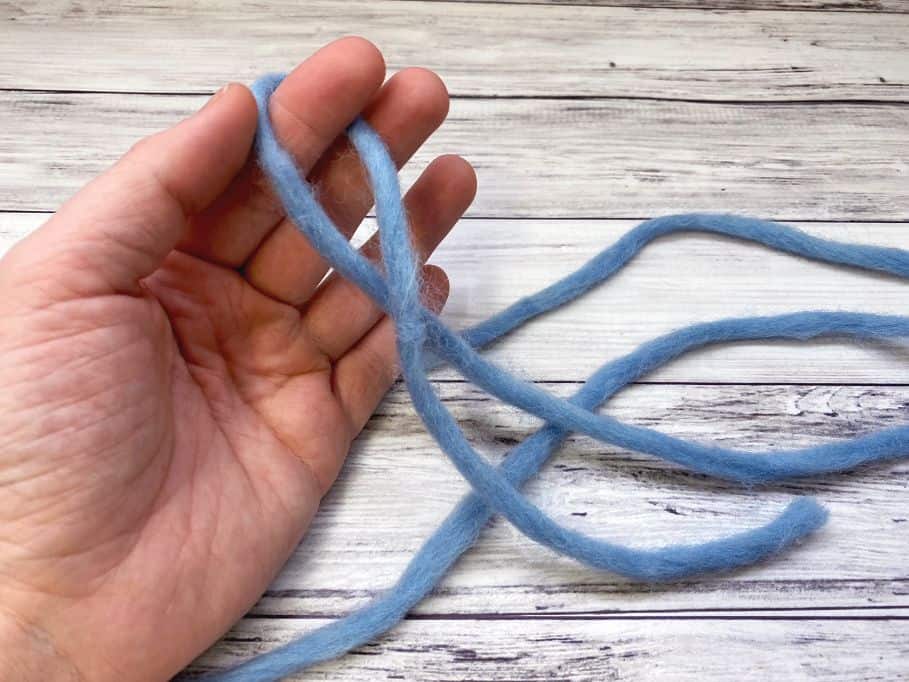
3. Making a slip knot with your hand
Step One: Wrap the yarn around the index finger of your left hand and cross the strands to make an “X”
Step Two: Reach your left hand into the loop and grab the working yarn, pulling it through

Step Three: Place the loop onto your needle and then pull the slip knot tight.


Now you’re ready to use the cast on method of your choice.
Knitting Slip Knot – Video Tutorial
Common Problems with Slip Knots
My slip knot is too tight. This can happen when you pull the yarn too tightly when you create your knot. Use a larger needle if this continues, or pull on the working end of the yarn to loosen up your knot.
My slip knot is too loose. When you create your slip knot, make sure you are pulling the yarn taught on the needle, taking care not to pull it too tight. Be sure you are pulling on the tail end of the yarn.
Take some time and practice the different ways of tying your slip knot and see which way feels best to you. One of the methods will definitely stand out as your favorite, and it will become your go-to method. It should feel like second nature once you’ve done it several times.
Once you get the cast on row in place, you are ready for any variety of knitting stitches: Stockinette stitch, garter stitch, seed stitch, you name it! Master the simple skills of the slip knot, casting on, knit stitch and purl stitch and you are on your way to becoming an expert knitter!
You Might Also Like…


Final Thoughts on the Knitting Slip Knot
I hope you’ve enjoyed this post on some different ways to tie a traditional slip knot to begin your knitting project. Play around with it and find the way that feels best to you and stick with it. Use what’s most comfortable and what you’re most likely to remember the next time you go to cast on.
Happy Knitting!
Amanda