
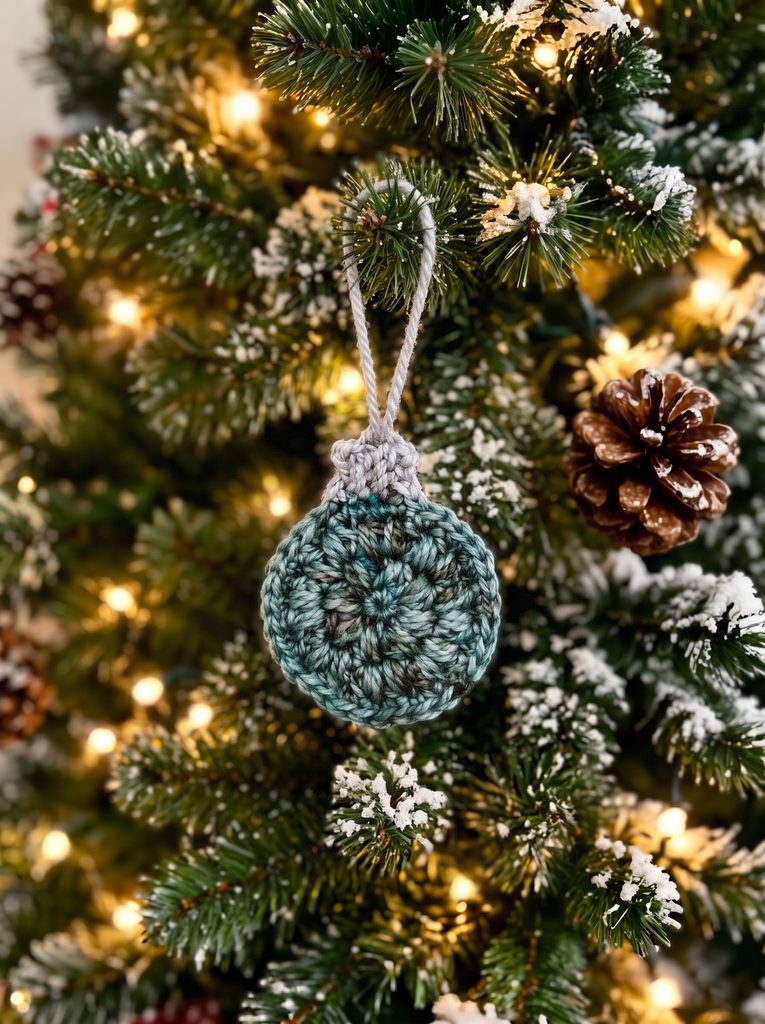
These puff stitch crochet ornaments use up your fingering weight scraps and work up in minutes, so you can fill your tree (or a gift basket) with handmade charm this holiday season.
Design Story and Inspiration for this Crochet Ornament
I have always loved the puff stitch. There is something about those soft, squishy little clusters that makes any project feel extra cozy, and I kept thinking about how pretty they would look on a holiday ornament. Most crochet ornaments I see are worked in the round as 3D balls, so I wanted to try something different and create a flat ornament that really lets the puff stitch shine.
I also had a growing pile of fingering weight scraps that I just could not bring myself to toss. You know the ones. Those little leftover bits from past projects that are too pretty to throw away but too small to do much with. This design was my answer to that pile! Each ornament takes only a tiny bit of yarn, so it is the perfect way to give those scraps a second life.
Speed was important to me too. The holidays get busy, and I wanted a pattern you could finish in just a few rounds while sipping your coffee or watching a holiday movie. Once you make one, you will want to make a whole set.
Finally, I wanted this little crochet ornament to be versatile. Hang it on your tree, tie it onto a gift as a handmade topper, add it to a garland, or tuck it into a holiday card. It is small, simple, and full of possibilities, which is exactly what I love in a quick holiday make.
Yarn Options for These Crochet Ornaments
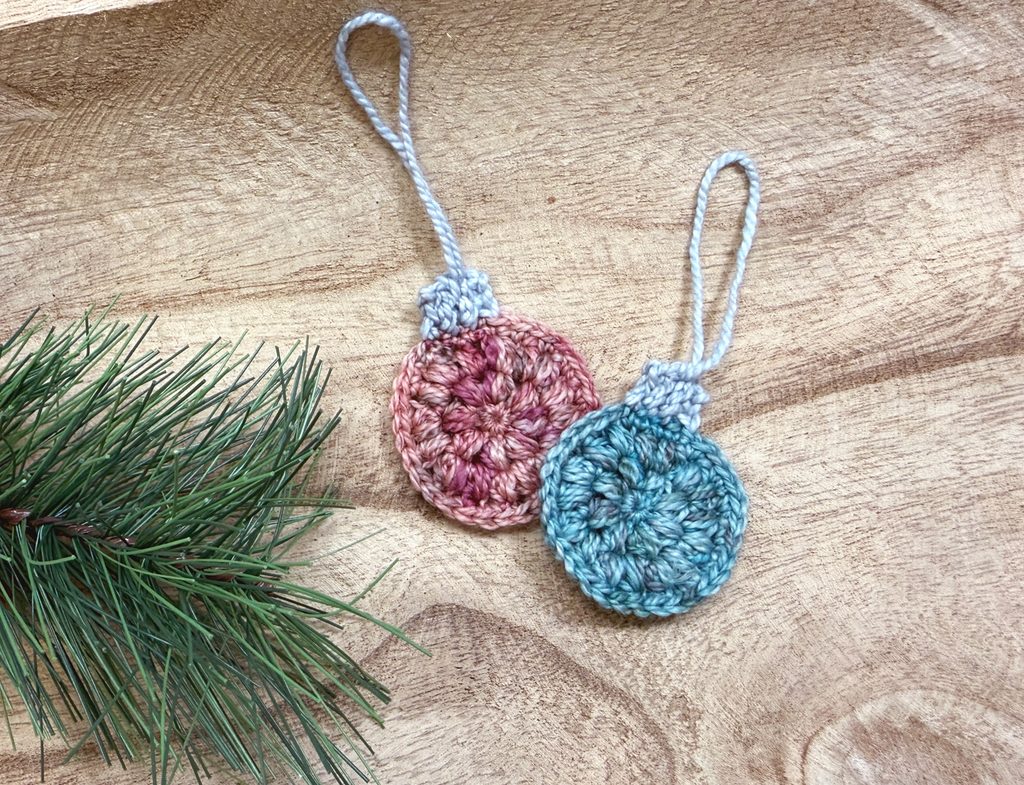
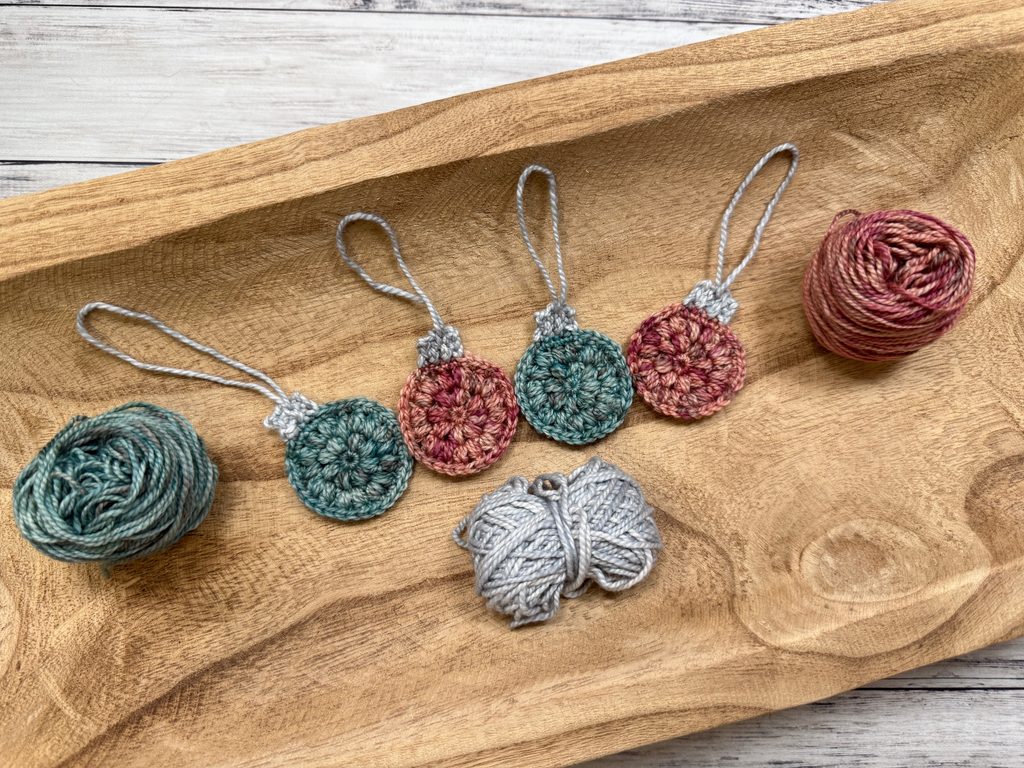
For these ornaments, I reached for fingering weight yarn because I had some absolutely gorgeous tonal scraps that I wanted to show off. Tonal and speckled yarns are so fun with the puff stitch because the color shifts settle into each little cluster and give the ornament beautiful depth. A plain yarn would look sweet too, but those subtle color changes really make each one feel special.
The best part is that you are not limited to fingering weight at all. You can honestly make these ornaments in any weight yarn you have on hand. The pattern works exactly the same way, and the only thing that changes is the finished size. Here is a quick look at what to expect:
- Fingering weight (US E, 3.50mm hook): Small, dainty ornaments about 2″ tall. Perfect for gift toppers and smaller trees.
- DK weight: A little larger and still delicate looking. Great for garlands.
- Worsted weight (US H, 5.00mm hook): Bigger, bolder ornaments about 3.5″ tall that stand out on a full size tree and work up even faster.
Just remember to adjust your hook size to match your yarn. Check your yarn label for the recommended hook and go down a size if you want your puff stitches to look nice and tight.
This is also a great time to experiment! Try mixing weights for a set of ornaments in different sizes, or pair a bright main color with a neutral top for a classic look. However you mix it up, every scrap in your stash has a chance to become something beautiful.
Puff Stitch Holiday Ornament
What You’ll Need
Yarn: Fingering weight scrap yarn (category #1)
Crochet Hook: US size E (3.50mm)
Notions: Yarn needle, scissors
Finished Size: Approximately 2” tall (not including hanger)
Stitch Abbreviations
Chain (ch)
Stitch (st)
Single Crochet (sc)
Special Stitches
Puff Stitch (puff st): (Yo, insert hook into st and draw up a loop) 3 times (7 loops on hook), yo, draw through all loops on hook, ch 1 to close st.
Crochet Ornament Pattern
Make magic ring.
Round 1: Ch 1, 8 sc in magic ring, pull tightly to close, join with slip st to first sc (8 sts).
Round 2: Ch 1, puff st in each sc, join with slip st to first puff st (8 puff sts).
Round 3: Ch 1, puff st in each puff st and ch-1 space, join with slip st to first puff st (16 puff sts).
Round 4: Ch 1, sc in each puff st and ch-1 space around, join with slip st to first st.
Ornament Top Instructions:
With new color, ch 4.
Row 1: Slip st in 2nd ch from hook and next 2 ch, slip st in next st of ornament; turn.
Row 2: Sk sl st in ornament, slip st back loop only in each remaining st; turn.
Row 3: Ch 1, slip st back loop only in each st, slip st in next st of ornament; turn.
Rows 4-5: Repeat rows 2-3.
Row 6: Repeat row 2.
Finishing
Cut yarn, leaving a long tail to create hanger.
With yarn needle, weave tail on back side to center of ornament top hanger. Create a long loop and hold in place. Weave in end securely on back of ornament, securing so that loop stays put.
Fasten off.
Final Thoughts on the Puff Stitch Holiday Ornament
This puff stitch crochet ornament is proof that the smallest projects can bring the biggest smiles. With just a few rounds and a handful of yarn scraps, you can create a handmade piece that’s ready to hang on your tree, top a special gift, or tuck into a holiday card. Once you get the hang of it, you’ll find yourself making a whole batch in every color in your stash!
I’d love to see the ornaments you create, so be sure to share your finished pieces and tag me so I can cheer you on. Whether you make one or a dozen, I hope these little puffs add a cozy, handmade touch to your holidays this year.
I hope you enjoy this free crochet pattern as much as I enjoyed designing it!
Happy Crocheting!
Amanda

Leave a Reply