
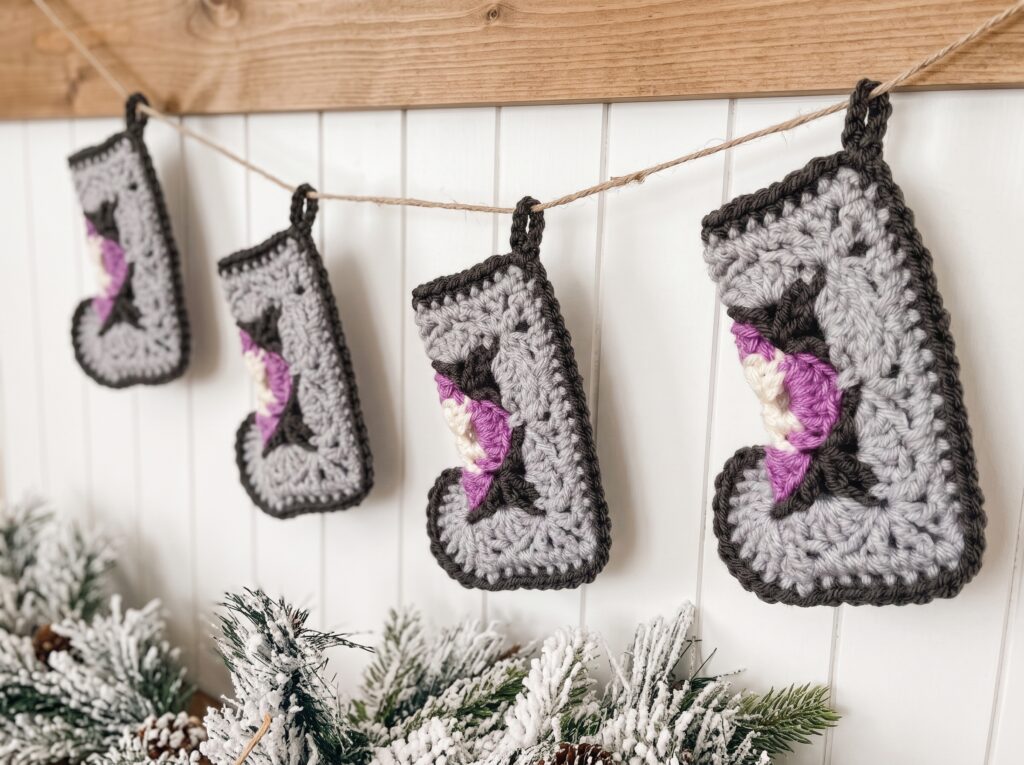
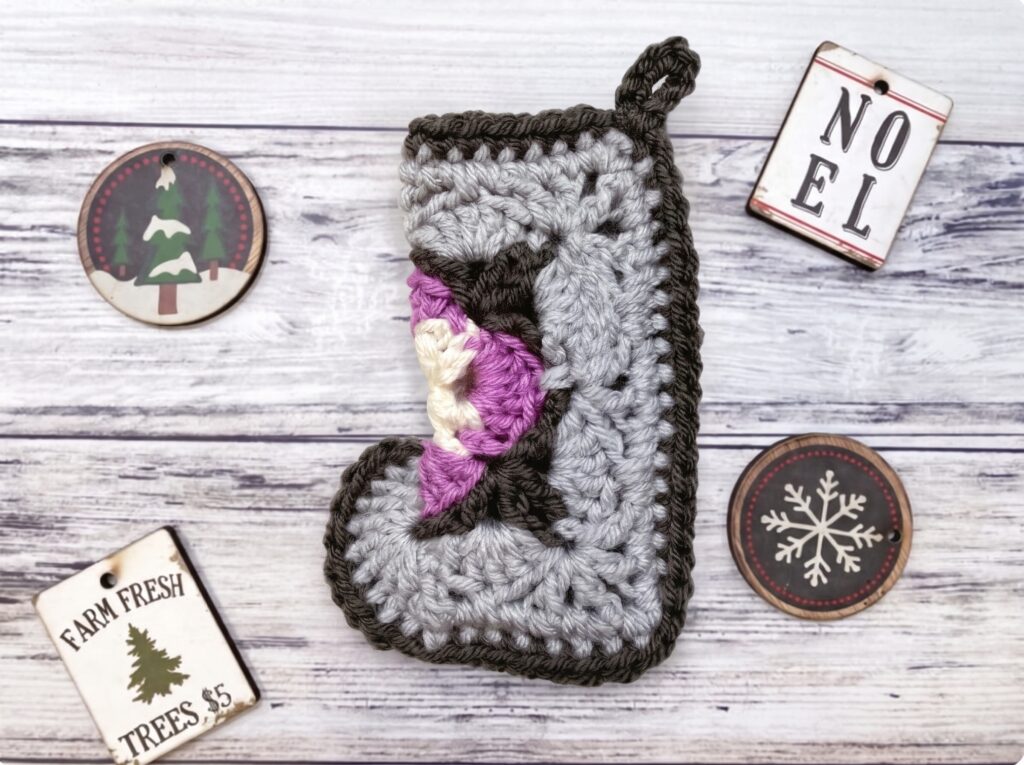
Turn a beautiful crochet square motif into a simple crochet stocking with this easy fun pattern!
Buy the ad-free PDF of this pattern in my shop here!
Design Story and Inspiration for this Mini Crochet Stocking
I love small handmade gifts, and this square is one of my favorite ones I’ve ever designed. I’ve made it into square slippers and a square coaster, and I thought it was time it got another use – so I turned it into an easy, fun stocking pattern!
This pattern turns one square into a stocking by adding a toe made from a double crochet shell and single crocheting the edges together. Easy peasy!
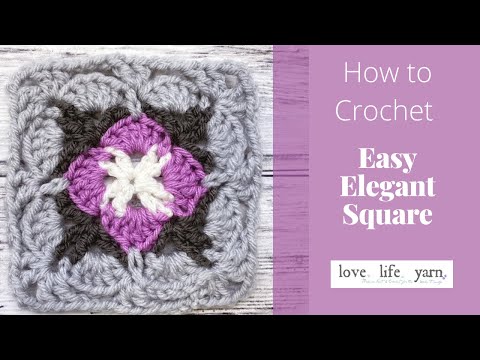
Don’t worry, there is a full video tutorial to walk you through the square design, and a photo tutorial for turning that square into a stocking that is perfect for gift-giving.
Yarn Options for These Fun Christmas Stockings
I chose scrap worsted weight yarn for my stockings, in several different brands. These are such great stash busters, as they use just bits of scrap yarn!
So feel free to dig through your stash and find those odds and ends to use here. Play around with colors, explore some different textures. And don’t feel like you have to stick to worsted weight. Of course the size will be different if you choose to use a larger or smaller yarn, but that’s part of the beauty of it!
Buy the ad-free PDF of this pattern in my shop here!
Christmas Blossom Mini Stocking
What You’ll Need
Yarn: 4 colors scrap worsted weight yarn (#4)
Crochet Hook: US Size I (5.50mm)
Notions: Yarn needle, scissors
Finished Stocking Size: Approximately 4” tall not including hanger
Gauge: 5 rounds = 4″
Stitch Abbreviations
Chain (ch)
Slip Stitch (slip st)
Single Crochet (sc)
Double Crochet (dc)
Pattern Notes
Ch 4 at beginning of round counts as dc, ch 1.
Ch 3 at beginning of round counts as dc.
Buy the ad-free PDF and crochet on the go!
Crochet Square Pattern
With first color, make magic ring.
Round 1: Ch 4 (counts as dc plus ch 1 here and throughout), (dc, ch 1) seven times in ring, join to 3rd ch of starting ch with sl st, pull tightly to close. Change to second color.
Round 2: Ch 1, sc in first ch-1 sp, 5 dc in next ch-1 sp, (sc in next ch-1 sp, 5 dc in next ch-1 sp) 3 times. Join with sl st to rst sc. Change to third color.
Round 3: Ch 4, (dc, ch 3, dc, ch 1, dc) all in same sc as sl st. *Ch 3. Skip next 5-dc, (dc, ch 1, dc, ch 3, dc, ch 1, dc) all in next sc. Rep from * twice more. Ch 3. Skip next 5-dc. Join with sl st to 3rd ch of beg ch. Change to fourth color.
Round 4: Sl st in next ch-1 sp, ch 3, 4 dc in same ch-1 sp as sl st, sc in next ch 3 sp, 5 dc in next ch-1 sp, *sc in 3rd dc of 5-dc in 2nd rnd, working sc over ch-3 of previous rnd, 5 dc in next ch-1 sp, sc in next ch-3 sp, 5 dc in next ch-1 sp; Rep from * twice more. Sc in 3rd dc of 5-dc in 2nd rnd, working sc over ch-3 of previous rnd. Join with sl st to top of beg ch-3.
Round 5: Sl st to next sc, ch 4, (dc, ch 3, dc, ch 1, dc) all in same sc as sl st. *Ch 3, skip next 5-dc, (dc, ch 1, dc) in next sc, ch 3, skip next 5-dc, (dc, ch 1, dc, ch 3, dc, ch 1, dc) all in next sc (corner made). Rep from * twice more. Ch 3, skip next 5-dc, (dc, ch 1, dc) in next sc, ch 3, skip next 5 dc. Join with sl st to 3rd ch of beg ch-4.
Round 6: Ch 1, sc in same st as sl st, sc in next ch-sp, sc in dc, * in corner ch-3 work (sc, ch 1, sc), sc in each dc and each ch-1 sp across while working in ch-3 sp over a 5-dc fan work (sc in ch-sp, sc over ch and into middle dc of 5-dc, sc ch-sp); rep from * across, join to first sc with sl st.
Fasten off. Weave in ends.
See it in Action!
Turn the Square into a Stocking!
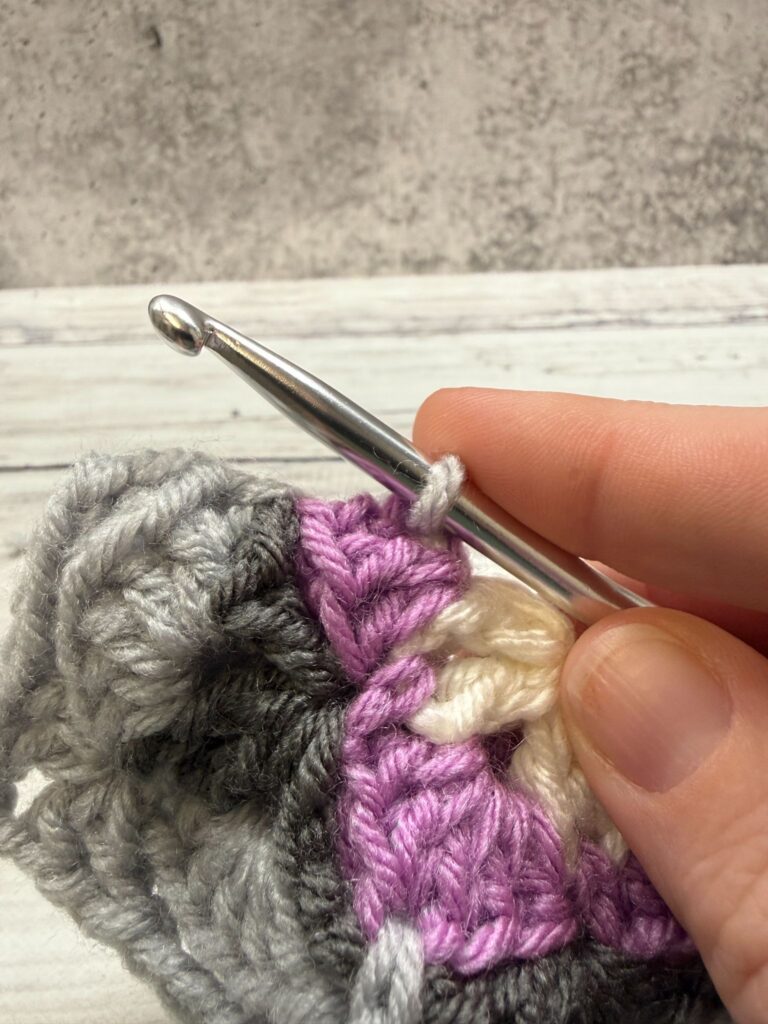
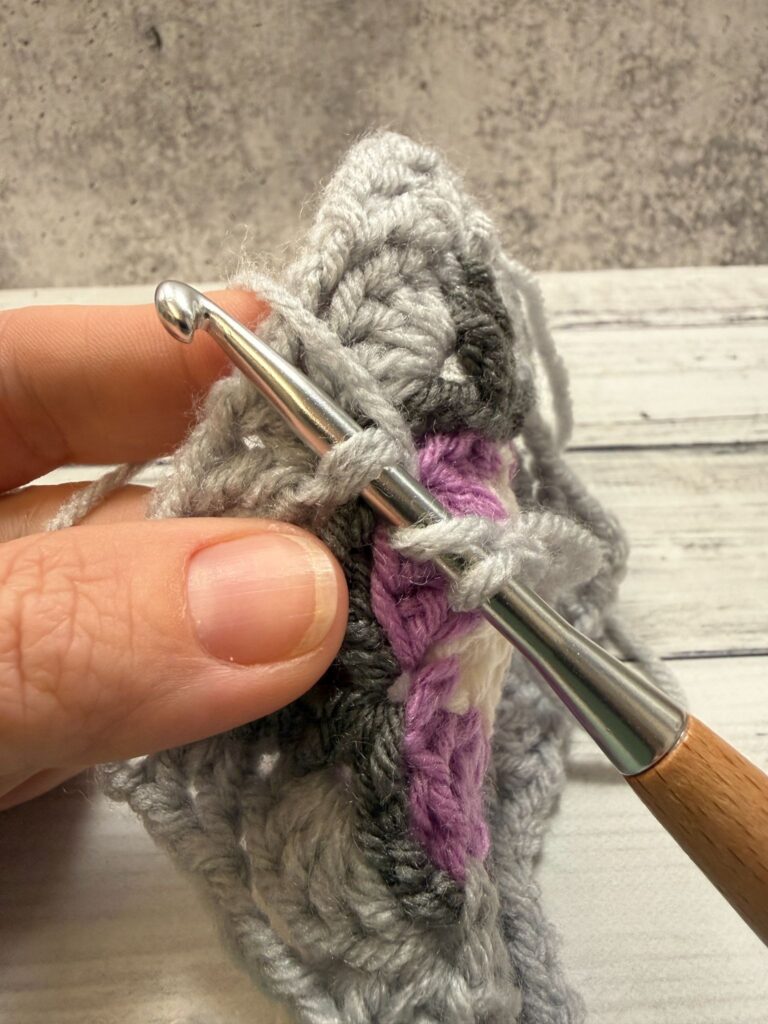
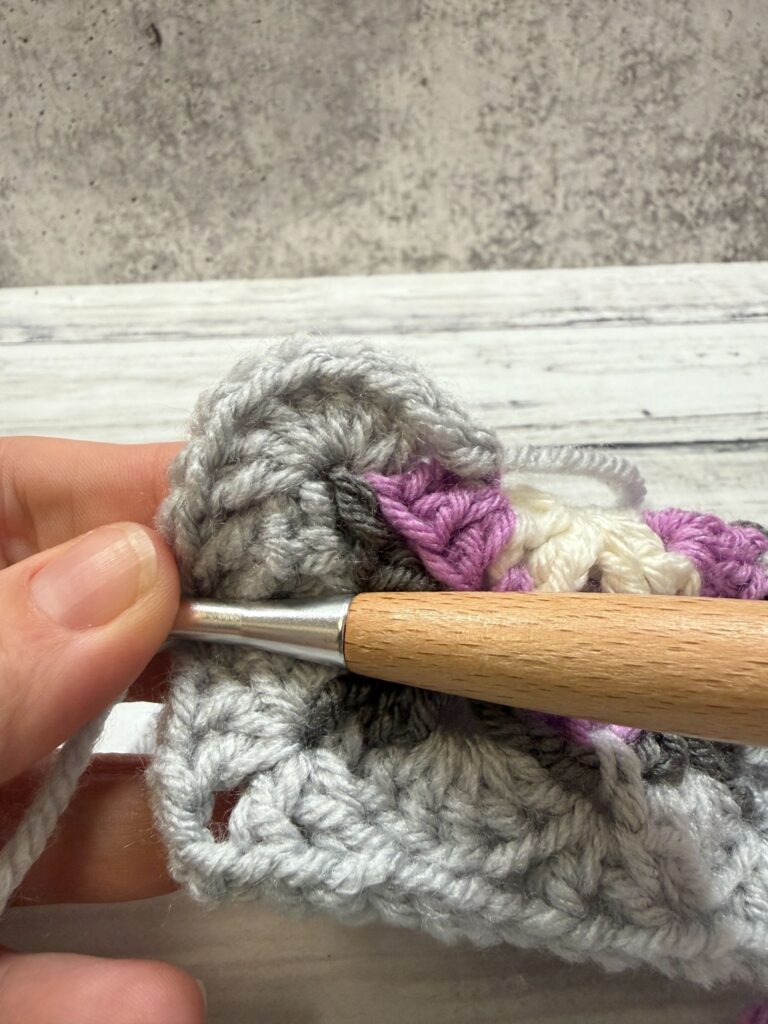
Toe: Join color four to bottom post of middle dc in round 2 where it meets round 1. Ch 1, slip st in same space, work 7 dc in sc from round 4 directly above join in round 2, join with slip st to sc in round 6 directly above round 4. Fasten off.
Join here:
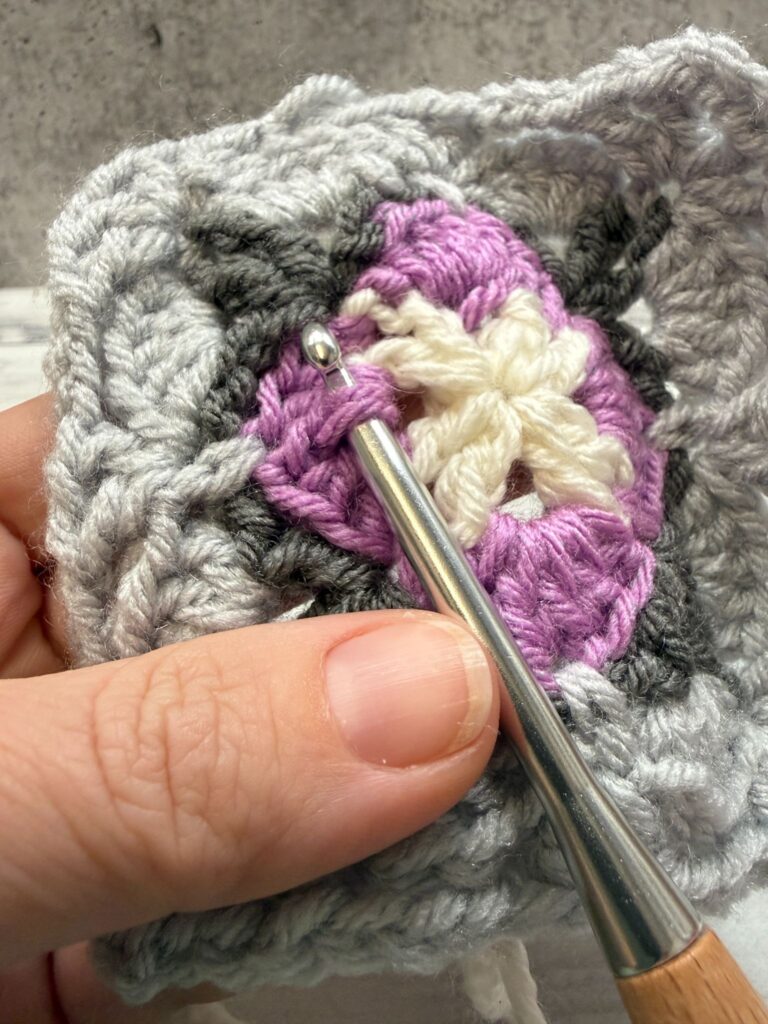
Work 7 dc here:
Finished toe:
Edging:
Fold square in half in stocking shape. Join color 3 in first slip st. Ch 1, sc around to last dc of toe, then sc in each st of square, working through both layers of square to top. Ch 1, sc evenly around top edge. Join with first sc with slip st, ch 8 for hanger, join with slip st to same st.
Fasten off. Weave in all ends.
Final Thoughts on the Christmas Blossom Mini Stocking
I hope you love this simple pattern as much as I enjoyed designing it! I’ll be finding more and more uses for this beautiful square and I hope you love it as much as I do. 🙂
Happy Crocheting!
Amanda

Leave a Reply