
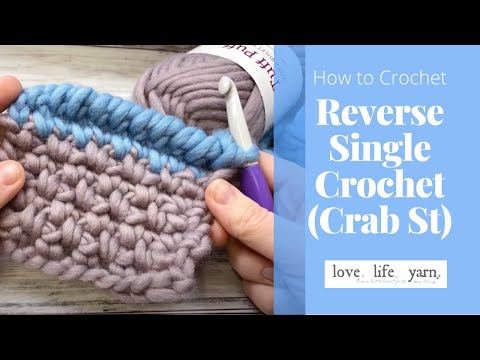
The crab stitch, also known as reverse single crochet, is a wonderful way to add a quick border to both knit and crochet projects.
Common Questions about Reverse Single Crochet (Crab Stitch)
This stitch is called reverse single crochet because it really is like single crochet in reverse. You have the same side of the work facing you, but instead of going right to left (if you’re right handed), you go left to right.
When crocheting a crab stitch you will work the opposite direction of a regular single crochet. It’s backwards and it feels a bit odd, but with a bit of practice it is an easy stitch to do.
This stitch is not easy to work into, so it is not commonly used in any areas where you will continue to crochet into it. It is perfect for borders, however, because it gives a wonderful twisted cord look to the edge – and it works well for both knit and crochet items.
Before we begin… let’s get Social!
I would love for you to come follow me on
Instagram (get sneak peeks of what’s coming up!)
My Facebook Page (come join the fun!)
Follow me on Pinterest (I pin tons of free patterns to my boards!)
Join my Facebook group (lots of awesome crochet talk there)
Also, you can find me on Ravelry or join more than 14K subscribers on YouTube.
How to Crochet a Reverse Single Crochet Edging (Crab Stitch)
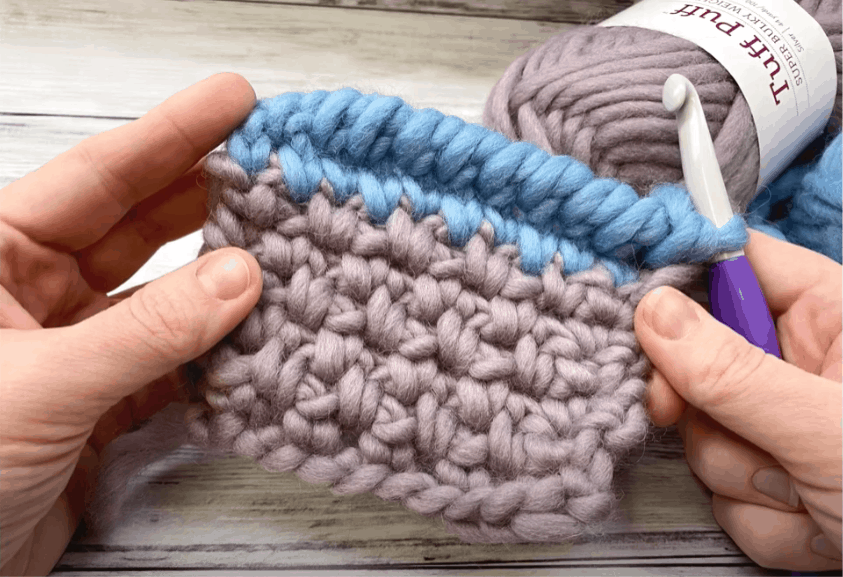
Step One: Set up a foundation with a row/round of single crochet
Crab stitch works best on a foundation of single crochet, so the first step is to evenly single crochet around the area you want to add the crab stitch border to.
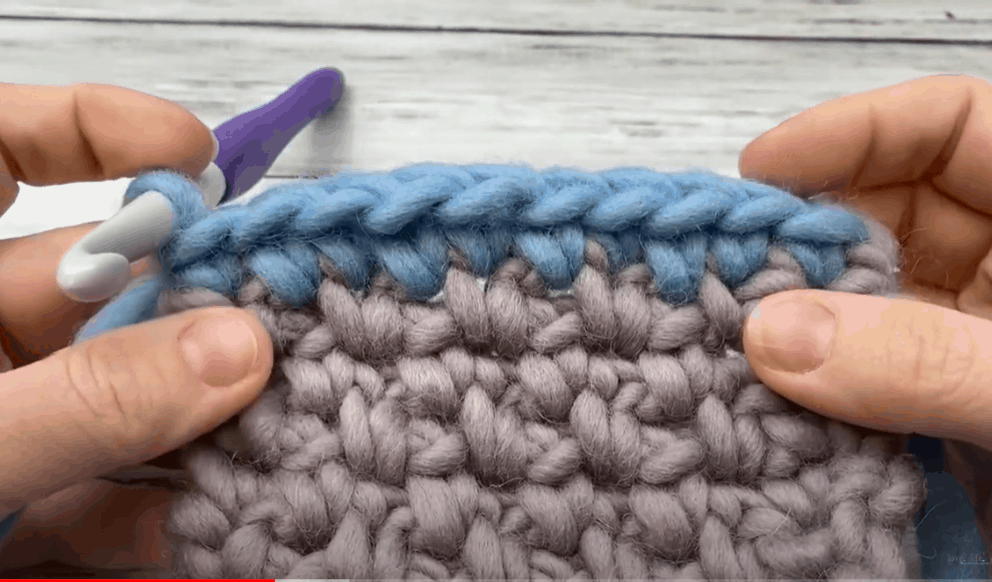
Step Two: Work in the opposite direction you just did.
So here is where it feels a bit weird. You will NOT turn after you work this round of single crochet.
Instead, we will work the reverse single crochet as follows:

Step One: Ch 1, insert hook from front to back into first sc.
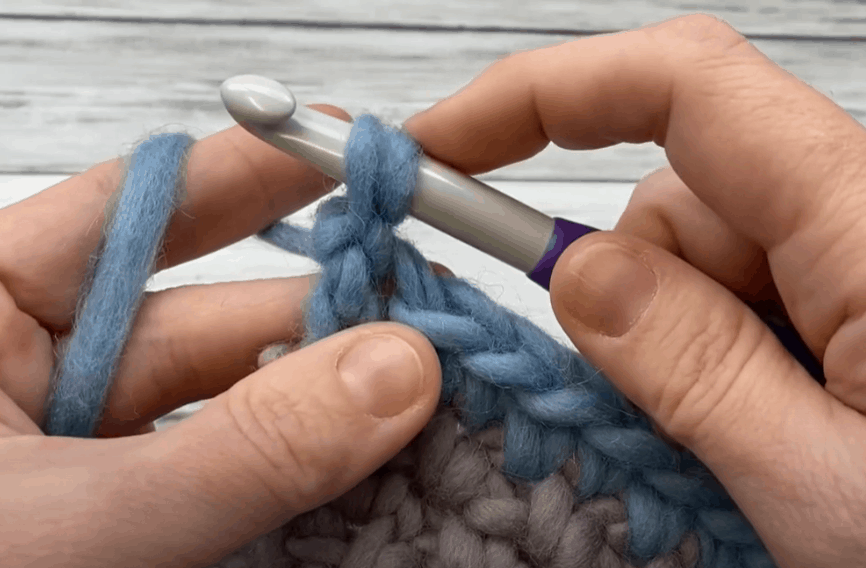
Step Two: Yarn over and draw up a loop, using a scooping motion to bring the yarn over up without grabbing any other loops. (This takes a few stitches to practice).
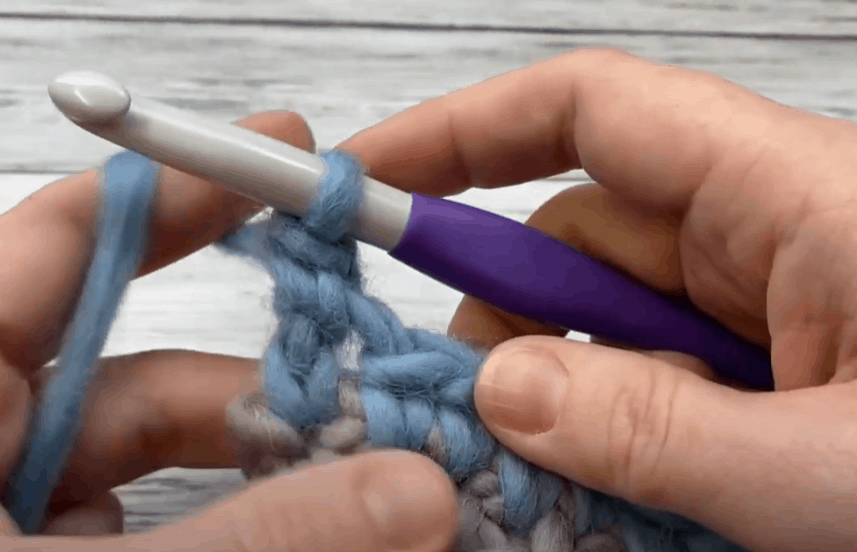
Step Three: Yarn over and draw through both loops. One crab stitch made!
You can’t really see the twisted cord look when you only have a few stitches worked, but as you continue, you should be able to see the effect of the reverse single crochet.

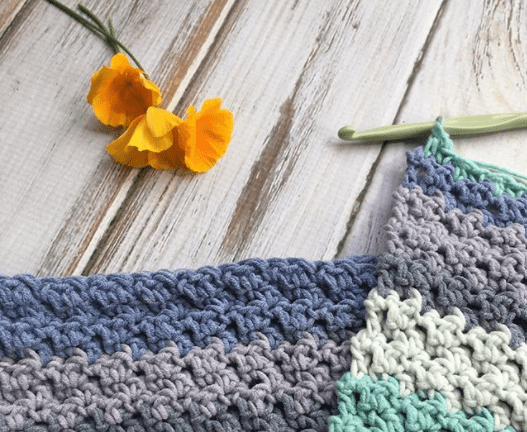
Crab Stitch Border on Knitting
A crab stitch border can absolutely be applied to knitting. You will work it the same way as the photo tutorial above.
Here are some general rules to follow:
Work the single crochet foundation round/row first. For this example, we will assume you are working around a piece.
Work one single crochet into each stitch, turn the corner with either 3 sc into the corner space or a (sc, ch 1, sc) in the corner, which is what I prefer.
When working into the sides of the rows, be aware that knit stitches are not square like sc. You will need to adjust the number of sc on the sides. A general rule of thumb is 2 sc for each 3 rows of knitting. If this doesn’t look quite right, try 3 sc for each 4 rows, although I’ve usually always found the 2 sc for 3 rows to work out right.
Then, work the crab stitch as seen above! Easy peasy!
How do I work reverse single crochet in the round?
Sometimes you might want to work the crab stitch in the round. This works really well as a border for hats and mittens and other projects with an unfinished edge.
Start off with the same single crochet foundation, working around the area you want a crab stitch border.
Then, DO NOT TURN (even though you’re working in the round!), and work the crab stitch as seen in the directions above.
Crab Stitch (Reverse Single Crochet) Video Tutorial
You Might Also Like…
Today we’ve learned how to crochet the Reverse Single Crochet, also called the Crab Stitch. We saw how to work a basic crab stitch and discussed how to work reverse single crochet on knitting and in the round.
I hope you’ve enjoyed this simple tutorial for the crab stitch and will try it out on a project of your own!
Happy Crocheting!
Amanda