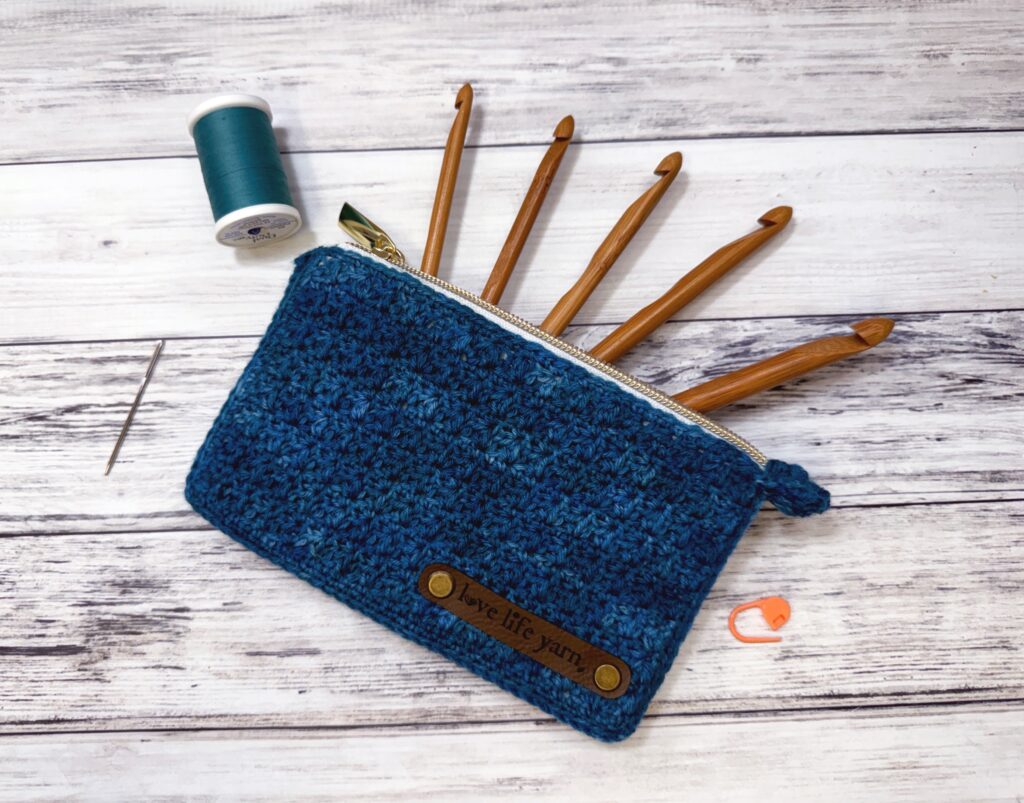
A quick and practical crochet zipper pouch with a polished lined finish that works perfectly as a notions pouch, hook case, coin purse, or everyday organizer.
Design Story and Inspiration for This Fun Notions Pouch
Okay so real talk, this pouch was born out of pure necessity. I was constantly digging through my project bag looking for my hooks, stitch markers, scissors, and all the other little things that somehow end up everywhere except where you need them. I wanted something that actually kept it all together without looking like a sad ziplock bag situation.
And honestly, bags and finishing techniques are kind of my thing. I love them. So when I sat down to design this, I knew I did not want just a basic pouch. I wanted something that felt intentional and a little elevated while still being totally doable for most crocheters.
That is where the zipper, lining, and interfacing come in. Those three things are what take this from “cute little pouch” to “wait, did you buy that?” territory. And the best part is once you know how to do it, you will want to add these finishing touches to everything.
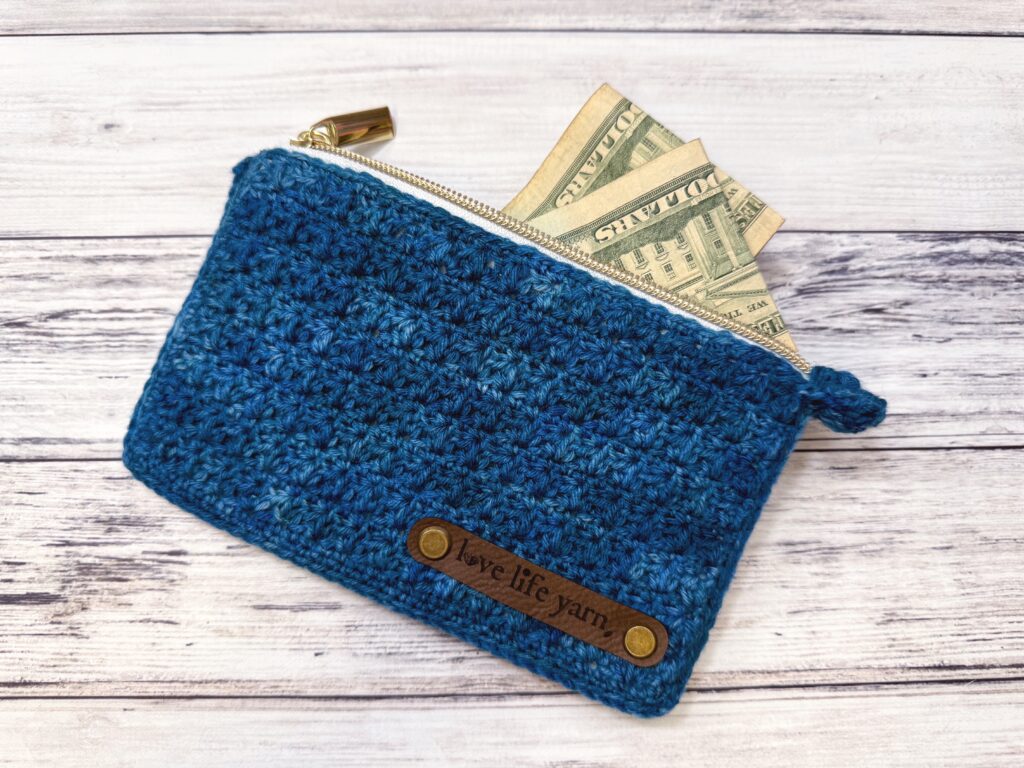
Use it for your crochet notions, as a small project bag, a coin purse, a travel organizer. It is one of those makes that just works for a lot of different things.
I wrote a book all about handbag finishing! You can check it out here.
Buy the ad-free PDF of this pattern and crochet on the go!
Yarn Options for Crochet Bags
Yarn choice matters a lot for bags and pouches, and not just because of how it looks. Bags take a beating. They rub against your clothes, your hands, the inside of your tote, your car seat. You name it. So you want a yarn that can handle real life without pilling up and looking rough after a few uses.
For this project I used a fingering weight sock yarn, and honestly it is one of my favorite choices for this type of project. Sock yarn is made to handle friction and repeated wear, which is exactly what a bag needs. It also holds its color really well, which is a big deal when your pouch is going to be living inside a bag next to lipstick, pens, and who knows what else.
The end result is something that feels soft in your hands but is actually really tough where it counts.
If you want to substitute a different yarn, go for it, just make sure you are reaching for something fingering weight with good structure and colorfastness. That combo is what is going to keep your finished project looking great long term.
Of course you can use heavier weight yarn if you choose, but please be aware it will affect the finished size of the bag.
Video Tutorial for Lining
Coming soon!
Purchase the ad-free PDF of this pattern in my shop here!
Textured Notions Pouch
What You’ll Need
Yarn: Fingering weight (yarn used is discontinued) – category #1
Hook: US Size E (3.50 mm)
Notions: Craft stabilizer, zipper, lining fabric, sewing needle, matching thread, yarn needle, scissors.
Gauge: 20 sts and 16 rows = 4” in stitch pattern
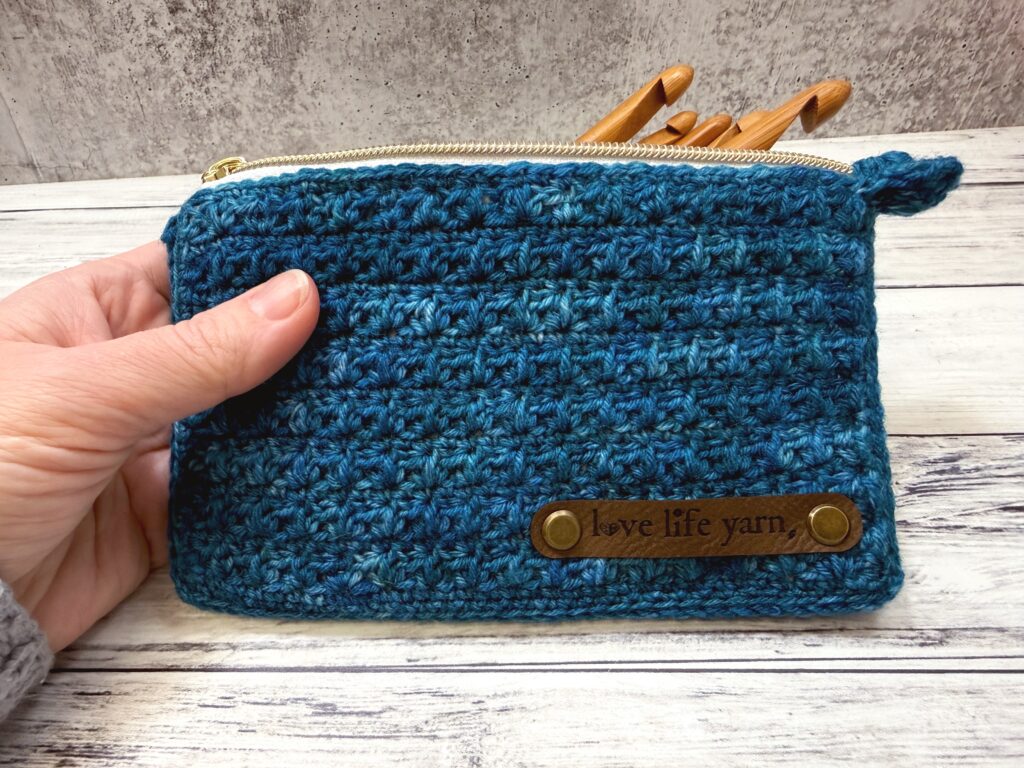
Finished Size: Approximately 5.5” wide x 4” tall x 1” deep
Notes: Ch 2 at beginning of row counts as hdc.
Stitch Abbreviations
Chain (ch)
Slip Stitch (slip st)
Single Crochet (sc)
Yarn Over (yo)
Special Stitches
Mixed Cluster Stitch (MC) – yo, insert hook into first st as indicated, yo, draw up loop, yo, draw through 2 loops, skip 1 st, [yo, insert hook into next st, yo, draw up loop] twice all into same st (6 loops on hook), yo, draw through all loops on hook. Note: Sts worked across 3 total sts.
See Mixed Cluster Stitch video tutorial here.
Textured Notions Pouch Pattern
Side Panel (Make 2)
Ch 34.
Row 1 (WS): Sc in 2nd ch from hook and each ch across; turn – 33 sts.
Row 2: Ch 2 (counts as hdc), MC inserting hook into 1st then 3rd st, *ch 1, MC inserting hook 1st into same st as previous MC; repeat from * ending last rep in last st, hdc in same st; turn.
Row 3: Ch 1, sc in each st and ch-sp across; turn.
Rows 4-15: Repeat rows 2-3.
Row 16: Repeat row 2.
Work 1 round of sc evenly around side panel, working (sc, ch 1, sc) in corner spaces. Fasten off.
Zipper End Cap
Ch 6.
Work same as side panel for 7 rows.
Fasten off.
Finishing
Using finished piece as template, cut craft stabilizer slightly smaller than finished panels. Stitch to back side of panels.
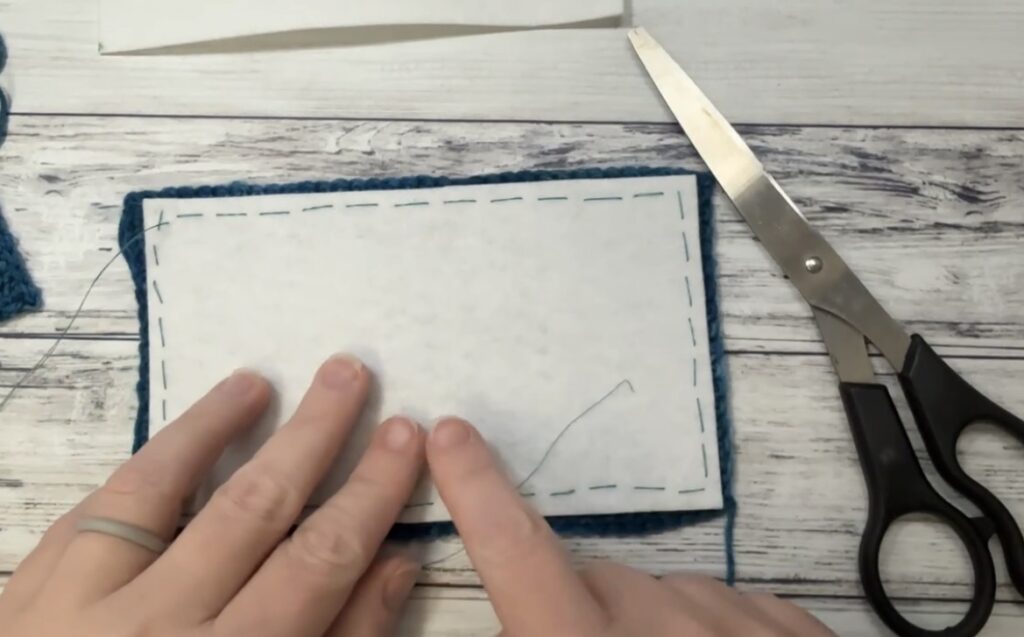
Cut lining fabric with added 0.5” (1cm) margin.
Sew zipper in place.
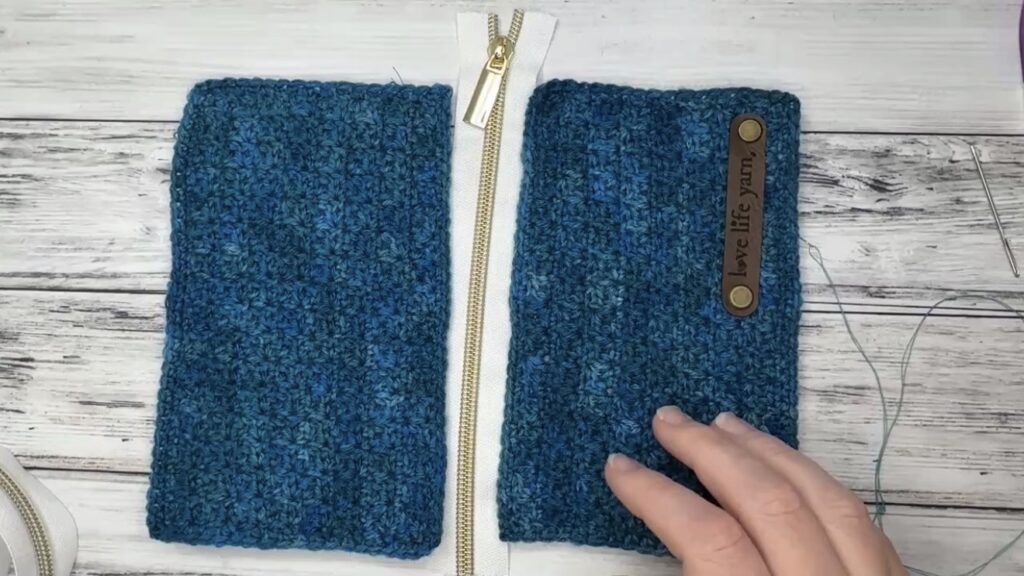
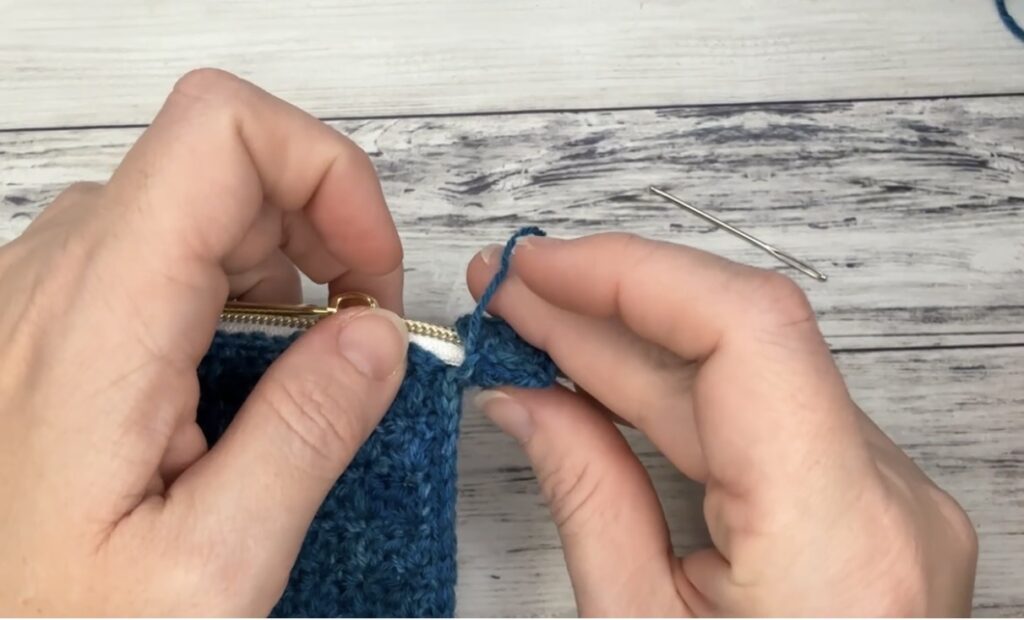
Choose one side to attach zipper end cap as follows:
Leave zipper tape sticking up from pouch, fold zipper end cap in half widthwise to cover the tape, stitch side seams of end cap and stitch securely in place.
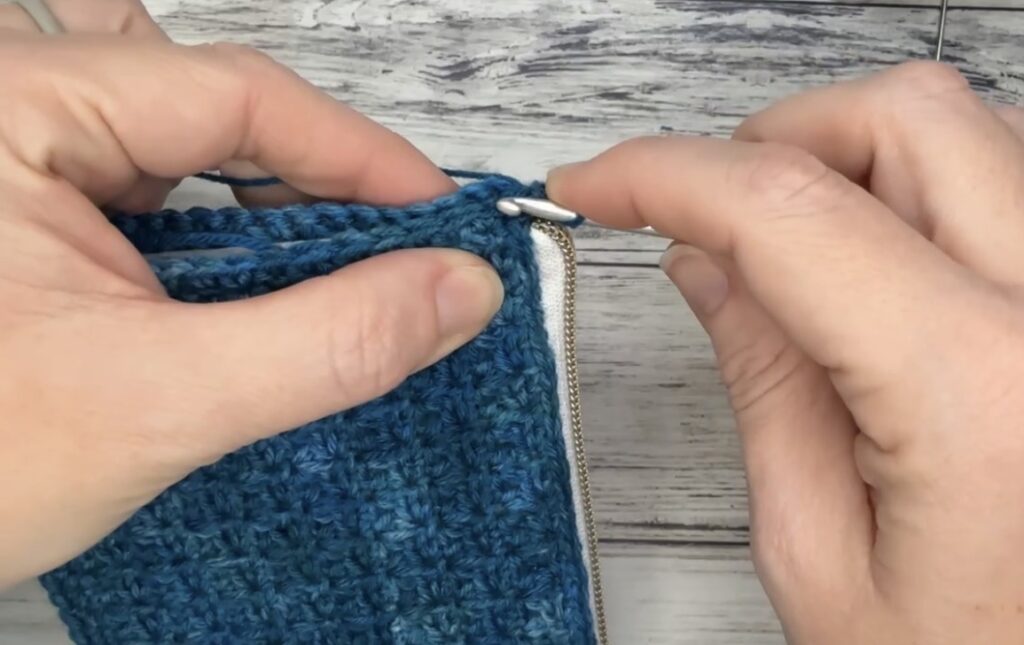
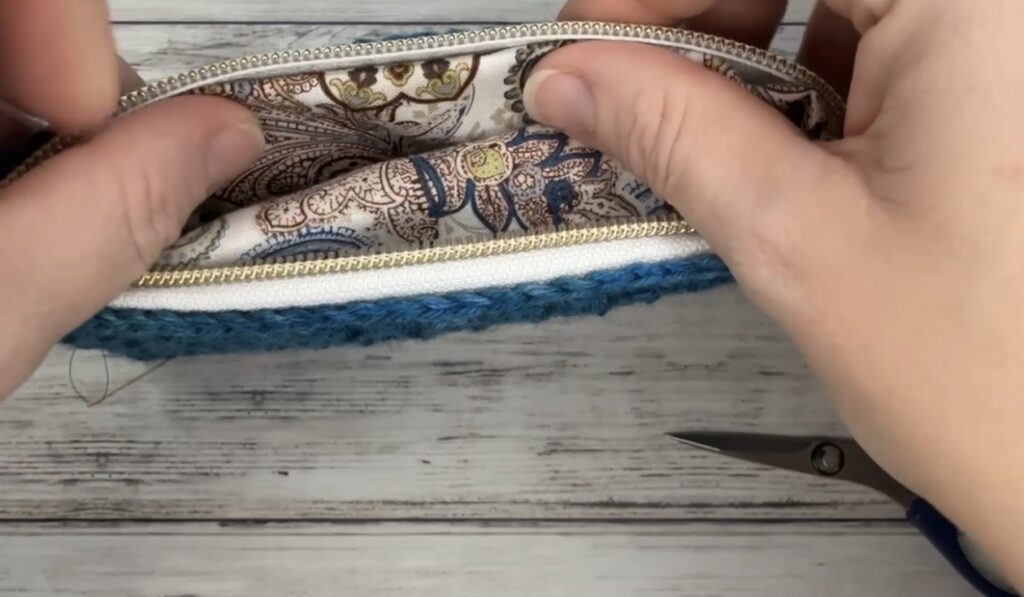
Slip stitch side and bottom seams using the single crochet stitches worked after row 16.
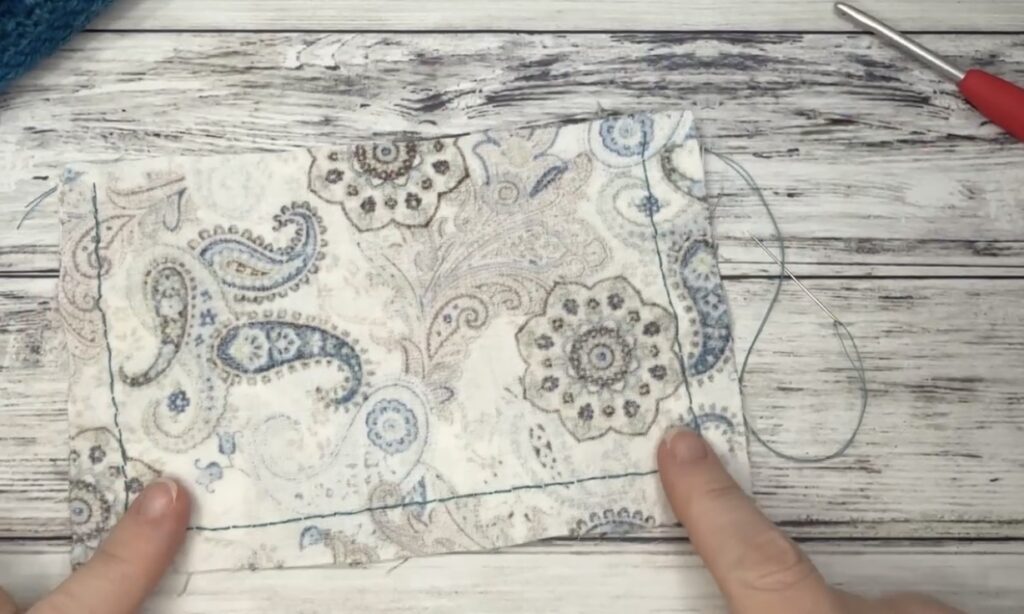
Sew lining fabric sides and bottoms with right sides together, then sew top in place.
Weave in ends and clip loose threads.
Want more information on how to finish crochet bags? Check out my book here!
Final Thoughts on the Textured Crochet Notions Pouch
I hope you enjoy this functional, beautiful pouch as much as I enjoyed designing it! The lining video tutorial is coming soon. 💕
Happy Crocheting!
Amanda
