

Buy the ad-free PDF of this pattern in my shop here!
OR Buy the kit from Lion Brand Yarn here!
I have been on another stuck-on-one-kind-of-project kick lately and this time it’s sweaters!! When I first started designing in 2011 all I wanted to design were sweaters. There is just something so special to me about them and I really do think I take the most pride in the sweaters I’ve designed over the years (not that I don’t like my other projects!!).
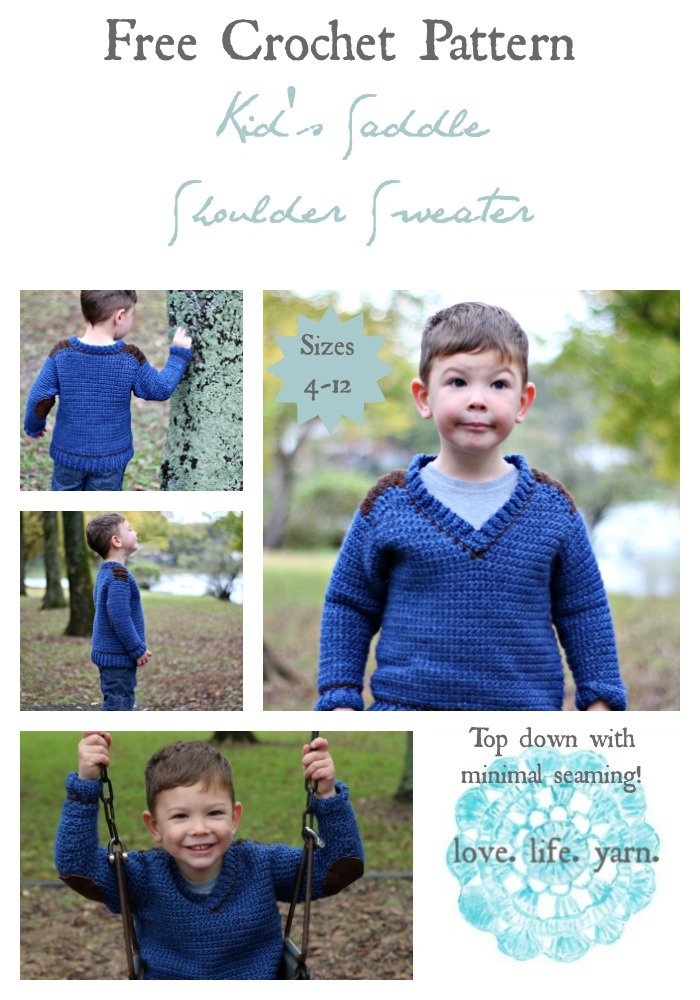
So when I learned about a knitting technique of working from the top down with little seaming, I decided to try and adapt it to crochet. Guess what? It works so well!! This sweater is worked from the top down so you can try it on your little one as you go and it requires very little seaming. In fact, the ONLY seaming is to close the ribbing!! I’m so in love with this new method (for me, at least!) and can’t wait to try more designs using this method. They won’t all have the saddle shoulder, but the next few will. I’m actually pretty in love with it.
I chose Lion Brand Heartland for this sweater for the gentle color changes in each strand. I love the way they look and the feel of this yarn is great but not fussy about care. For a three-year-old’s sweater I figured this yarn was perfect. It turned out even better than I had pictured and I love the brown accents with the blue.
My little guy absolutely loves his sweater and my testers have reported that their little ones feel the same about theirs. In fact, they don’t want to take it off and that really makes my day. I’m making all of my boys a variation of this sweater – the crew neck version is in testing and I am even more in love with it (if that’s even possible!!).
If you like this sweater be sure to check out my other free crochet sweater patterns for kids: Shawl-Collared Sweater and Comfy Cabled Hoodie.
I hope you enjoy this pattern as much as I’ve enjoyed creating it.

Buy the ad-free PDF of this pattern and crochet on the go!
Buy the kit from Lion Brand Yarn here!
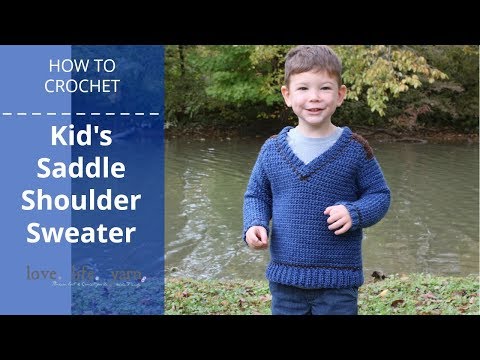
Kid’s Saddle Shoulder Sweater
What You’ll Need
Yarn: Lion Brand Heartland (100% Acrylic; 251 yards [230 meters]/142 grams): #109 Olympic, 2 (3, 3, 4, 4) skeins (MC), #126 Sequoia 1 skein (CC)
Hook: US size L/11 (8.0 mm); US size I/9 (5.5mm)
Notions: Yarn needle, suede elbow patches (optional)
Skill Level: Easy
Size: Finished Chest Size 26 (28, 30, 32, 34)” to fit kid’s size 4 (6, 8, 10, 12). 2” positive ease recommended.
Gauge: 12 sts and 16 rows = 4” [10 cm] in sc with larger hook
Note: stitch gauge is more important than row gauge
PATTERN NOTES
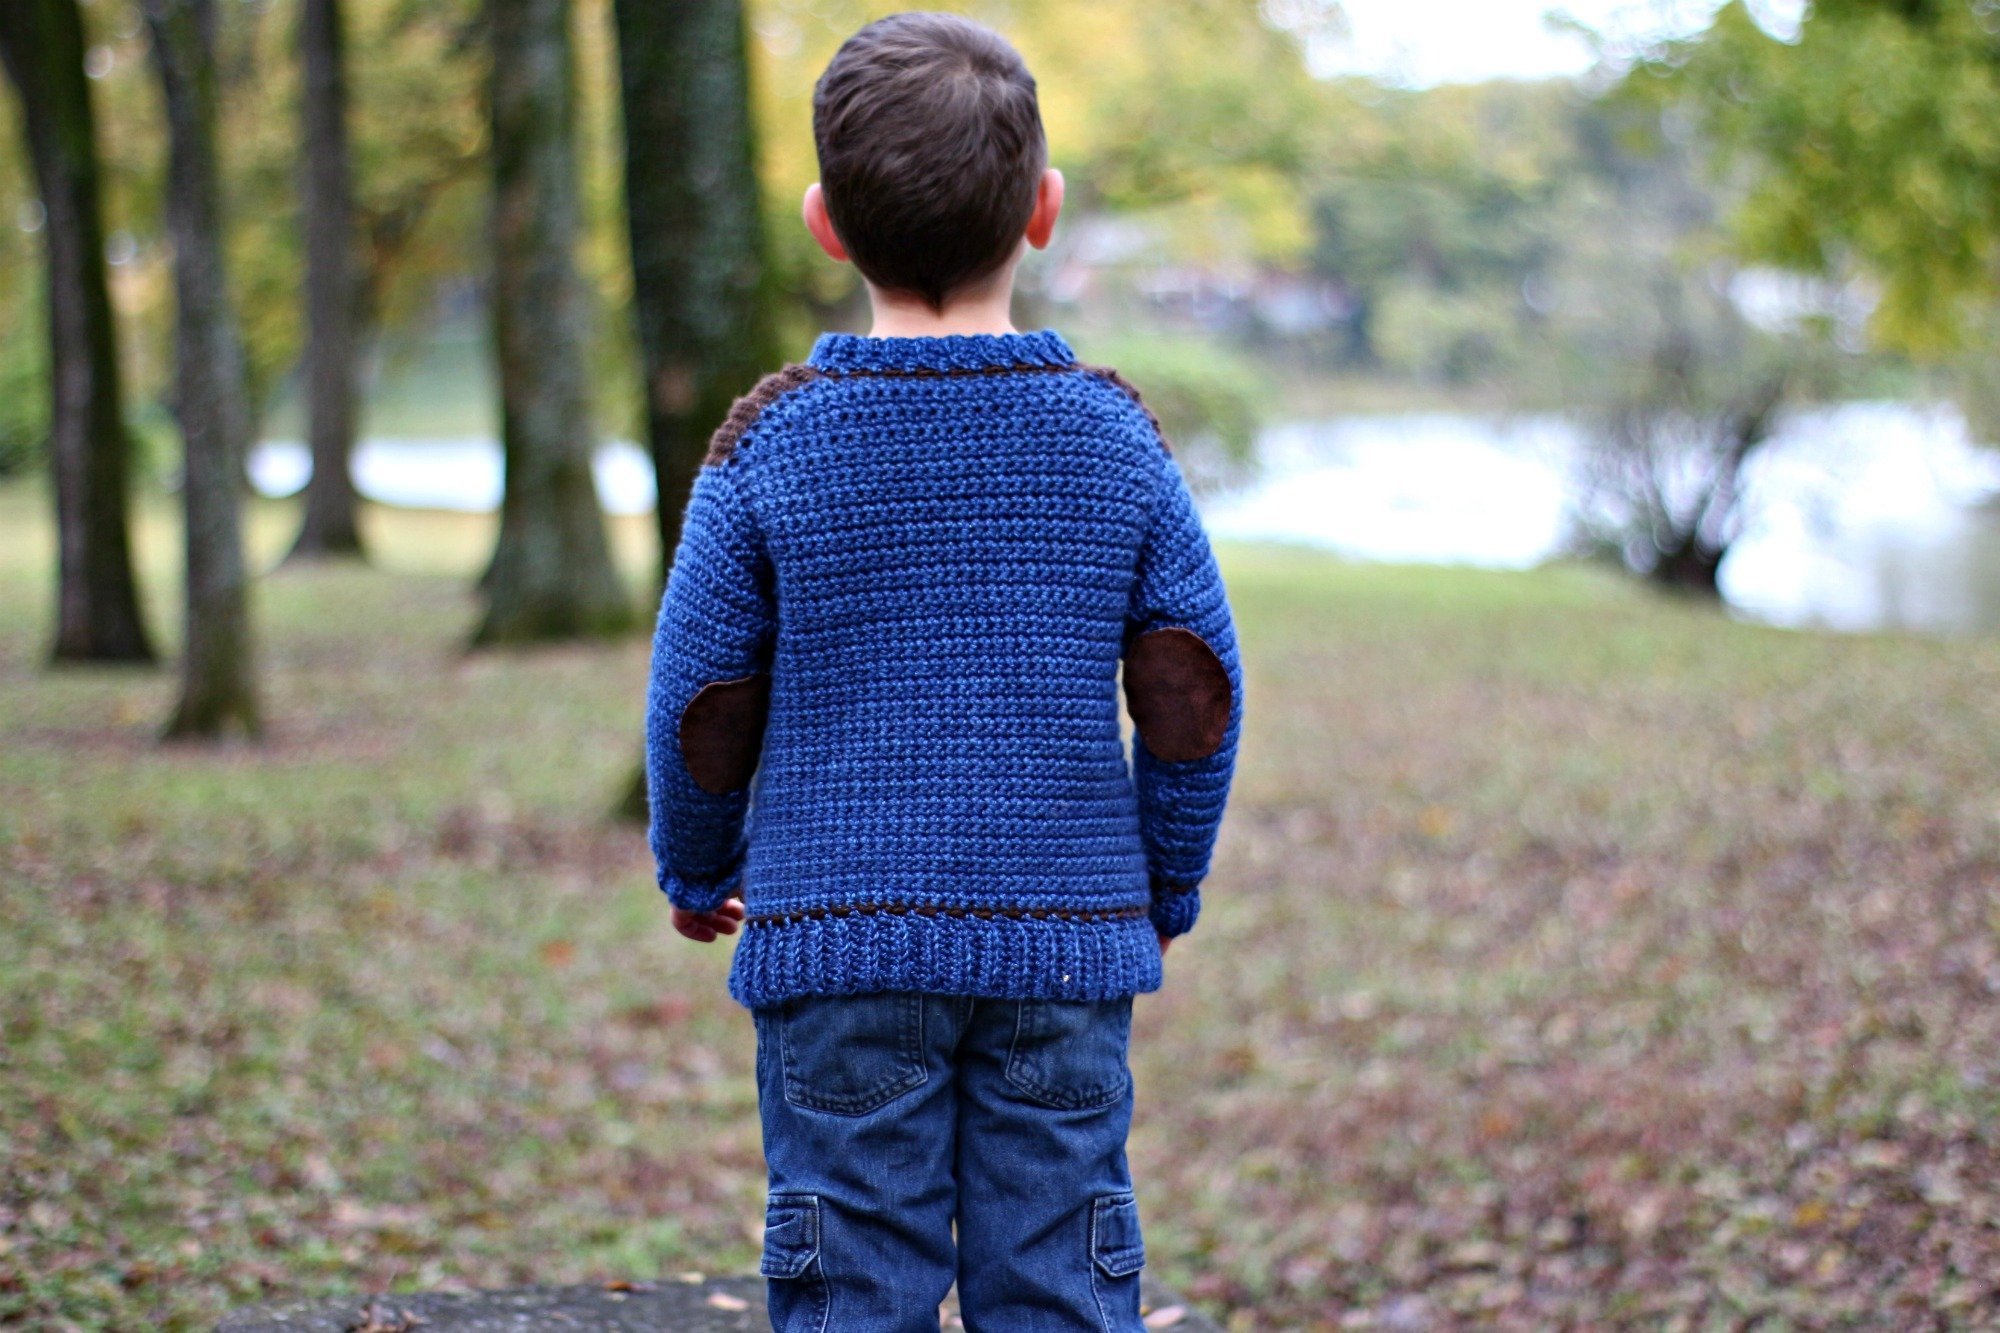
Sweater is crocheted from the top down, starting with the CC saddles. The back is worked across the saddles to the armholes, then the front is worked to the armholes and the pieces are joined. Sleeves are crocheted around armhole edges, leaving only the ribbing to be seamed.
Shoulder shaping is achieved using short rows. When working back across the row, sc in the next st as usual. After a few more rows it should lie relatively flat.
Ch 2 at beginning of a row counts as hdc.
Special Stitches:
Blo: Work into the back loop only of the indicated stitch.
For the left-handed tutorial, click here!
PATTERN
Saddle (make 2)
With smaller hook and CC, ch 7 (9, 9, 11, 11).
Row 1 (RS): Hdc in 3rd ch from hook and in each ch across, turn – 6 (8, 8, 10, 10) sc.
Row 2: Ch 2, hdc blo in each hdc across, working last st into ch-2, turn.
Rep Row 2 until Saddle measures 2 ½ (2 ¾, 2 ¾, 3, 3 ½)” from beginning, ending with WS row. Do not turn at end of last row. Fasten off at end of first saddle. At end of second saddle, change to larger hook and MC.
Back
Turn second saddle and continue across long side as follows:
Row 1: Ch 1, sc 8 (8, 9, 9, 10) evenly across second saddle, ch 14 (16, 18, 18, 18) for back neck, sc 8 (8, 9, 9, 10) sts evenly across long side of first saddle, turn – 30 (32, 36, 36, 38) total sts.
Row 2: Ch 1, work even in sc.
Row 3 (Begin shoulder shaping): Ch 1, sc 25 (27, 31, 31, 32), turn, leaving remaining sts unworked.
Row 4: Ch 1, sc 20 (22, 26, 26, 26), turn, leaving remaining sts unworked.
Row 5: Ch 1, sc 23 (25, 29, 29, 30), turn, leaving remaining sts unworked.
Row 6: Ch 1, sc 26 (28, 32, 32, 34), turn, leaving remaining sts unworked.
Row 7: Ch 1, sc 28 (32, 34, 34, 36), turn, leaving remaining sts unworked.
Row 8: Ch 1, sc to end, turn.
Work even in sc until piece measures 4 ¼ (5 ¼, 5 ¾, 6, 6)” from center of saddle – NOT center back.
Shape Armholes
Row 1: Ch 1, 2 sc in first st, sc to last st, 2 sc in last st – 32 (34, 38, 38, 40) sts.
Sizes 10 & 12 ONLY
Repeat row 1 – 32 (34, 38, 40, 42) sts.
All Sizes
Row 2: Ch 3, sc in 2nd ch from hook and next ch, sc to end – 34 (36, 40, 42, 44) sts.
Row 3: Repeat row 2 – 36 (38, 42, 44, 46) sts.
Fasten off.
Right Front
Row 1: With RS facing, larger hook and MC, sc 8 (8, 9, 9, 10) sts across right saddle edge opposite back, beginning at armhole edge, turn – 8 (8, 9, 9, 10) sts.
Rows 2-3: Ch 1, sc evenly across, turn.
Row 4: Ch 1, sc 3 (3, 4, 4, 4), turn, leaving remaining sts unworked.
Row 5: Ch 1, sc 3 (3, 4, 4, 4), turn.
Row 6 (Inc Row): Ch 1, 2 sc in first st, sc 5 (5, 6, 6, 7), turn, leaving remaining sts unworked.
Row 7: Ch 1, sc 7 (7, 8, 8, 9), turn.
Row 8: Ch 1, 2 sc in first st, sc to end, turn – 10 (10, 11, 11, 12) sts.
Row 9: Ch 1, work even in sc, turn.
Row 10: Ch 1, 2 sc in first st, sc to end, turn – 11 (11, 12, 12, 13) sts.
Repeat rows 9-10 4 (6, 6, 6, 6) times more – 15 (17, 18, 18, 19) total sts.
Fasten off. Work left front.
Left Front:
Row 1: With RS facing, larger hook and MC, sc 8 (8, 9, 9, 10) sts across left saddle edge opposite back, beginning at neck edge, turn – 8 (8, 9, 9, 10) sts.
Row 2: Ch 1, sc evenly across, turn.
Row 3: Ch 1, sc 3 (3, 4, 4, 4), turn, leaving remaining sts unworked.
Row 4: Ch 1, sc 3 (3, 4, 4, 4), turn.
Row 5: Ch 1, sc 6 (6, 7, 7, 8), turn, leaving remaining sts unworked.
Row 6 (Inc Row): Ch 1, sc 5 (5, 6, 6, 7), 2 sc in next sc, turn – 7 (7, 8, 8, 9) sts.
Row 7: Ch 1, sc to end, turn – 9 (9, 10, 10, 11) sts.
Row 8: Ch 1, sc to last st, 2 sc in last st, turn – 10 (10, 11, 11, 12) sts.
Row 9: Ch 1, work even in sc, turn.
Row 10: Ch 1, sc to last st, 2 sc in last st turn – 11 (11, 12, 12, 13) sts.
Repeat rows 9-10 4 (6, 6, 6, 6) times more – 15 (17, 18, 18, 19) sts.
If your size ends at center front, fasten off and join at right front armhole edge.
Front Joining Row:
Ch 1, sc across 30 (34, 36, 36, 38) sts of fronts.
Work even in sc until same length as back before armhole shaping.
Work armhole shaping same as back. Do NOT fasten off front.
Lower Body:
Round 1: Ch 1, work 36 (38, 42, 44, 46) sts across front, ch 4 (4, 4, 4, 6), work 36 (38, 42, 44, 46) sts across back, ch 4 (4, 4, 4, 6), join to first sc with slip st, turn – 80 (84, 92, 96, 104) sts.
Round 2: Ch 1, work even in sc, join to first sc with slip st, turn.
Repeat round 2 until lower body measures 6 ¼ (7 ¼, 8 ¾, 9 ¾, 11 ¼)” from joining round. Work one row sc in CC. Change to smaller hook and MC.
Ribbing:
Ch 9 (9, 9, 11, 11).
Row 1: Hdc in 3rd ch from hook and next 5 (5, 5, 7, 7), hdc2tog next ch and next sc of body, turn.
Row 2: Ch 2, hdc blo in each st, turn.
Row 3: Ch 2, hdc blo to last st, hdc2tog blo of next hdc and body, skipping one sc of body.
Repeat rows 2-3, working row 3 into every other sc of body. If ribbing seems to flare out, you have made your rows too close together.
Fasten off.

Sleeve
With RS facing, larger hook and MC, join yarn at center underarm stitch.
Round 1: Ch 1, sc 2 (2, 2, 2, 3) sts along underarm, 9 (11, 13, 13, 12) sts to saddle edge, 6 (8, 8, 10, 10) sts of saddle, 9 (11, 13, 13, 12) sts down to base of armhole, 2 (2, 2, 2, 3) sts along underarm, join with slip st to first sc, turn – 28 (34, 38, 40, 40) total sts.
Round 2: Ch 1, work even in sc, join with slip st to first sc, turn.
Rounds 3-5: Repeat round 2.
Size 4 ONLY
Rows 6-12: Repeat round 2.
Round 13 (Dec round): Ch 1, sc2tog, sc to last 2 sts, sc2tog – 26 sts.
Rounds 14-21: Repeat rounds 6-13 – 24 sts.
All Sizes
Rounds 6-10: Repeat round 2.
Round 11: Ch 1, sc2tog, sc to last 2 sts, sc2tog – 22 (32, 36, 38, 38) sts.
Repeat rounds 6-11 2 (4, 5, 6, 5) times -18 (24, 26, 26, 28) sts.
Sizes – (6, 8, 10, 12) ONLY
Rounds 1-3: Repeat round 2.
Round 4: Ch 1, sc2tog, sc to last 2 sts, sc2tog – – (22, 24, 24, 26) sts.
All Sizes
Work even if needed until sleeve measures 9 ½ (10 ¼, 11 ½, 12 ½, 13)” from first round of sleeve. Work 1 row sc in CC. Change to MC and smaller hook.
Sleeve Ribbing:
Work same as body ribbing.
Fasten off.
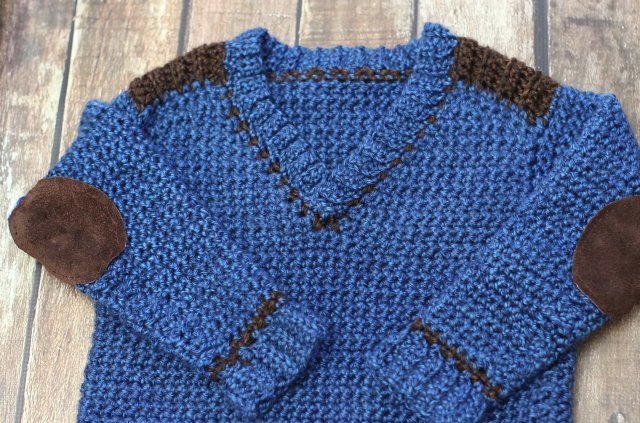
Collar
With RS facing and larger hook, join CC with sl st at bottom right of V. Ch 1, sc evenly along right front, working a sc in every other row of front, sc across saddle and back neck sts, second saddle, and along left front, working a sc in every other row of left front, join with slip st, turn.
Change to smaller hook and MC.
Row 1: Ch 2, skip first sc, hdc in next 3 sts of left V, turn – 4 sts.
Row 2: Ch 2, hdc blo first 3 sts, hdc2tog blo ch-2 and next sc of right front, turn.
Row 3: Ch 2, hdc blo in each st, turn.
Row 4: Ch 2, hdc blo in first 3 sts, hdc2tog blo ch-2 and second sc, turn.
Repeat rows 3-4 around neck edge until you are back at beginning, making sure to work row 4 into every other sc. Again, if it flares out then there are too many rows.
Sew end behind right front. Fasten off.
Finishing
Sew on elbow patches, if desired.
Sew ribbing seams at sleeves and hem.
That’s it! I hope you enjoy this free pattern. To keep up with my newest pattern releases, please subscribe to my email newsletter below. 🙂
Happy Crocheting!
Amanda
I made this with the same yarn in red and followed the pattern and instructions. My ribbed cuffs and collar do not lay flat, they are ruffled. I took them out and went to a smaller hook and the collar is a little better, but it is still too big and rippled. I also skipped some stitches to ake more room for all the stitches. The cuff still looks too big also. I can’t see anything I did wrong.
Hi Gail! I’m not sure what is going on with the cuffs and collar. I think going down a hook size was a great idea, maybe try again and instead of just skipping some stitches skip every other stitch and see how it looks that way. Did you watch that part on the video? I worked my ribbing in every other stitch. I hope this helps! I’ve had several people make this and it worked out with every other stitch. 🙂
Ok, I think that’s what I did too, but I’ll take it apart again and do it over again. Thanks for responding.
The shoulder part after the saddles are made are soooo confusing to me. You leave three unworked stitches on both sides????
Yes, it is worked like short rows in knitting. You can see the way I do it in the video, or if you don’t want that part just work even until the armholes. I tried that with a later sweater and it worked well. 🙂
I’m trying to get started with this but the written directions for the saddle are different then the tutorial. You say to chain 11 for a size 6 in the video, but according to the written instructions you should only chain 7. I’m trying to make a size 8, which would only be a chain of 9 from written instructions. I’m so confused! Please help!!!
Hi Tesa,
I should have only chained 9 for a size 6, so my tutorial appears to be off! I’m not sure why I did 11. The written pattern is right. 🙂 Sorry about that!