
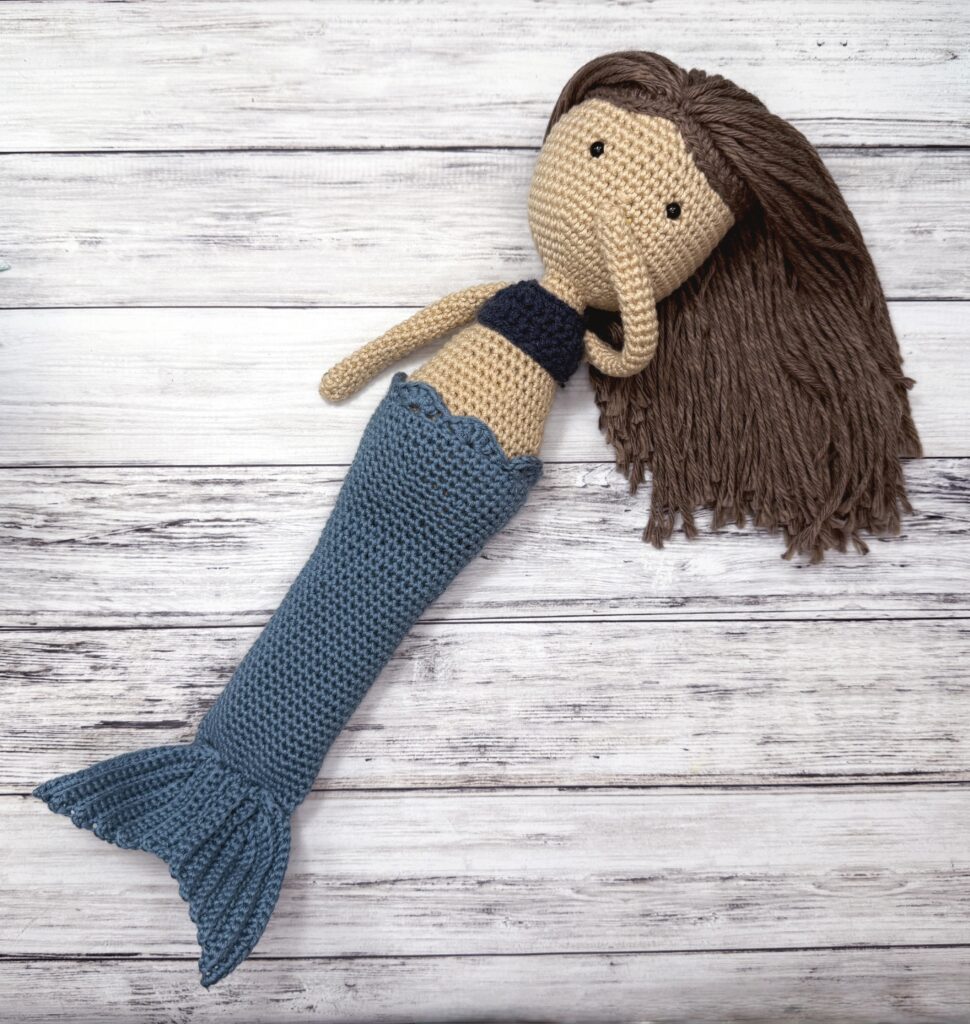
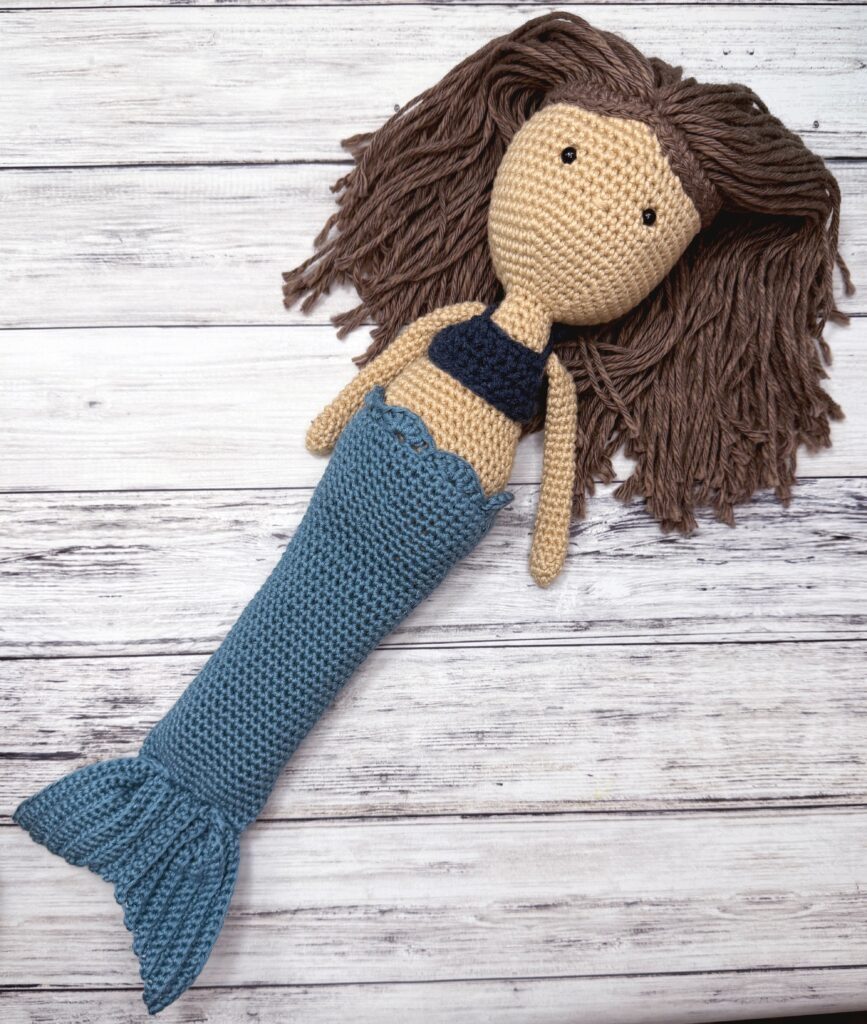
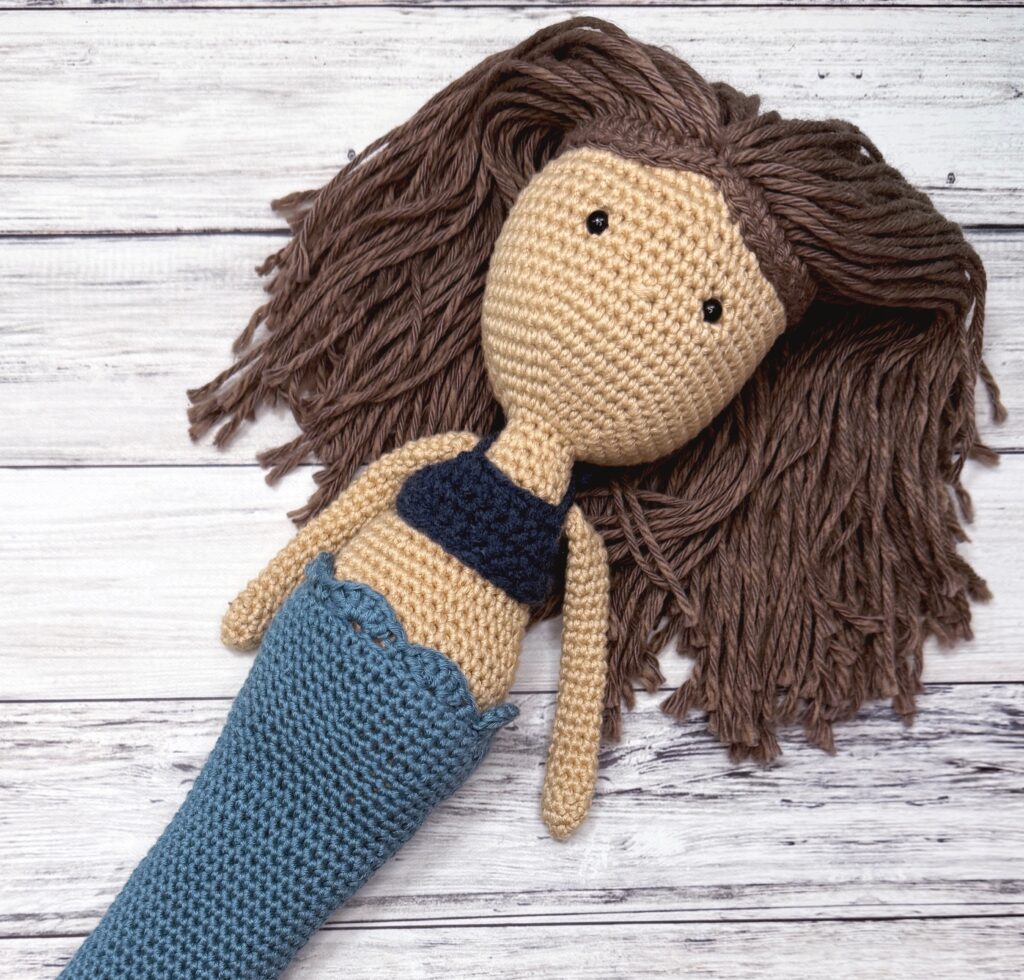
Get ready to crochet an adorable new friend with this versatile doll pattern, featuring a removeable mermaid tail and bikini top!
Design Story and Inspiration for This Crochet Mermaid Doll
Several years ago I designed my first crochet doll and really loved how she turned out. I also love seeing all of the different versions of her that have been crocheted over the years!
I’ve always wanted to turn her pattern into a mermaid, and I thought this summer was the perfect time! I made some updates to the original doll pattern, including using a wig cap instead of attaching the hair directly to the head, and created a removeable mermaid tail and bikini top!
You can still make the original dress and boots with the original doll pattern, they will work for this doll, too!
Yarn Options for Our Crochet Mermaid
I chose to use DK weight yarn for this project. I really love Lion Brand Coboo for the body of the doll, and that’s what I use to make this style of doll. I also chose to use the same yarn in a nice blue for the tail since I wanted it to feel like it was part of the body.
For the clothes I always use Lion Brand Mandala because I love how I get many different coordinating colors out of a single cake. That’s what I used for her optional accessories, too, and what can be used for the dress and boots of the original doll.
Pattern Details for an Amigurumi Mermaid
This doll is crocheted from the feet to the head with the arms attached after the body is finished. You can also choose to crochet the arms in for less stitching.
The hair is created by crocheting a wig cap, attaching the hair to the cap and then attaching the hair to the head. This pattern has several video tutorials to help you along the way!
Purchase the ad-free PDF of this pattern in my shop here – includes skirt and beach bag!
Mermaid Crochet Doll
What You’ll Need
Yarn: Lion Brand Coboo or other similar tan or skin color DK yarn, 1 skein for doll (MC), 1 skein for mermaid tail, Lion Brand Mandala or other DK yarn, 1 skein for bikini top, skirt, bag
Crochet Hook: US Size D (3.00mm)
Notions: Safety eyes (embroider eyes for a small child), small amount of polyester fiberfill, yarn needle, stitch marker, scissors
Gauge: 24 sts and 24 rows = 4″ in sc
Finished Size: Approximately 13″ tall
Notes
The doll is worked in continuous rounds without joining. Use a stitch marker to mark the first st of each round.
Stuff legs, body and head as you go. I found that when I waited to stuff at the end of a section it was lumpy. About every inch or so I will stop to stuff.
Crochet Doll Video Tutorials:
How to Crochet a Doll Part 1
How to Crochet a Doll Part 2
Abbreviations:
Chain (ch)
Single Crochet (sc)
Increase (Inc): 2 sc in next st
Invisible Decrease (Dec): insert hook in front loop only of next 2 sts, yarn over, draw up a loop, yarn over, draw through two loops
Crochet Mermaid Doll Pattern
Leg (Make 2)
With MC, make magic ring
Round 1: 6 sc in magic ring (6 sts). Pull tightly to close.
Round 2: 2 sc in each st (12 sts).
Rounds 3-32: Sc in each st (12 sts).
Fasten off first leg. Do not fasten off second leg. Continue to body.
Body
Round 1: Ch 3, sc around 12 sts of first leg, sc flo in each ch of ch-3, sc 12 sts of second leg, sc flo in each ch of ch-3 (30 sts).
Round 2: (Sc 4, inc) 6 times (36 sts).
Round 3: (Sc 5, inc) 6 times (42 sts).
Rounds 4-11: Sc in each st (42 sts).
Round 12: Sc 10, dec, sc 19, dec, sc 9 (40 sts).
Round 13: Sc in each st (40 sts).
Round 14: Sc 10, dec, sc 18, dec, sc 8 (38 sts).
Round 15: Sc in each st (38 sts).
Round 16: Sc 10, dec, sc 17, dec, sc 7 (36 sts).
Round 17: Sc in each st (36 sts).
Round 18: (Sc 4, dec) 6 times (30 sts).
Round 19: Sc in each st (30 sts).
Round 20: Sc 8, dec, sc 13, dec, sc 5 (28 sts).
Round 21: Sc 8, dec, sc 12, dec, sc 4 (26 sts).
Round 22: Sc in each st (26 sts).
Round 23: Sc 8, dec, sc 11, dec, sc 3 (24 sts).
Round 24: Sc 8, dec, sc 10, dec, sc 2 (22 sts).
Round 25: Sc 8, dec, sc 8, dec, sc 2 (20 sts).
Round 26: Sc 7, dec, sc 7, dec, sc 2 (18 sts).
Round 27: (Sc, dec) 6 times (12 sts).
Rounds 28-29: Sc in each st (12 sts).
Head
Round 1: 2 sc in each st (24 sts).
Round 2: (Sc 3, inc) 6 times (30 sts).
Round 3: (Sc 4, inc) 6 times (36 sts).
Round 4: (Sc 5, inc) 6 times (42 sts).
Round 5: (Sc 6, inc) 6 times (48 sts).
Round 6: (Sc 7, inc) 6 times (54 sts).
Rounds 7-18: Sc in each st (54 sts).
Place safety eyes between rows 12-13, 9 sts apart.
Embroider nose 2 rows lower with MC as shown in photos.
Be sure to stuff neck firmly at this point.
Round 19: (Sc 7, dec) 6 times (48 sts).
Round 20: (Sc 6, dec) 6 times (42 sts).
Round 21: (Sc 5, dec) 6 times (36 sts).
Round 22: (Sc 4, dec) 6 times (30 sts).
Round 23: (Sc 3, dec) 6 times (24 sts).
Round 24: (Sc 2, dec) 6 times (18 sts).
Round 25: (Sc, dec) 6 times (12 sts).
Round 26: (Dec) 6 times (5 sts).
Cut yarn, leaving a long tail. Finish stuffing head.
Weave yarn tail through remaining 6 sts and pull tightly to close.
Arm (Make 2)
With MC, make magic ring.
Round 1: 4 sc in magic ring (4 sts). Pull tightly to close.
Round 2: 2 sc in each st (8 sts).
Rounds 3-25: Sc in each st (8 sts).
Flatten opening, matching up stitches and work 4 sc across, closing tube.
Do NOT stuff arms.
Attach arms as shown in photo.
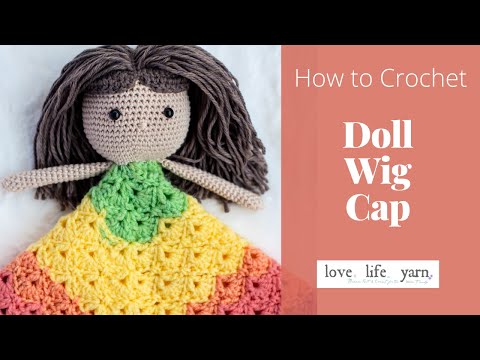
Wig Cap
With yarn used for hair, make magic ring.
Round 1: 6 sc in magic ring.
Round 2: 2 sc in each st (12 sts).
Round 3: (Sc, inc) 6 times (18 sts).
Round 4: (Sc 2, inc) 6 times (24 sts).
Round 5: (Sc 3, inc) 6 times (30 sts).
Round 6: (Sc 4, inc) 6 times (36 sts).
Round 7: (Sc 5, inc) 6 times (42 sts).
Round 8: (Sc 6, inc) 6 times (48 sts).
Round 9: Sl st in first st, sc, hdc, dc to last 3 sts, hdc, sc, sl st.
Fasten off.
Cut strands of yarn for hair twice as long as desired hair length.
Using hook, pull strands through wig cap, making sure both ends stick out to form hair.
Use fabric glue inside wig cap to secure hair in place. Stitch onto head with sl sts at center front.
Mermaid Tail (worked from the waist down)
Ch 40. Join with slip st to form ring, being careful not to twist.
Rnd 1: Ch 1, sc in each st (40 sts).
Rnds 2-6: Sc in each st (40 sts).
Rnd 7: (Sc 8, dec) 4 times (36 sts).
Rnd 8: Sc in each st (36 sts).
Rnd 9: (Sc 7, dec) 4 times (32 sts).
Rnd 10-44: Sc in each st (32 sts). Sl st in first st.
Flatten tail, matching up stitches. Ch 1, (sc2tog) 8 times, crocheting through both sides of tail to close. (8 sts). Fasten off.
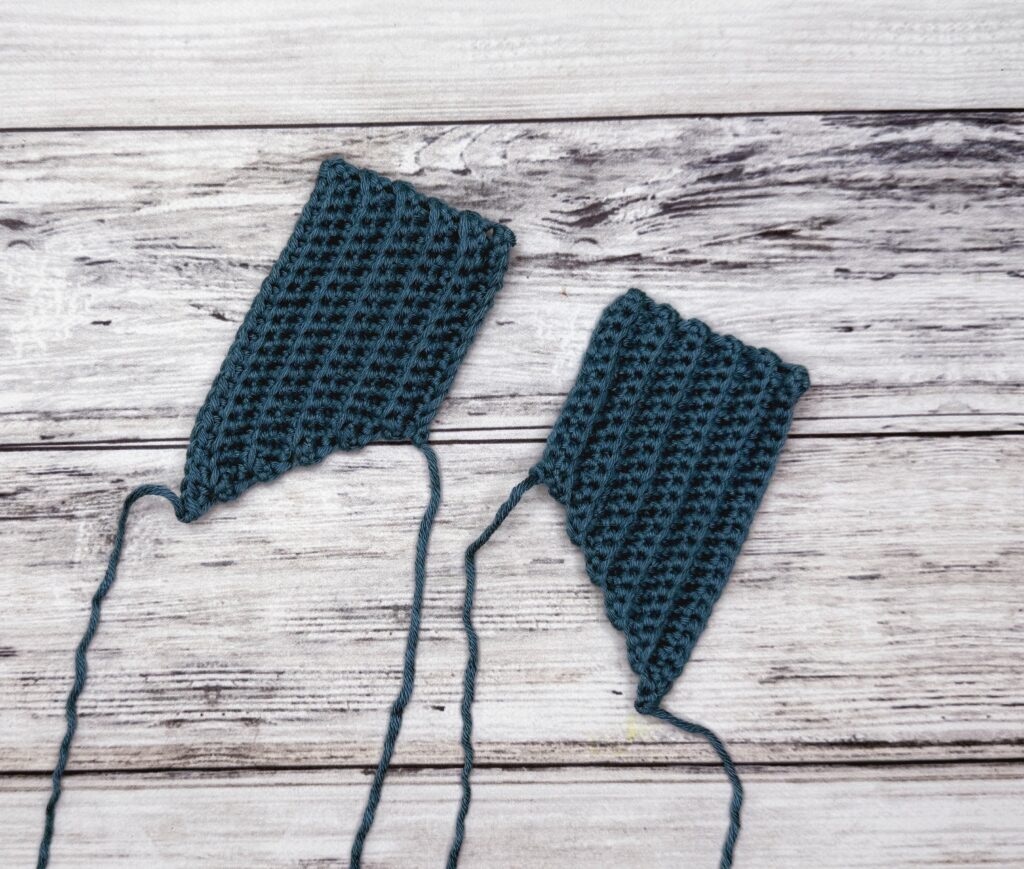


Fin (Make 2)
Note: Work all sts in the back loop only.
Ch 13.
Row 1: Sc in the 2nd ch from hook and each ch; turn (12 sts).
Row 2: Ch 1, inc, sc to end; turn (13 sts).
Row 3: Ch 1, sc to last st, inc; turn (14 sts).
Rows 4-11: Repeat rows 2-3 (22 sts). Fasten off.
Sew row 1 of each fin together. Stitch fin to bottom of tail as shown in photos.
Weave in ends.
Shell Stitch Waistband for Tail
With same yarn as tail, join yarn in center back of tail waistband.
Round 1: Ch 1, *sc, skip 2 sts, 5 dc in next st, skip 2 sts; repeat from * to last 2 sts, skip last 2 sts, join with slip st to first sc.
Fasten off.
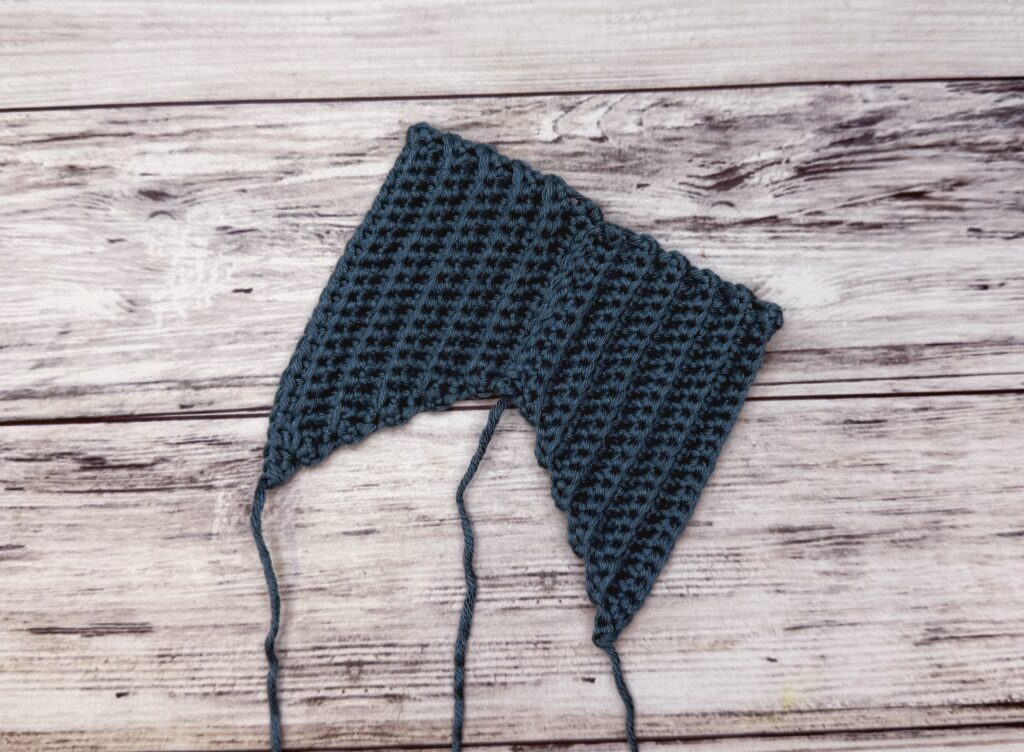
Bikini Top
Ch 9.
Row 1: Sc in 2nd ch from hook and each ch across; turn (8 sts).
Row 2: Ch 1, inc, sc to last st, inc; turn (10 sts).
Rows 3-4: Repeat row 2 (14 sts).
Row 5: Ch 1, sc in each st (14 sts).
Ch 20 for first tie. Fasten off.
Join yarn in first st of row 5. Ch 20 for second tie. Fasten off.
Join yarn in first st of row 1. Ch 16 for tie around neck. Fasten off.
Join yarn in last st of row 1. Ch 16 for second tie around neck. Fasten off.
Weave in ends.
Want Even More? Get the Ad-Free PDF!
The ad-free PDF comes with a beach bag and skirt for even more summer fun! You can purchase it in my shop here or join the membership to get ALL of my pattern PDF’s for one low price!
Final Thoughts on Our Crochet Mermaid Doll Pattern
I sure hope you love this sweet doll as much as I do! I had a blast making a new doll and turning her into a fun mermaid!
Happy Crocheting!
Amanda