
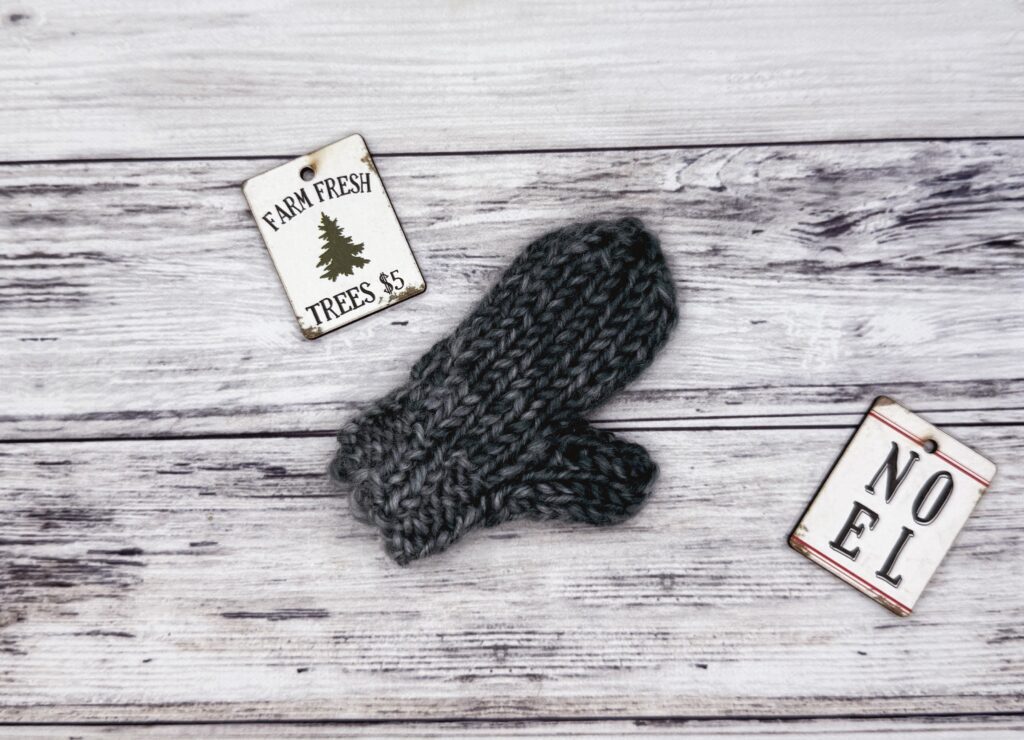
Looking for a quick and easy gift for that person who is hard to make for? Why not knit something for their tree?
Design Story and Inspiration for This Free Knitting Pattern
I love knitting and crocheting mittens, and I realized I had never knit a tiny mitten ornament before! So I set out to design one, but I wanted to use straight needles so that no one would feel left out. (I remember when I was beginning and didn’t feel comfortable working in the round!)
I designed this as part of the 2024 Holiday Maker’s Challenge, where we encourage each other to work to our holiday deadline. I wanted to include a very beginner-friendly pattern that would be functional, fun and easy to knit, so this pattern was born.
There are a few criteria for our patterns in the challenge, which are:
1. Uses stash yarn
2. Is easy to intermediate
3. Is small so it doesn’t take a long time to make (we have a lot of gifts to make, okay?)
4. Is well received by gift recipients
Yarn Options for This Easy Knit Mitten Pattern
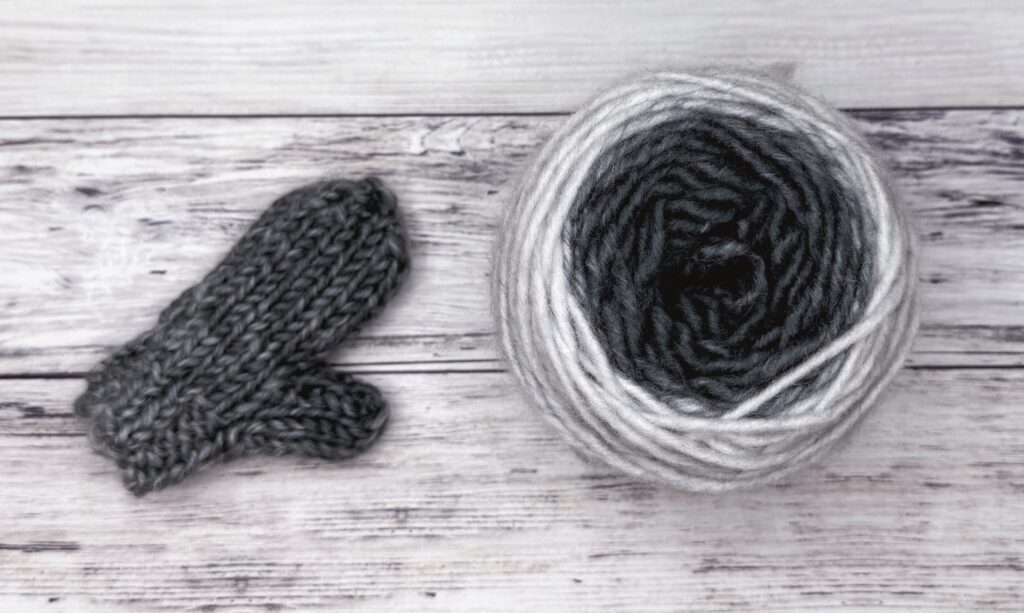
I used a bulky (category #5) yarn for this pattern because I had it left over from a larger project. I used Lion Brand Scarfie which made for an adorable mini mitten.
You can use any yarn you like for this pattern, just be sure to adjust your needle size accordingly. If you are unsure what size to use for your yarn, check the recommendation on the ball band.
Easy Knit Mitten Ornament Pattern Details
This pattern is worked back and forth on straight needles, then seamed on the side. The thumb is also seamed after working the thumb stitches.
It’s constructed of simple knit and purl stitches, and a few increases are made with Make One increases (instructions below and video to come soon!).
Knit Mitten Ornament
Yarn: Scrap bulky weight yarn #5 (Yarn shown is Lion Brand Scarfie)
Needles: US Sizes 9 (5.5mm) straight needles
Notions: Yarn needle, scissors
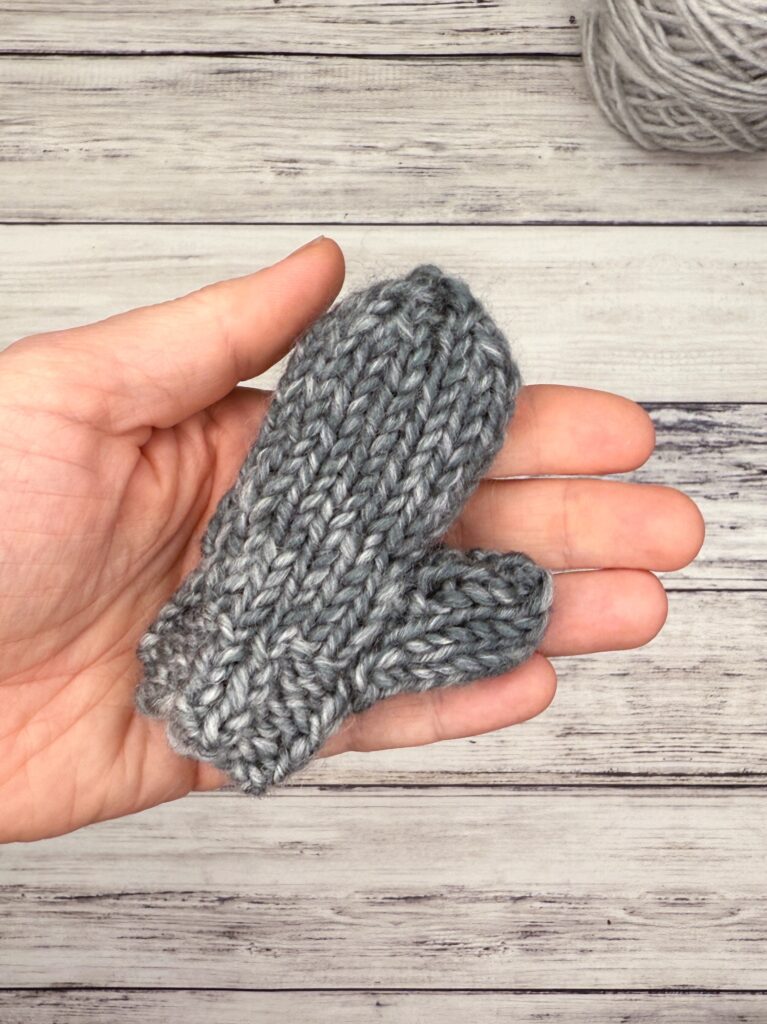
Finished Size: Approximately 4″ long
Gauge: Not crucial for this project
Stitch Abbreviations
Knit (k)
Purl (p)
Make 1 Right (M1R) – insert left needle point, from back to front, under the horizontal bar joining the last stitch on the right needle to the first stitch on the left needle. Knit through the front loop.
Make 1 Left (M1L) – insert left needle point, from front to back, under the horizontal bar joining the last stitch on the right needle to the first stitch on the left needle. Knit through the back loop.
Slip slip knit (ssk) – slip first st knitwise, slip second stitch purlwise, insert LH needle into fronts of stitches and knit togther (decreases by 1)
Knit 2 together (k2tog) – insert needle into next 2 sts knitwise and knit as one
Purl 2 together (p2tog) – insert needle into next 2 sts purlwise and purl as one
Mini Mitten Ornament Pattern
Cast on 16 sts.
Row 1: K2, p2; repeat from * to end.
Repeat row 1 until ribbing measures 1″ from beginning.
Thumb Gusset
Row 1 (WS): P6, k1, p2, k1, p6.
Row 2: K6, p1, M1R, k2, M1L, p1, k6 (18 sts).
Row 3: P6, k1, p4, k1, p6.
Row 4: K6, p1, M1R, k4, M1L, p1, k6 (20 sts).
Row 5: P6, k1, p6, k1, p6.
BODY
Row 1: K6, M1R, slip next 8 sts to holder or waste yarn, cast on 2 sts, M1L, k6 – (16 sts).
Row 2: Purl
Row 3: Knit
Repeat rows 2-3 until mitten measures 3″ from beginning, ending with a WS row.
Mitten Top:
Row 1: *K1, ssk; repeat from * to last st, k1 – (11 sts).
Row 2: P1, *p2tog; repeat from * to end – (6 sts).
Cut yarn, leaving 8 inches tail.
Thread tapestry needle with tail and draw through remaining stitches. Pull closed. Use tail to sew side seam using mattress st.
Thumb
Slip the 8 sts on hold to working needle and pick up 2 sts from base of thumb hole on hand.
Work in St st for 3 rows, which should end with a WS row (purl row).
Thumb Top Shaping:
Row 1: (K2tog) around (5 sts).
Cut yarn, leaving a long tail. Weave tail through remaining sts. Use tail to sew thumb seam with mattress st.
Finishing
Weave in ends. Make a yarn loop for hanging if desired or use a metal ornament hook.
Knit Mitten Ornament Video Tutorial
Final Thoughts on the Mini Knit Mitten Pattern
I hope you enjoy this free knitting pattern! I had a blast designing this cute tiny mitten and am planning more mitten designs in different yarn weights.
Happy Knitting!
Amanda