
Everything you need to know to master the k2tog (knit two together) decrease, including common questions, answers to problems and more.

Once you’ve learned the basics of the most common knitting stitches (knit stitch and purl stitch) and maybe have made a scarf or two (or something else that doesn’t have any shaping), you’ll eventually find yourself wanting to branch out into things that need shaping.
In order to become an expert knitter you will need to become familiar with the most common increase and decrease techniques. Don’t worry – they aren’t that challenging and just require a little practice.
In this tutorial we will cover all you need to know about the k2tog stitch.
Anatomy of the k2tog
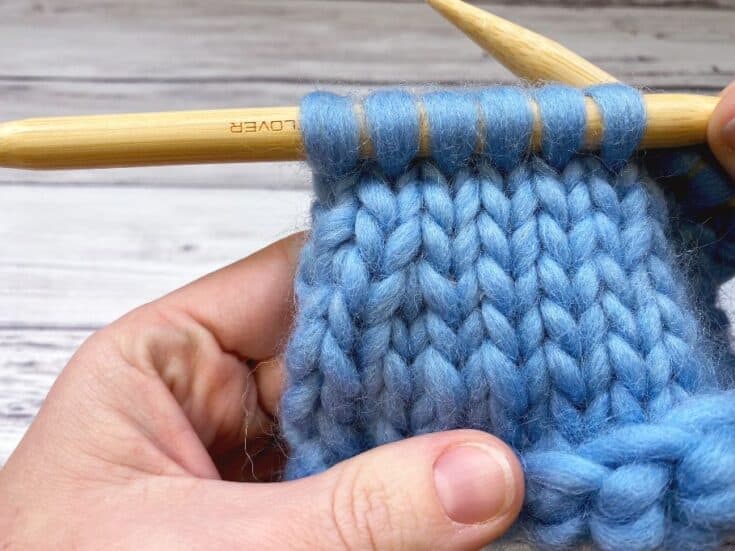
If you take a look at a piece of knitting that has used a k2tog, you will see that two columns of knit stitches merge into one, and that the point where they meet leans to the right.
This is especially easy to see in Stockinette stitch. It is a bit harder to tell in garter stitch or another more complex stitch pattern. Let’s take a look here:
K2tog vs Ssk Decrease
These two techniques are often used on opposite sides of a project, such as raglan armhole shaping, to give a symmetrical effect.
You can see the difference here:

How to k2tog (knit two together)
This is a very simple decrease. It’s as simple as working the knit stitch, the difference is you will knit into two stiches as if they are one.
This is the perfect decrease to start with if you are a beginner, or are honing your skills.
Just as with knitting a regular knit stitch, make sure the yarn is behind your work.
Step One: Insert the right hand needle through the next two stitches on the left hand needle from left to right.
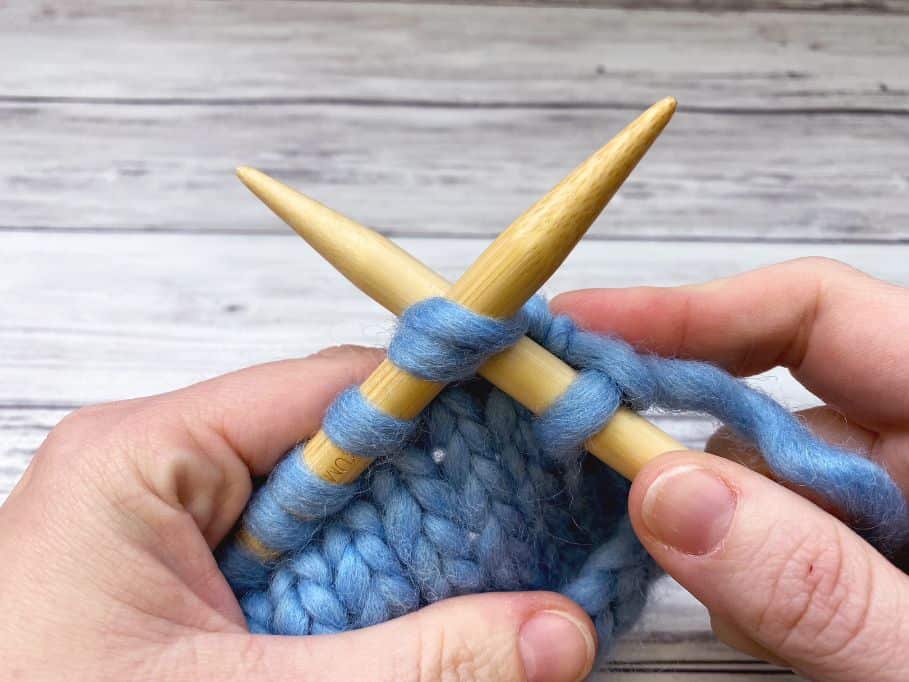
Step Two: Wrap the yarn around the right needle as you do for a normal knit stitch.

Step Three: Draw the yarn through both stitches.

Step Four: Slip the first and second stitch (the original 2 you worked into) off the left needle.
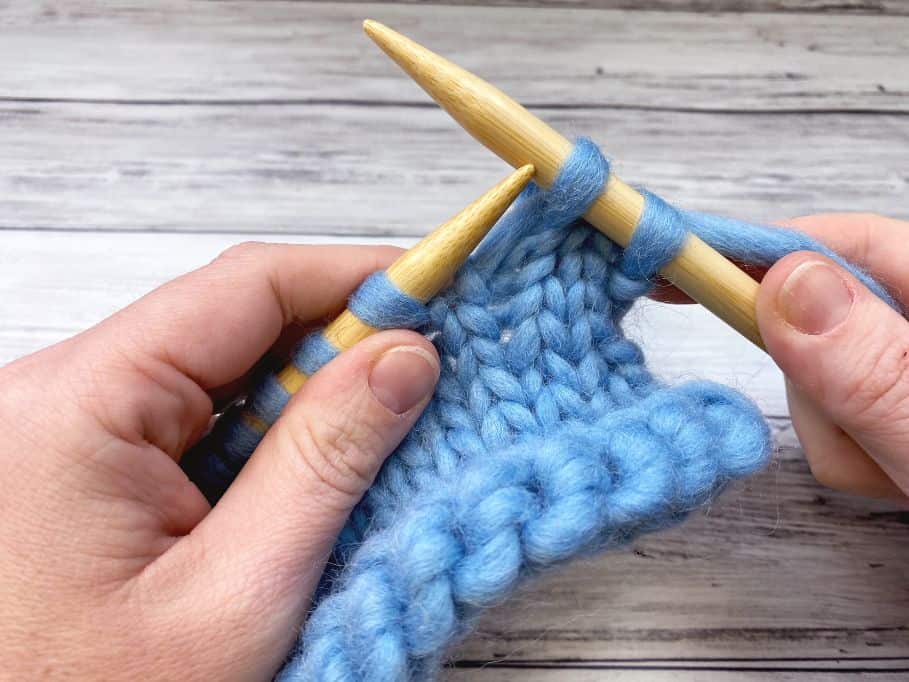
That’s it! You’ve now combined two stitches into a single stitch.
Simply repeat these steps anytime you see the k2tog directions. Every time you do a decrease, your stitch count will go down by one.
K2tog Video Tutorial

Knitting Patterns that use k2tog (all free)
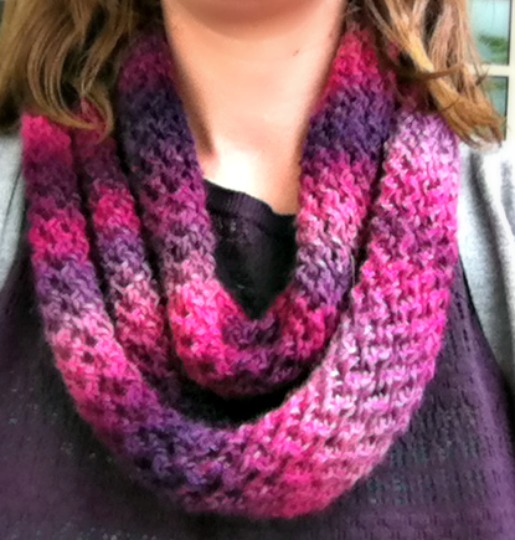
Unforgettable One-Skein Scarf
This knit scarf pattern uses a simple four row repeat to make a lacy mesh pattern. It uses both k2tog and ssk with yarn overs to create the mesh stitch pattern.
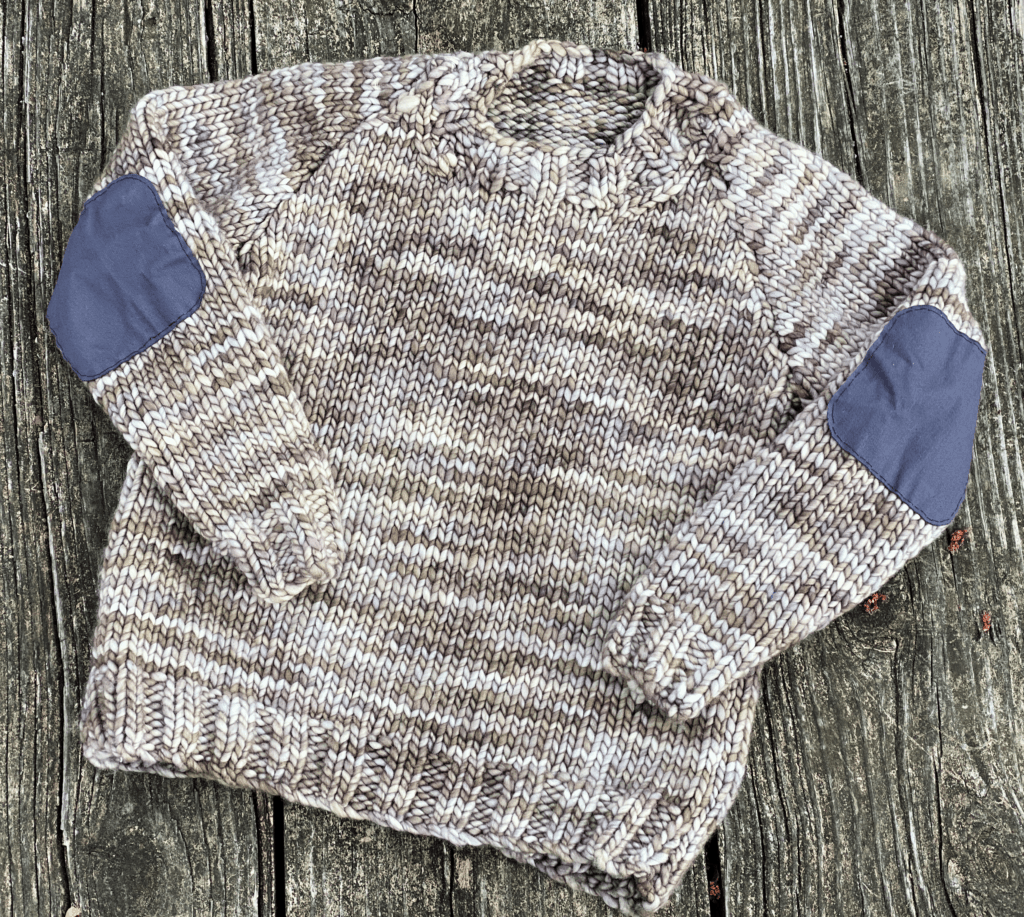
Elbow Patch Sweater
This sweater uses raglan shaping for the armholes, which use mirrored k2tog and ssk decreases for a symmetrical effect.
Slip Stitch Hat
This hat, like many knit hats, uses k2tog to shape the crown to fit the head. This free pattern also uses ssk and has a slipped stitch pattern to create the zig zag effect.
I hope you’ve enjoyed this tutorial for how to decrease with k2tog. New tutorials go on the blog weekly!
Happy Knitting!
Amanda
Knit Two Together (k2tog)
Learn how to complete the common decrease knit two together (k2tog) with this quick and easy tutorial!
Materials
- Yarn in any weight
Tools
- Knitting needles to match yarn weight
Instructions
- Insert the right hand needle through the next 2 sts on the left hand needle from left to right.

- Wrap the yarn around the right needle as you do for a normal knit stitch.
- Draw the yarn through both stitches.
- Slip the first and second stitch (the original 2 sts you worked into) off the left needle.
Notes
This technique can be worked anywhere you need to decrease, but remember that is a right slanting decrease and it's best not to work it at the very edge unless you have to.