
Everything you need to know to knit perfect garter stitch every time. How to work garter stitch flat and in the round, count your rows and more.
Ah, garter stitch. The basic stitch that beginners learn and the stitch I used to knit my first scarf. Well, if you can really call it a scarf.
My first scarf was for a class in college and it was just long enough to wrap around your neck once, which was the absolute minimum length to get a good grade on it.
But this fueled my desire for knitting and playing with yarn and I have never looked back.
Anatomy of Garter Stitch Knitting
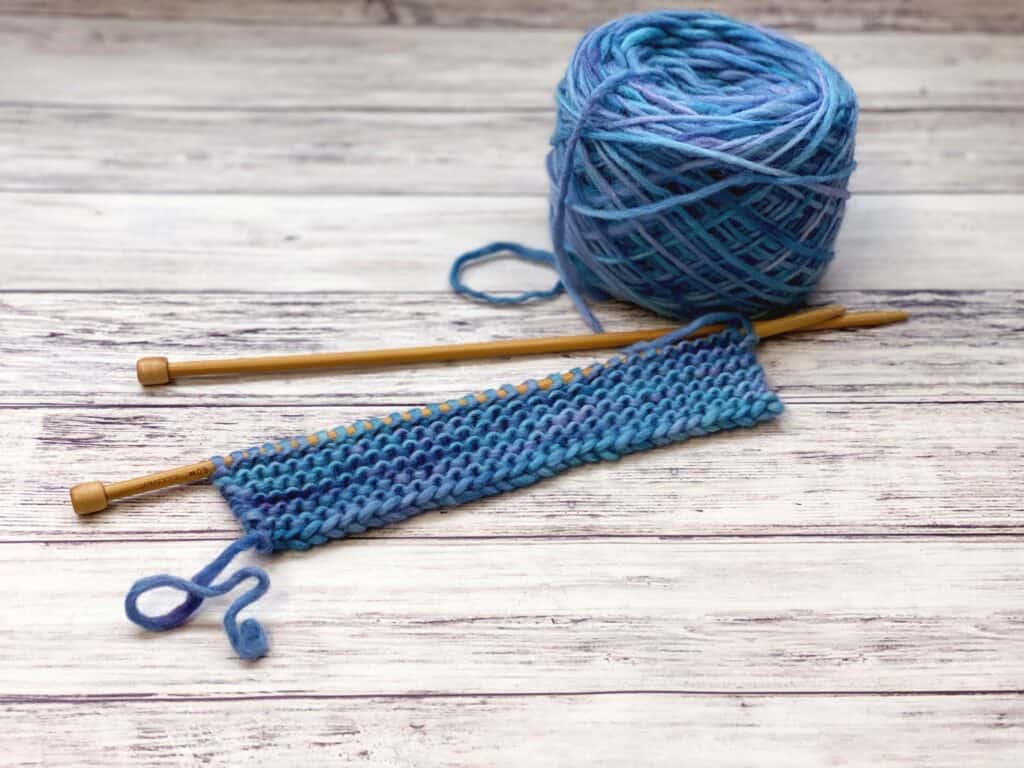
It’s easy to see the rows of Stockinette stitch, all neatly lined up in little V’s, but garter stitch is much harder to count, thanks to the alternating ridges. Let’s take a look at a swatch made with a different color for each row and see how the stitches work together.
Take some time to create a swatch like this, with three different colors, carrying the colors up the sides of the work as shown. Then, take a look at how the stitches work together and practice counting the rows (more information on that shown below, and in the video).

How to Knit Garter Stitch in Rows
Rows of garter stitch are simply knit every row, so if you can knit the knit stitch, you can work garter stitch.
Learn how to work the knit stitch in the video tutorial below.

How to Knit Garter Stitch in Rounds
When working in rounds, the right side is always facing you, so knitting every round produces the traditional Stockinette. When you need garter stitch in the round, you will have to alternate knitting a row and then purling a row.
How to Count Garter Stitch
Let’s take another look at our swatch with the different color rows and see the best way to count this particular stitch pattern.

For extra help counting these rows, be sure to check out the video below.
Garter Stitch Video Tutorial
This quick video tutorial uses the three colors mentioned above to knit garter stitch in both the English (throw) method and Continental, and also shows how to count garter stitch rows.
Common Problems
- You end up with a large loose stitch on the end. A lot of times when I was starting out this happened to me. It usually happens because the tension isn’t quite right, which just takes practice. Usually, just working the first stitch of the next row tightly will pull it in enough that it’s not very noticeable.
- Your stitches are too tight. Make sure you aren’t working your stitches on the tapered tips of the needles, which will cause the stitches to be too small. Always wrap around the straight part of the needle to get the full width of the stitch.
- You’ve gained stitches. This often happens for one of several reasons. First, you might have worked into the legs of the stitch in the row below. This can often happen at the very first stitch and it used to happen to me! The second reason is an accidental yarn over, where you wrapped your yarn around the needle without making a stitch. This is easy to see if you’ve done this because it’s the technique used to make a hole in the fabric.
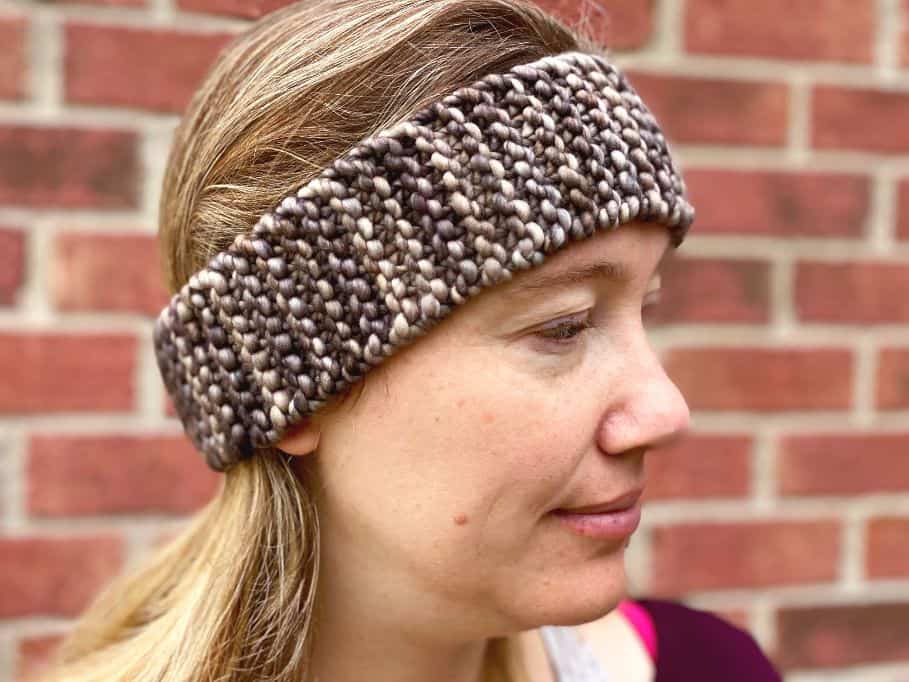
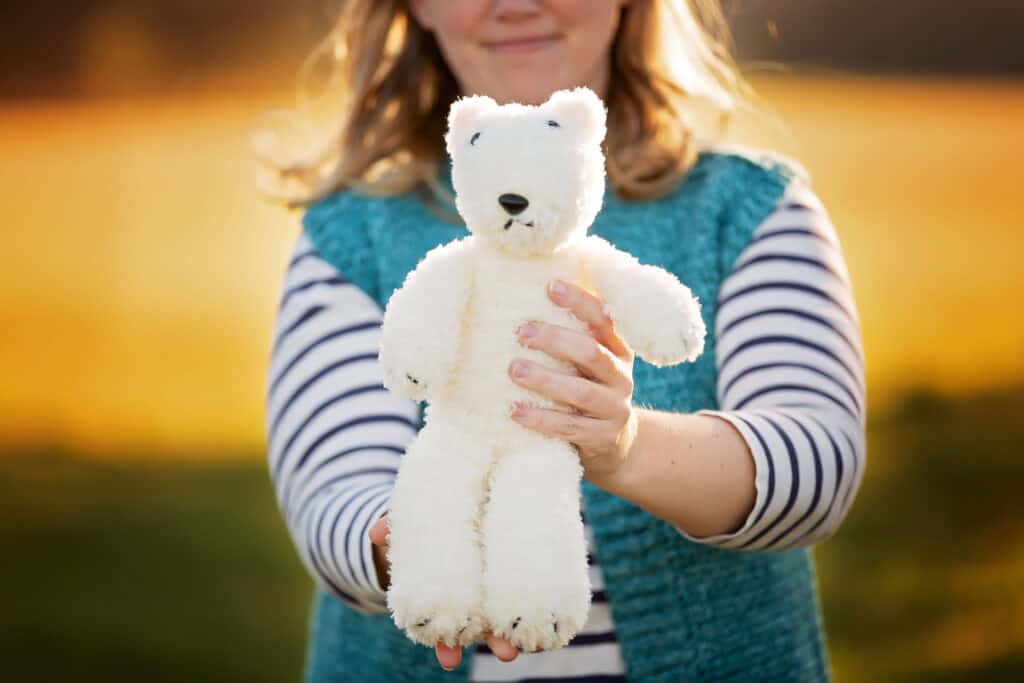
Patterns that use this stitch (with video tutorials!):
I hope you’ve enjoyed this ultimate guide to garter stitch knitting. This is one of the basic skills to master, and practice will be your best friend when it comes to tension, so get knitting! 🙂
Happy Knitting!
Amanda