
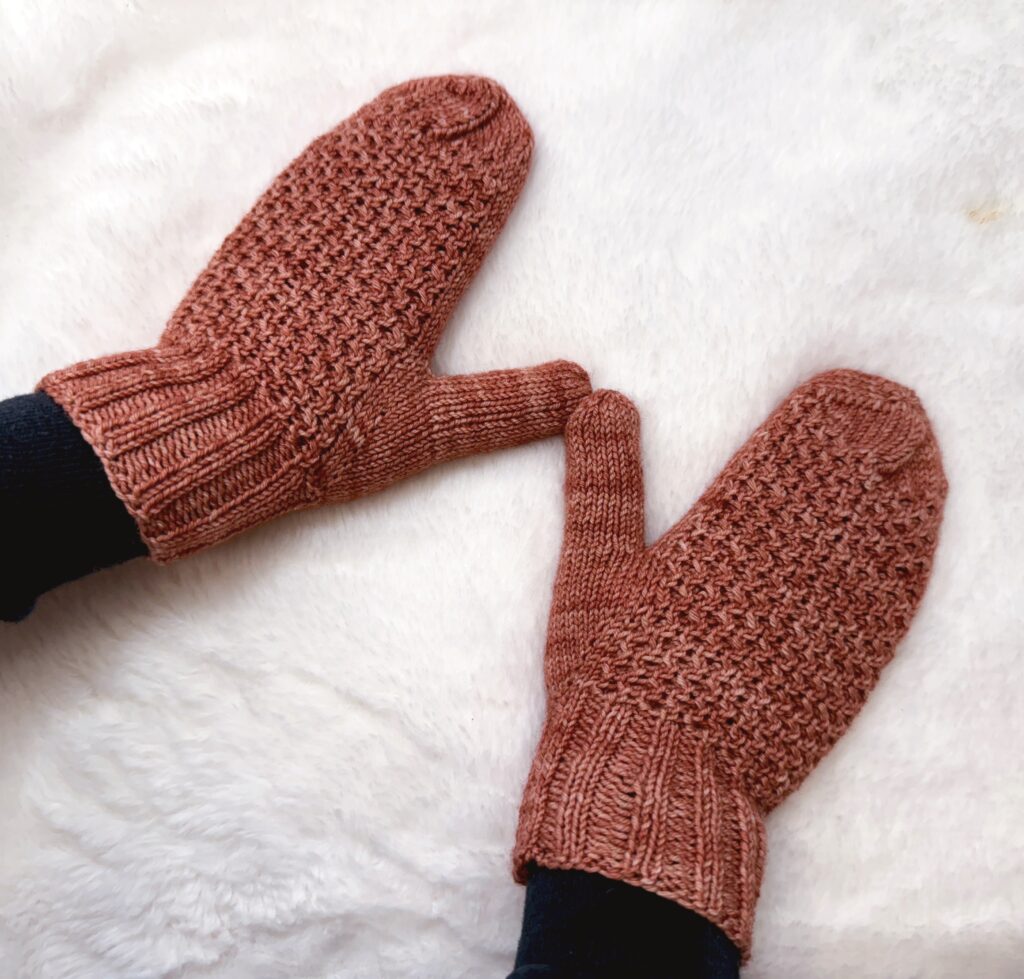
Looking for a fun, textured mitten pattern? This mitten pattern uses sock weight yarn for a fun way to use up that stash!
Design Story and Inspiration for This Mitten Pattern
I designed this pattern as part of the 24 Days of Quickies with Marly Bird, where you get free patterns daily!
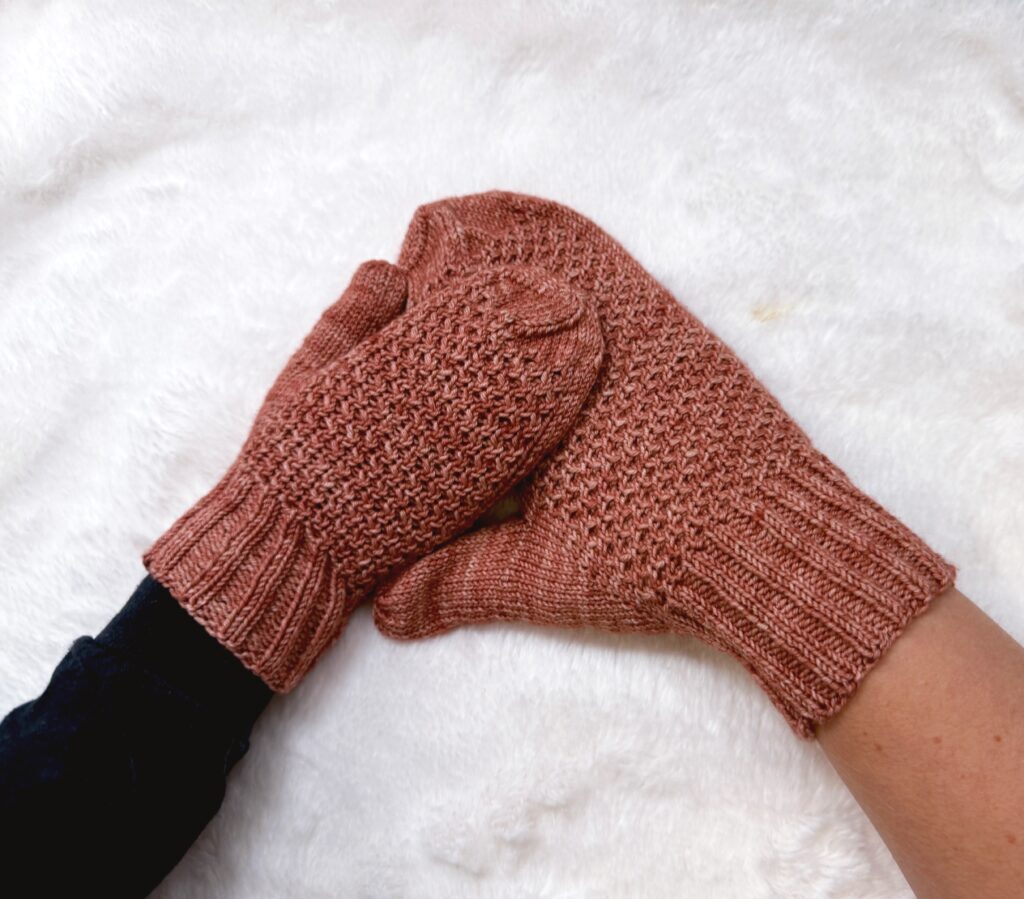
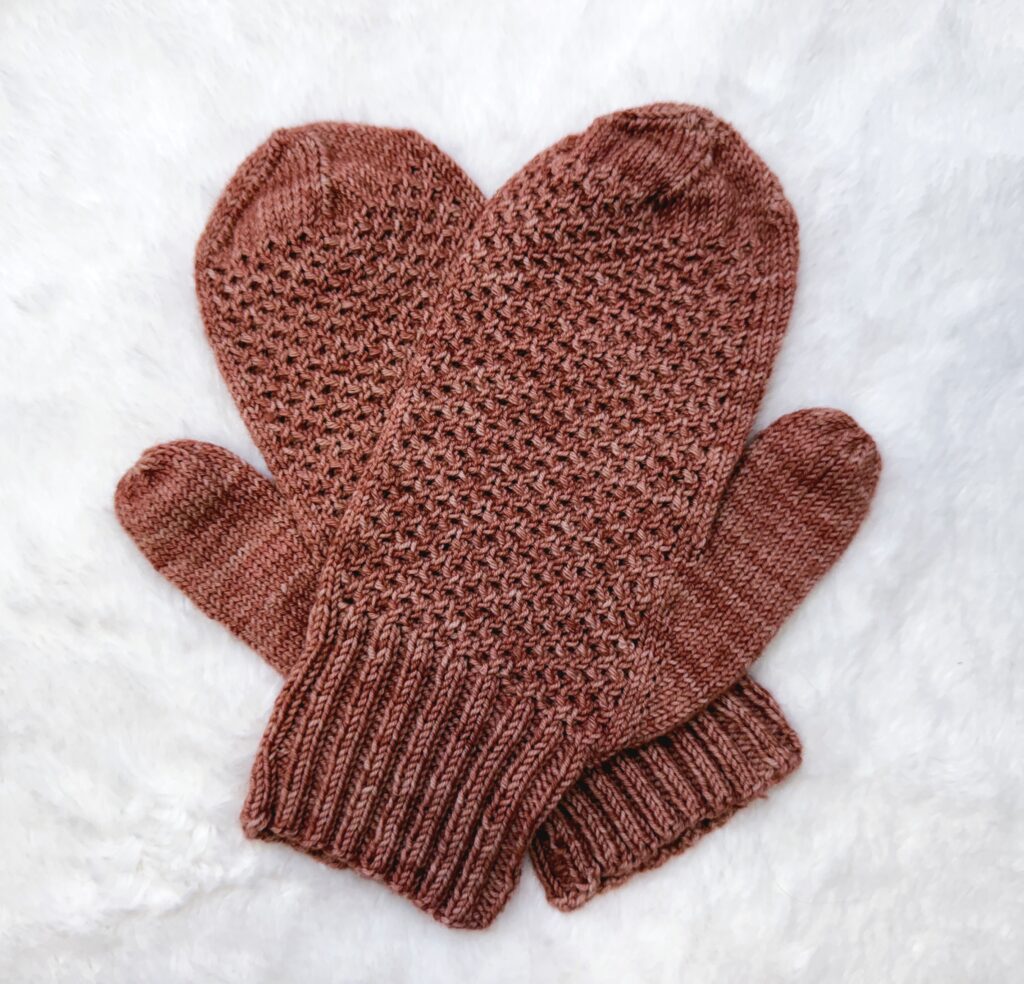
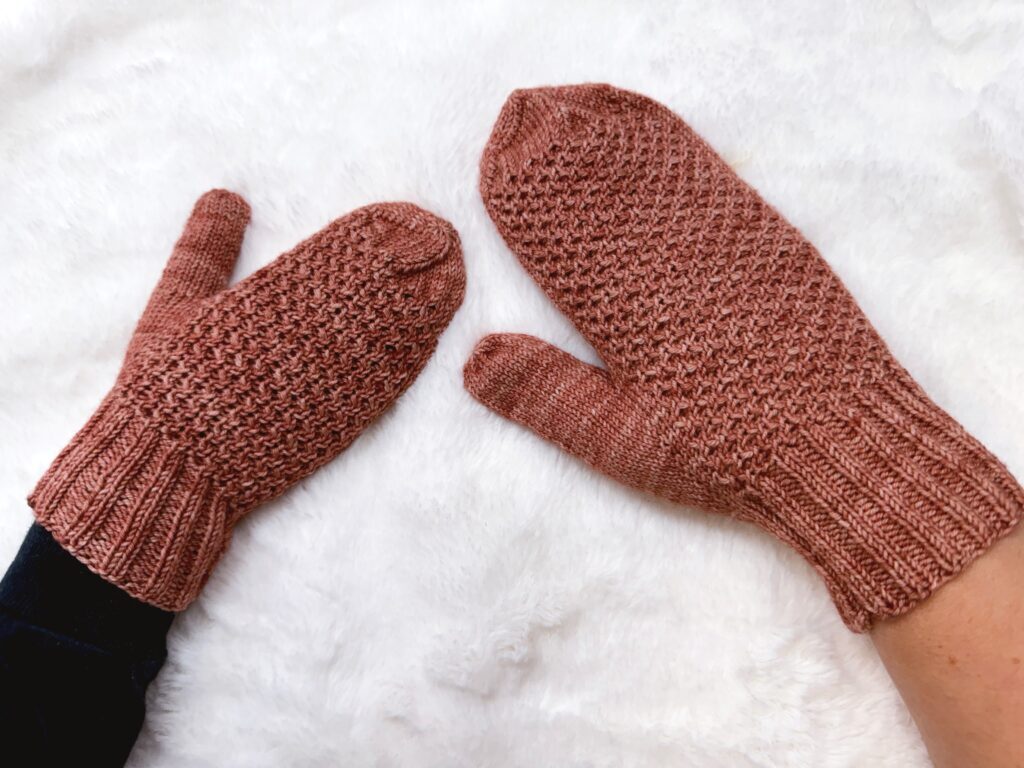
This fits the bill by using less than one skein of yarn, is an intermediate pattern, is small and would make an amazing gift (Actually, one skein of yarn made the adult AND child mittens!).
Don’t be intimidated by the textured pattern of these mittens. It’s not that hard and the result is worth it!
Find the adult mitten pattern here!
Yarn Options for Knit Mittens
For this pattern, I used Malabrigo Ultimate Sock, which is a category #1 fingering weight yarn. If you make socks at all, you probably already have this weight of yarn in your stash!
This pattern calls for just a single skein (and that skein made both adult AND child mittens), so grab some fingering weight yarn that gets gauge and get stitching!
Pattern Details for the Ray of Honey Mittens
This pattern is worked from the bottom up starting with the cuff. It features the Ray of Honey stitch for the textured top of hand and has Stockinette Stitch for the palm area as well as the top shaping.
Ray of Honey Child Mittens
What You’ll Need
Yarn: Malabrigo Ultimate Sock, 1 skein (440yds/100g)
Needles: 5 dpn, US size 2 (2.75mm)
Notions: Yarn needle, scissors, stitch marker
Finished Size: Hand circumference 6” (fits child ages 6-8)
Gauge: 32 sts and 40 rows = 4” (10cm) in St st
Abbreviation Guide
Knit (k)
Purl (p)
Slip (sl) – slip st purlwise
With Yarn in Front (wyif)
Beginning of Round (BOR)
Special Stitches
Twist two Back (T2B) – place next stitch on cable needle and hold at back of work, knit the next stitch, purl stitch from cable needle
Twist two Front (T2F) – place next stitch on cable needle and hold at front of work, purl next stitch, knit stitch from cable needle.
Techniques
M1R (make one increase which slants to the right) – Insert left needle point, from back to front, under the horizontal bar joining the last stitch on the right needle to the first stitch on the left needle. Knit through the front loop.
M1L (make one increase which slants to the left) – Insert left needle point, from front to back, under the horizontal bar joining the last stitch on the right needle to the first stitch on the left needle. Knit though the back loop.
Pattern Stitch
Row 1: *T2B, T2F; rep from *.
Row 2: Knit.
Row 3: *T2F, T2B, rep from *.
Row 4: Knit.
Repeat rows 1-4 for pattern.
Ray of Honey Mittens Pattern
Right Mitten
Cast-On
Cast on 48 sts.
Divide sts on 4 dpns as follows:
Needle 1: 12 sts
Needle 2: 12 sts
Needle 3: 12 sts
Needle 4: 12 sts
Mark as beginning of round, join.
Cuff
Round 1: *k2, p2. Repeat from * to end of the round.
Repeat Round 1 until cuff measures 2 inches from the cast-on edge.
On the next round you will begin working in stockinette stitch and pattern stitch.
Thumb Gusset
Round 1: K2, place gusset marker, k2, place gusset marker. Work to the end of Needle 2 (24 sts from beg), place side marker if working on circular, work in pattern stitch to complete round.
Round 2: K2, slip marker, M1R, work to second gusset marker, M1L, slip marker. The base of the gusset is formed. Complete round in established pattern of St st and mock cable pattern stitch.
Round 3: Work even as established in St st and mock cable pattern stitch.
Repeat Rounds 2 & 3 until there are 16 sts between gusset markers.
Work even until piece measures 2 ins from the top of the cuff.
Body
On the next round, knit to first gusset marker, remove marker. M1R. Slip the next 16 sts (gusset sts) to waste yarn or holder, cast on 2 sts. Remove second gusset marker. M1L, complete round as established in St st and mock cable pattern stitch. [50 sts]
Work even as established until piece measures 4.50 ins from the top of the cuff
Mitten Top Shaping
Shape top of mitten over the next 10 rounds as follows:
Round 1: Knit 10, ssk. Repeat around.
Round 2: Knit 9, ssk. Repeat around.
Continue in this manner knitting one stitch less between decreases ending as follows:
Round 10: K1, ssk. Repeat around.
Cut yarn, leaving 8 inches tail.
Thread tapestry needle with tail and draw through remaining stitches. Pull closed. Weave in end.
Thumb
Worked in St st.
Slip the 16 sts on hold to a needle. Knit.
Pick up 3 sts from the base of the thumb hole on the hand. Mark as the beginning of the round. Join and distribute evenly on needles. [19 total sts]
Work in rounds until thumb measures 2 inches from the base.
Work 4 sts, k2tog, complete round. [18 sts]
Knit 1 round even
*Knit 1, k2tog. Repeat from * around. 12 sts remain.
Cut yarn, leaving a tail. Weave tail through remaining stitches. Pull closed. Weave in end.
Left Mitten
Follow directions for the Right Mitten to the Thumb Gusset.
Thumb Gusset
Round 1: K20, place gusset marker, k2 sts, place gusset marker, k2, place side stitch marker complete round in mock cable pattern stitch.
Round 2: Knit to first gusset marker, slip marker, M1R, knit to the second gusset marker, M1L, slip marker, k2, complete round in mock cable pattern stitch.
Round 3: Work even as established in St st and mock cable pattern stitch.
Repeat Rounds 2 & 3 until there are 16 sts between gusset markers.
Work even until piece measures 2.00 ins from the top of the cuff.
Body
On the next round, knit to first gusset marker, M1R, remove gusset marker. Slip the next 16 sts (gusset sts) to waste yarn or holder. Cast on 2 sts. Remove second gusset marker. M1L, k2, work mock cable pattern stitch to end of round.[50 sts]
Work even as established until mitten body measures 4.50 ins above the cuff.
Continue with directions for Right Mitten.
Finish
Weave in ends.
Block lightly if desired.
To see the adult pattern, click here.
Final Thoughts on the Ray of Honey Mitten Pattern
I hope you enjoy this pattern as much as I enjoyed designing it!! I hear there are rumors of a matching child’s pair coming soon…. just saying. 😉
Join me for our seventh annual holiday challenge – but only until December 25!
Happy Knitting!
Amanda