
Wow, who would have ever guessed that months after I designed this headband I would actually really need it! How many of you are missing the salon. *raises her hand*
Buy the ad-free PDF of this pattern in my shop here!
I designed this headband in the summer of 2019 on the way to the CGOA conference in New Hampshire. I had some leftover yarn with me and I wanted to make something quick that I could wear while I was there – and by the time I landed in Baltimore to change flights I walked off the plane wearing it!
One thing I really love about this pattern is how easy it is to customize it. Since you are working to a length measurement, you can easily use any size yarn and recommended hook to make it as wide or as thin as you like!
I used Cumulus yarn from Juniper Moon Farms for the adult version. I picked that yarn up in Gatlinburg, TN and made the Cumulus Slouch with it and had just a bit left over.
For the video and baby version, I used LB Collection Mako Cotton from Lion Brand Yarn, which you may have seen on the blog before in my Farmhouse Wash Cloth and C2C Moss Stitch Wash Cloth. (It’s such an amazing cotton yarn!)
So grab any scrap yarn you have and a hook that is appropriate for the weight (check the ball band for a recommendation!) and let’s get going!

Purchase the ad-free PDF of this pattern and crochet on the go!
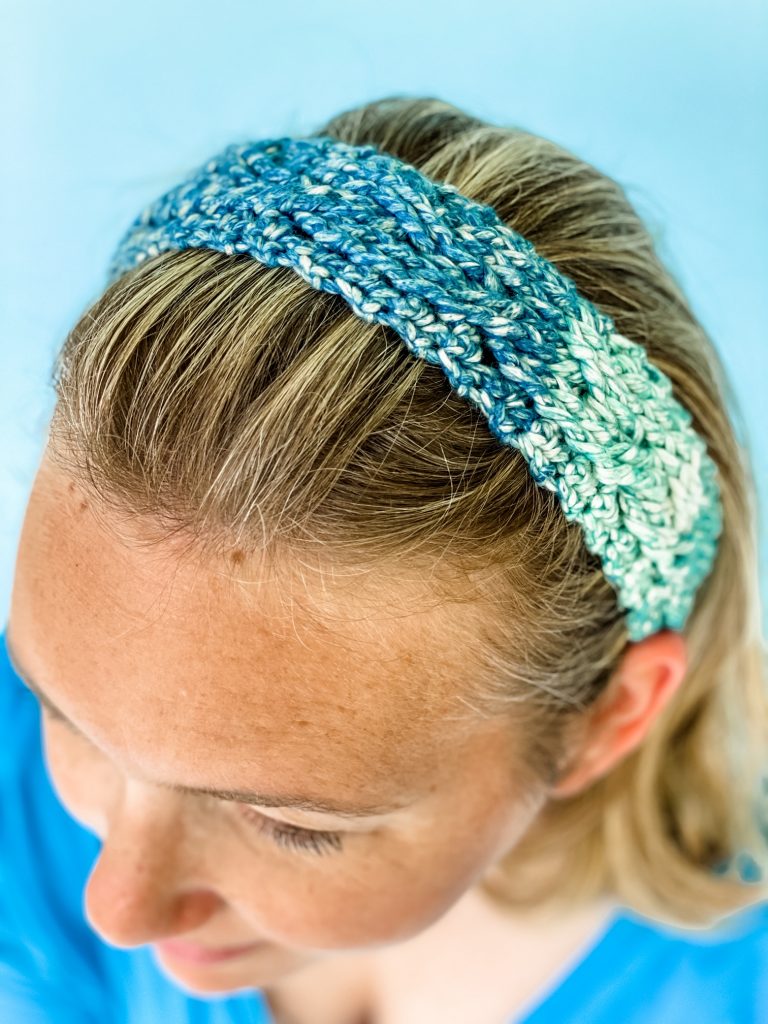
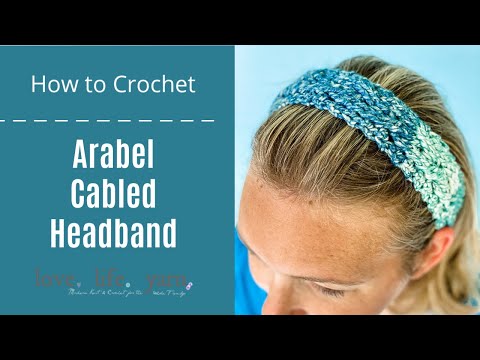
Arabel Cabled Headband
What You’ll Need
Yarn: Worsted weight (or can sub lighter yarn for thinner band). Shown are Juniper Moon Farms Cumulus and Lion Brand LB Collection Mako Cotton, 1 skein (can make many from one skein)
Hook: US Size I (5.5mm) for worsted weight yarn. Feel free to play around with different size yarn and hooks.
Notions: Yarn needle, scissors, hair tie (optional)
Notes: If you decide not to use the hair tie, keep working the cable pattern until piece is the length of the finished circumference, then fasten off and sew seam.
Finished Circumference:
Preemie: 12″
Baby: 14″
Toddler: 16″
Child: 18″
Small Adult/Teen: 20″
Adult: 22″
Gauge: Not crucial for this project, as the width will not affect finished result.
Pattern
Ch 9.
Row 1: Sc in 2nd ch from hook and each ch; turn (8 sts).
Row 2: Ch 1, sc in first st, fpdc 6 sts, sc in last st; turn.
Row 3: Ch 1, sc evenly across; turn.
Row 4: Ch 1, sc in first st, skip next 2 sts, fptr in next 2 dc from row 2, fptr in 2 skipped dc from row 2 (working behind the previous fptr), fpdc in last 2 dc of row 2, sc in last st; turn.
Row 5: Ch 1, sc evenly across; turn.
Row 6: Ch 1, sc in first st, fpdc in next 6 post sts from row 4, sc in last st; turn.
Row 7: Ch 1, sc evenly across; turn.
Row 8: Ch 1, sc in first st, fpdc in next 2 post sts from row 6, skip next 2 sts, fptr in last 2 post sts of row 6, fptr in 2 skipped post sts from row 6 (working in front of previous post sts), sc in last st; turn.
Row 9: Ch 1, sc evenly across; turn.
Row 10: Repeat row 6.
Row 11: Ch 1, sc evenly across; turn.
Row 12: Repeat row 6.
Repeat rows 3-12 until piece measures 2″ shorter than finished circumference (see above).

Hair Tie
Ch 1, sc across 8 sts while holding hair tie on top of work, making sure to catch hair tie in each st, sc along hair tie to opposite side, sc 8 sts across opposite side (be sure not to twist headband!), sc down opposite side of hair tie. Join with slip st and fasten off.
Finishing
Weave in ends.
That’s it! If you need help with the cable, please see the video tutorial – it’s not nearly as hard as it sounds, I promise!! 🙂
You can always view all of my free crochet patterns here!
Happy Crocheting!
Amanda
As a crocheter who taught myself to knit – hold and work the thread the same way as for crochet. You will slip into knit quickly – added bonus your tension beats regular knitters work. Your a good teacher – thanks for the free headband patterns. Vicky([email protected]).
Thanks! I knit the English method and I’m super slow, so I want to try out the continental style 🙂