
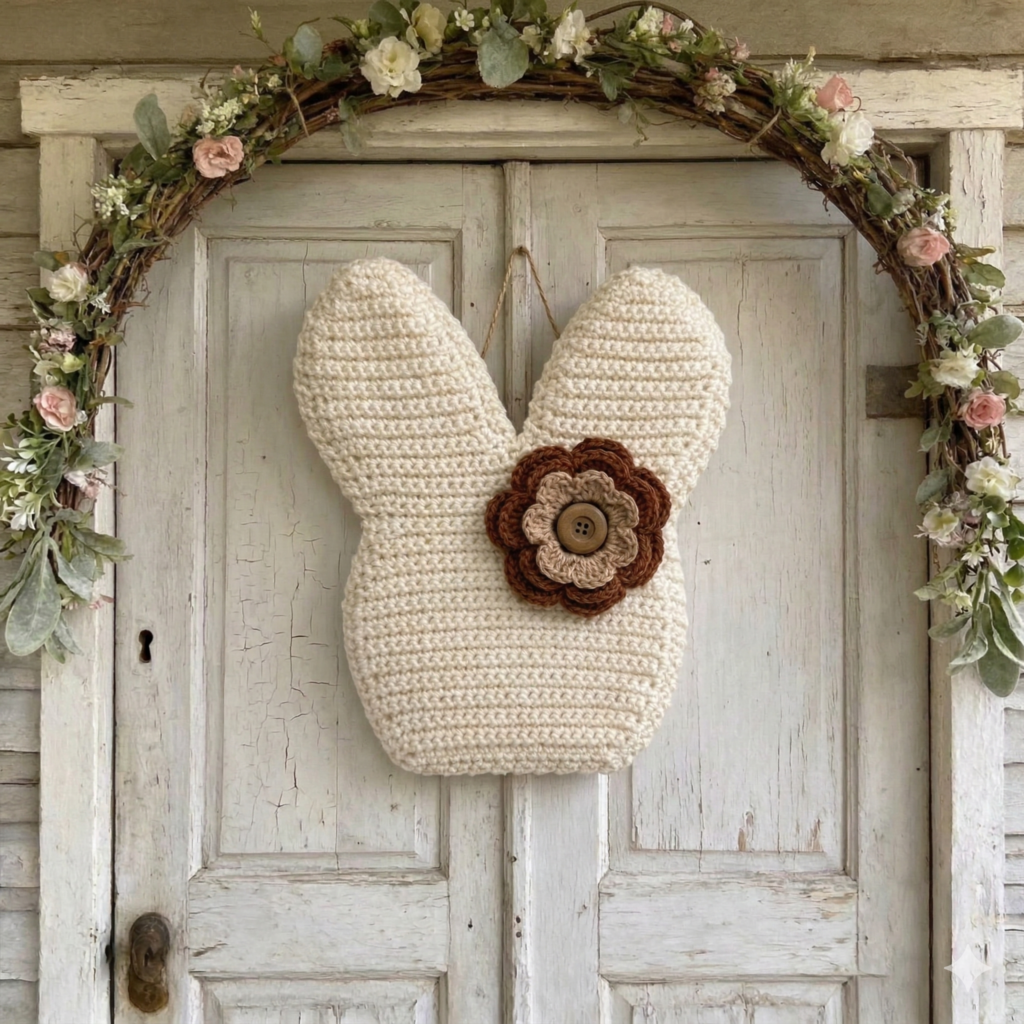
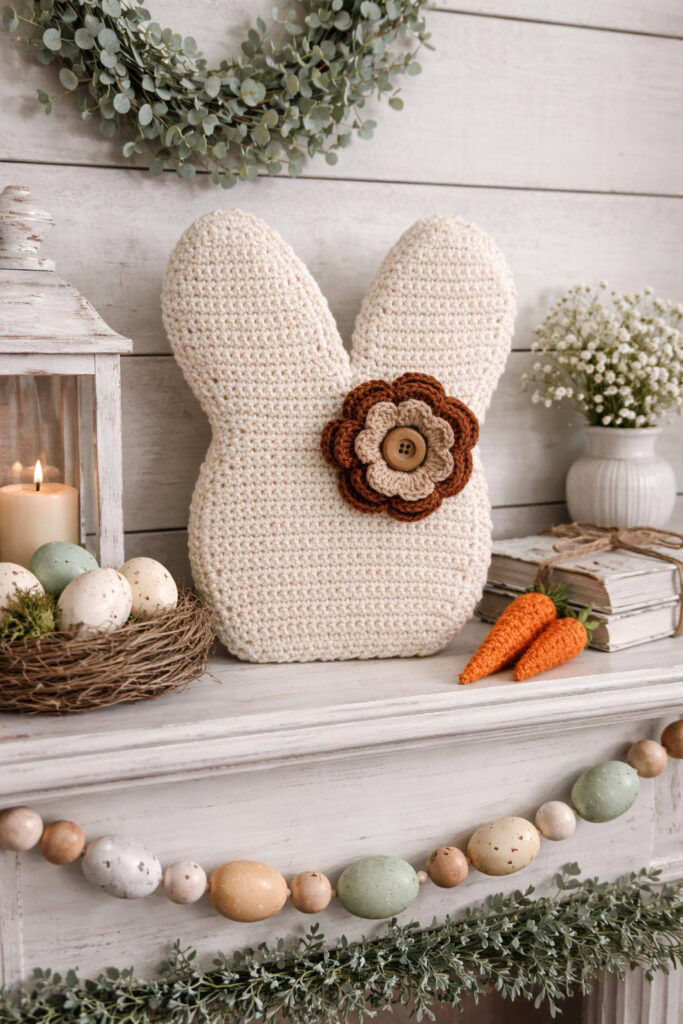
Create adorable Easter decor with this Farmhouse Bunny pattern! Add a tail for a stand-up centerpiece or hang it on the wall – either way, it’s the perfect cozy farmhouse accent!
Design Story and Inspiration for this Crochet Bunny Decor
I love Easter. Our family celebrates Easter in the traditional sense and we also make Easter baskets a big deal because our boys have birthdays at the end of the year and it’s a fun way to get them some surprises earlier in the year. Typically we will do one kind of larger gift in the basket and then candy and smaller items. It’s so much fun!
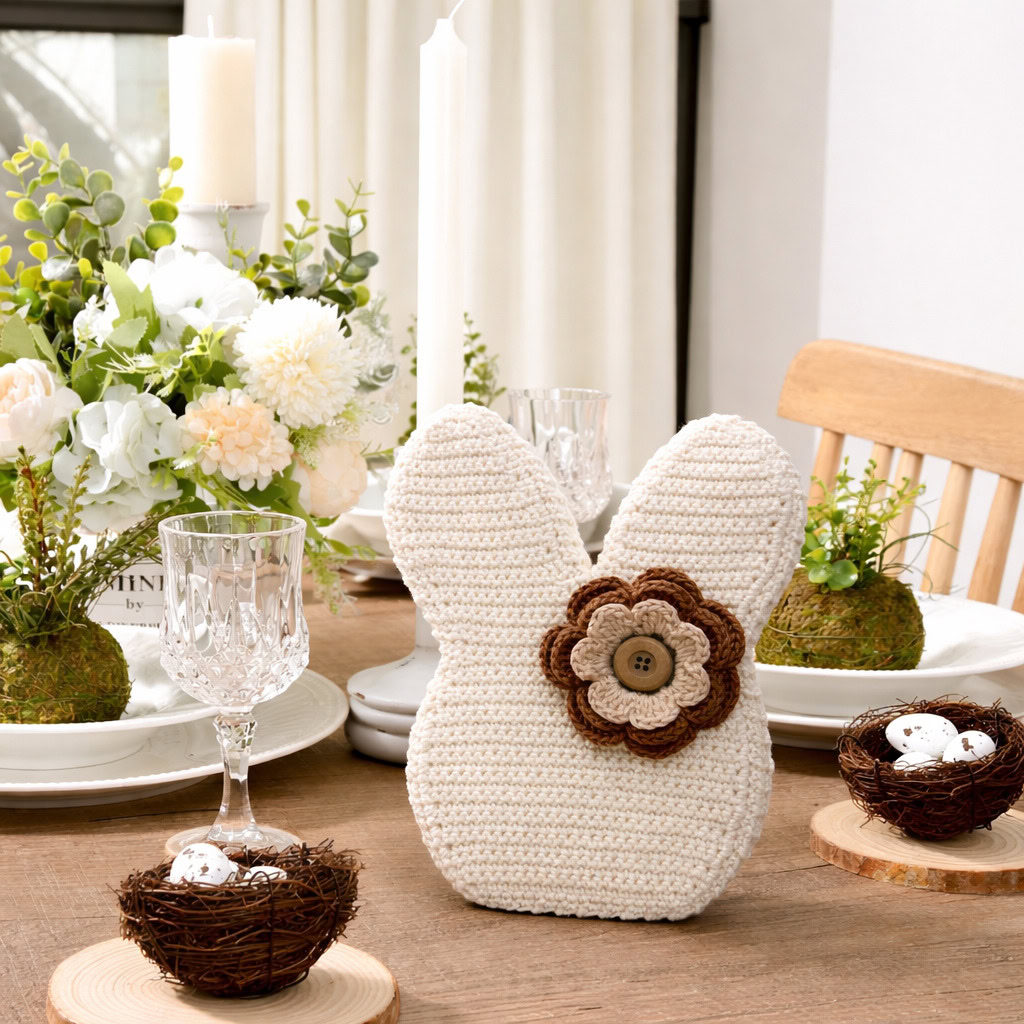
So, I wanted to create a fun Easter-themed farmhouse decor piece that could be used on the Easter table, on the door or the wall. I LOVE how this turned out and had a blast thinking of all the different ways to style it and show it off!
Purchase the ad-free PDF of this pattern in my shop here!
Yarn Options for an Amazing Easter Wall Hanging
Honestly you can use any yarn you like for this pattern, just be aware that it will affect the size of the bunny. I chose to use a DK (category #3) weight yarn and a smaller hook size (for tighter stitches) for mine. You create the foam interior off of your finished crochet piece, so no worries about crocheting to the shape of the foam.
This is a great stash busting pattern, so pick a yarn, grab a hook that’s a bit smaller than the one recommended on the label, and get going! 😀
Pattern Details for our Modern Farmhouse Centerpiece
This pattern uses single crochet for the entire bunny, along with single and double crochet for the flower. There is a video tutorial showing you how to attach and assemble the bunny once you work the sides in simple single crochet.
The body of the design is made in two panels, a front and a back, which are identical. Then, you join them and crochet the side as you go, inserting a piece of foam when you are mostly done. Finally, you glue on the flower, button and (if using) the pom pom tail!
Buy the ad-free PDF and crochet on the go!
Modern Farmhouse Bunny Decor
What You’ll Need
Yarn: We Crochet CotLin, DK Weight (Category #3): 2 skeins Swan (A), 1 skein each Linen (B) and Macchiato (C)
Hook: US Size D (3.25mm)
Notions: Yarn needle, scissors, ½” thick foam, white pom pom, glue gun
Gauge: 20 sts and 20 rows = 4″ in single crochet
Finished Size: Approximately 9.5” tall x 6” wideStitch Descriptions and Abbreviations
Chain (ch)
Slip Stitch (sl st)
Single Crochet (sc)
Double Crochet (dc)
Increase (inc) – work 2 sc into same stitch
Single Crochet 2 Together (sc2tog)
Modern Farmhouse Bunny Decor Pattern
Bunny (Make 2)
Ch 21.
Row 1: Sc in 2nd ch from hook and each ch across; turn – 20 sts.
Row 2 (Inc Row): Ch 1, inc, sc to last st, inc in last st; turn – 22 sts.
Row 3 (Inc Row): Repeat row 2 – 24 sts.
Row 4: Ch 1, sc in each st; turn.
Row 5: Repeat row 4.
Row 6 (Inc Row): Repeat row 2 – 26 sts.
Rows 7-9: Repeat row 4.
Row 10 (Inc Row): Repeat row 2 – 28 sts.
Rows 11-18: Repeat row 4.
Row 19 (Dec Row): Ch 1, sc2tog, sc to last 2 sts, sc2tog; turn – 26 sts.
Row 20: Repeat row 4.
Row 21 (Dec Row): Repeat row 19 – 24 sts.
Rows 22-23: Repeat row 4.
Row 24 (Dec Row): Repeat row 19 – 22 sts.
Row 25: Repeat row 4.
Row 26 (Inc Row): Repeat row 2 – 24 sts.
Row 27 (Inc Row): Repeat row 2 – 26 sts.
Row 28: Repeat row 4.
Divide for Ears
Row 29: Ch 1, sc 13; turn, leaving remaining sts unworked – 13 sts.
Row 30 (Inc Row): Ch 1, sc to last st, inc; turn – 14 sts.
Row 31: Ch 1, sc in each st; turn.
Row 32: Ch 1, sc2tog, sc to last st, inc; turn – 14 sts.
Row 33: Ch 1, inc, sc to last 2 sts, sc2tog; turn – 14 sts.
Rows 34-38: Repeat row 31.
Row 39: Repeat row 33 – 14 sts.
Rows 40-41: Repeat row 31.
Row 42 (Dec Row): Ch 1, sc2tog, sc to end; turn – 13 sts.
Row 43 (Dec Row): Repeat row 42 – 12 sts.
Row 44 (Dec Row): Repeat row 42 – 11 sts.
Row 45: Repeat row 31.
Row 46 (Dec Row): Ch 1, sc2tog, sc to last 2 sts, sc2tog; turn – 9 sts.
Row 47 (Dec Row): Ch 1, sc2tog, sc to end; turn – 8 sts.
Row 48 (Dec Row): Repeat row 46 – 6 sts.
Row 49 (Dec Row): Repeat row 46 – 4 sts.
Fasten off.
Second Ear
Join yarn in next st of row 29 directly beside first ear.
Row 29: Ch 1, sc 13; turn – 13 sts.
Row 30 (Inc Row): Ch 1, inc, sc to end – 14 sts.
Row 31: Ch 1, sc in each st; turn.
Row 32: Ch 1, inc, sc to last 2, sc2tog; turn – 14 sts.
Row 33: Ch 1, sc2tog, sc to last st, inc; turn – 14 sts.
Rows 34-38: Repeat row 31.
Row 39: Repeat row 33 – 14 sts.
Rows 40-41: Repeat row 31.
Row 42 (Dec Row): Ch 1, sc to last 2 sts, sc2tog; turn – 13 sts.
Row 43 (Dec Row): Repeat row 42 – 12 sts.
Row 44 (Dec Row): Repeat row 42 – 11 sts.
Row 45: Repeat row 31.
Row 46 (Dec Row): Ch 1, sc2tog, sc to last 2 sts, sc2tog; turn – 9 sts.
Row 47 (Dec Row): Ch 1, sc to last 2 sts, sc2tog; turn – 8 sts.
Row 48 (Dec Row): Repeat row 46 – 6 sts.
Row 49 (Dec Row): Repeat row 46 – 4 sts.
Sc evenly around bunny, working 2 sc into each of the corner ear sts and sc2tog where the two ears meet in the middle. Fasten off.
Please see this video tutorial for assembly (including tips on how to sc around edge of bunny).
Use one side of bunny as a template to cut foam. Trace bunny shape on foam and cut with foam cutter or hot knife.
Joining Panels
Panels are joined with wrong sides facing using a join-as-you-go method as follows:
Setup:
Join yarn at right bottom corner of front panel.
Ch 3, then slip stitch into the corresponding corner of the back panel to connect pieces.
Sl st in next st of back panel; turn.
Sk sl sts just made, Sc in first 2 ch, sc2tog in last ch and next st of front panel.
Sl st in next st of front panel; turn.
Row 1: Sk sl st, Sc in next 2 sts across, sc2tog in last st and next st of back panel, sl st in the next st of back panel; turn.
Row 2: Sk sl st, Sc in next 2 sts across, sc2tog in last st and next st of front panel, sl st in the next st of front panel; turn.
Repeat Rows 1 and 2 to join panels, inserting foam after working across both ears. Continue working rows 1 and 2 around until you reach the starting point. Seam beginning chain to last row with the mattress stitch.
Flower
With B, ch 5, join with sl st to form ring.
Rnd 1: Ch 5 (counts as dc, ch 2), (dc in ring, ch 2) six times, join with sl st to 3rd ch of tch – 7 dc.
Rnd 2: Ch 1, (sc, ch 1, 4 dc, ch 1, sc) in each ch-2 sp, join to first sc with sl st – 7 petals.
Rnd 3: Change to C, ch 2, turn to back of Flower, *sc around dc of Rnd 1, ch 4; rep from * 6 more times, join to first sc with sl st.
Rnd 4: Turn Flower to front, ch 1, (sc, ch 1, 6 dc, ch 1, sc) in each ch-4 sp, join to first sc with sl st.
Rnd 5: Ch 2, turn to back of Flower, *sc around sc of Rnd 3, ch 6; rep from * 6 more times; join to first sc with slip st.
Rnd 6: Turn Flower to front, ch 1, (sc, ch 1, 8 dc, ch 1, sc) in each ch-6 sp, join to first sc with sl st.
Fasten off.
Finishing
Weave in all ends.
Using a hot glue gun, glue flower and button on front and pom pom for tail on back to help it stand.
Video Tutorial for Assembling Your Bunny

Final Thoughts on the Modern Farmhouse Bunny
I hope you enjoy this fun Easter pattern as much as I enjoyed designing it! I’ve made several and love how they compliment my Easter decor. 😀
Happy Crocheting!
Amanda