
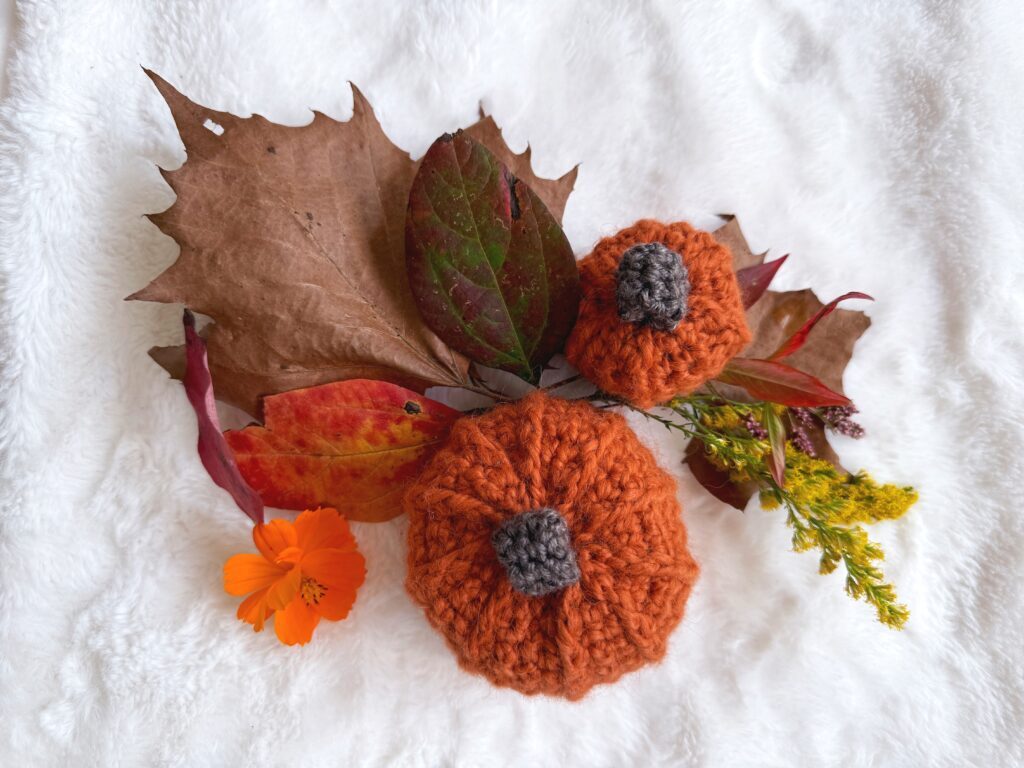
Whip some some adorable fall decor with these easy Bar Stitch Crochet Pumpkins!
Purchase this pattern on Etsy here!
Design Story and Inspiration for Easy Crochet Pumpkins
I love fall. It’s my favorite time of year! Honestly I don’t have a lot of fall-specific patterns on the blog, just lots of wearables and other items that are great for transition weather, so I wanted to add a new fall pattern!
I love crochet pumpkins because they are easy enough for beginners, look great in any part of your home, and make great gifts!
Yarn Options for Cute Crochet Pumpkins
Honestly you can use any yarn you like for this pattern, just be aware that it will affect the size of the pumpkins. I chose to use a bulky (category #5) weight yarn and a smaller hook size (for tighter stitches) for the body of my pumpkin, and a worsted (category #4) weight yarn with the same hook for the stem.
This is a great stash busting pattern, so pick a yarn, grab a hook that’s a bit smaller than the one recommended on the label, and get going! 😀
Pattern Details for Our Bar Stitch Crochet Pumpkins
This pattern uses single crochet and front post double crochet to create the ridged texture. It’s an easy two-row repeat that works up in just a few simple rows!
If you’d like to make a larger pumpkin, it’s easy to do. Just increase the stitch count in multiples of 3 and repeat the last 2 rows as many times as you like for the height of the pumpkin.
Be sure to view the full video tutorial if you need help!
Bar Stitch Crochet Pumpkins
What You’ll Need
Yarn: 1 Skein Bulky Weight Yarn (category #5) for pumpkin, scrap Worsted Weight Yarn (category #4) for stem
Crochet Hook: US Size J (6.00mm)
Notions: Small amount of fiberfill, yarn needle
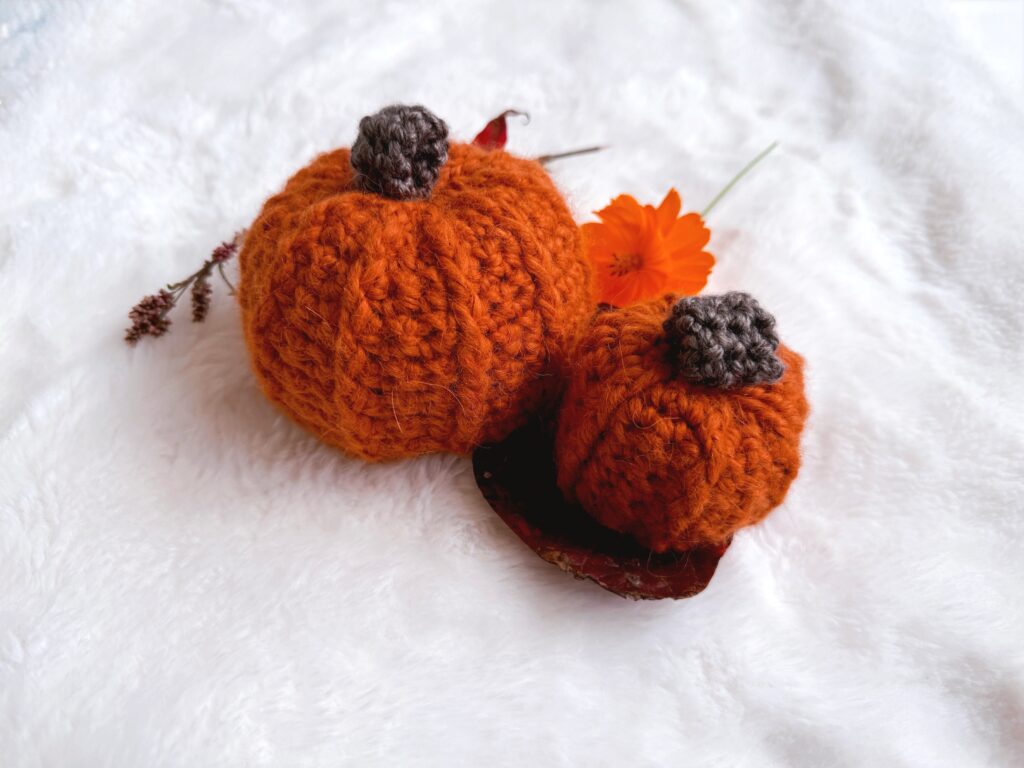
Finished Size:
Mini: Approximately 2.75” Tall
Small: Approximately 4” Tall
Gauge: Not crucial for this project
Stitch Abbreviations
Chain (ch)
Slip Stitch (slip st)
Single Crochet (sc)
Front Post Double Crochet (fpdc)
Notes: Pumpkin pattern is worked flat and seamed, then gathered at the top and bottom to create the shape.
Bar Stitch Crochet Pumpkin Pattern
MINI PUMPKIN
With bulky yarn, ch 21.
Row 1: Sc in 2nd ch from hook and each ch across; turn (20 sts).
Row 2: Ch 1, sc in each sc; turn.
Row 3: Ch 1, sc in first 3 sts, *fpdc in next sc 2 rows below, 1 sc in next 2 sts; repeat from * to last 2 sts, fpdc in next sc 2 rows below, sc in last sc; turn.
Row 4: Ch 1, sc in each sc; turn.
Row 5: Ch 1, sc in first 3 sts, *fpdc in fpdc 2 rows below, 1 sc in next 2 sts; repeat from * to last 2 sts, fpdc in fpdc 2 rows below, sc in last sc; turn.
Rows 6-13: Repeat rows 4-5.
Fasten off leaving long tail for seaming and gathering.
SMALL PUMPKIN
With bulky yarn, ch 33.
Row 1: Sc in 2nd ch from hook and each ch across; turn (32 sts).
Row 2: Ch 1, sc in each sc; turn.
Row 3: Ch 1, sc in first 3 sts, *fpdc in next sc 2 rows below, 1 sc in next 2 sts; repeat from * to last 2 sts, fpdc in next sc 2 rows below, sc in last sc; turn.
Row 4: Ch 1, sc in each sc; turn.
Row 5: Ch 1, sc in first 3 sts, *fpdc in fpdc 2 rows below, 1 sc in next 2 sts; repeat from * to last 2 sts, fpdc in fpdc 2 rows below, sc in last sc; turn.
Rows 6-19: Repeat rows 4-5.
Fasten off leaving long tail for seaming and gathering.
Video Tutorial for Quick Crochet Pumpkins
STEM (ALL SIZES)
Ch 6, join with slip st, being careful not to twist.
Round 1: Ch 1, sc in each ch (6 sts).
Rounds 2-8: Working in continuous rounds, sc in each sc.
Fasten off.
FINISHING
Bring short sides of rectangle panel together and whip st to seam sides of pumpkin. Use same tail to make a running stitch (in and out) in row ends, then pull to gather bottom tightly to close.
Stuff firmly, use another length of yarn to gather top and pull tightly to close.
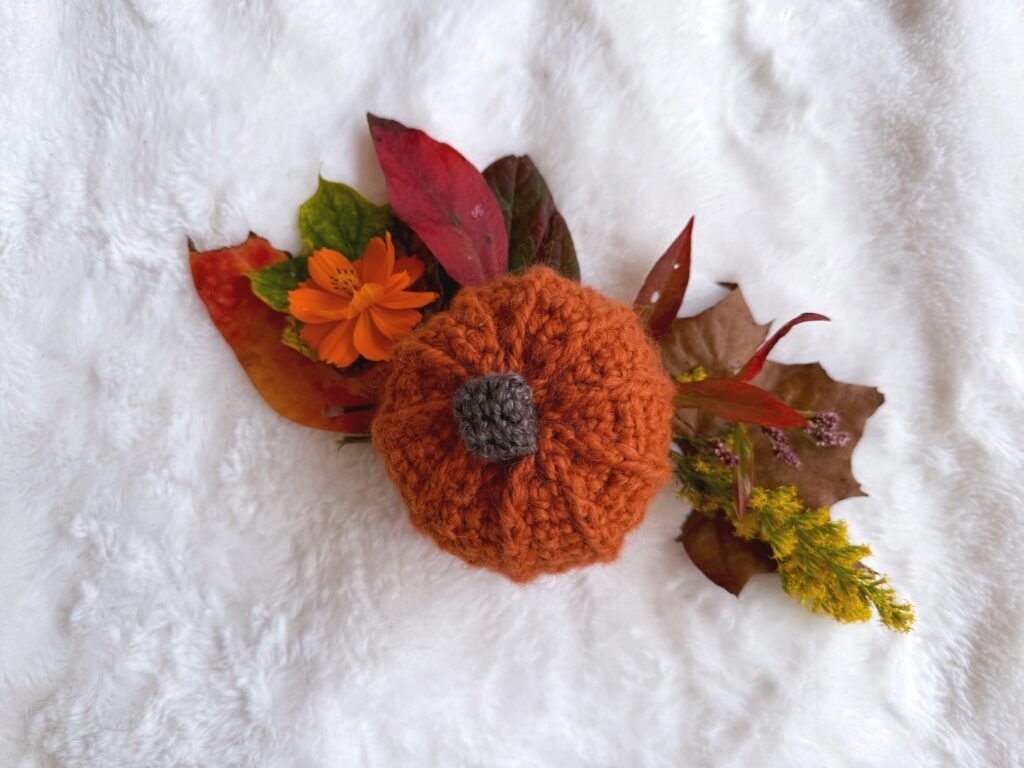
Fold stem in half and stitch to pumpkin as seen in photos.
Final Thoughts on the Bar Stitch Crochet Pumpkin Pattern
I hope you enjoy this simple pattern as much as I enjoyed designing it! I’ve made several and love how they compliment my fall decor.
Happy Crocheting!
Amanda