
Buy the ad-free PDF of this pattern in my shop here!
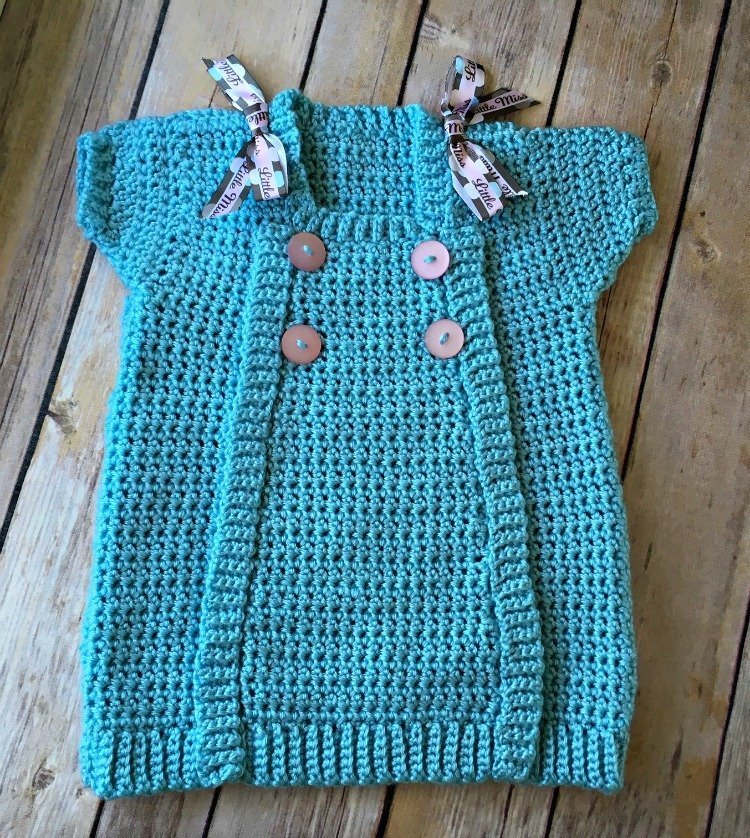
Wow spring is just around the corner!!! And with Spring always comes Easter so today I want to share this baby dress I designed for a sweet Easter outfit. I love Easter and everything it represents and if we had a little girl I would definitely dress her to the nines. Since we have all boys it’s suit coats and dress shirts (although my oldest has recently fallen in love with bow ties!!). Still fun to dress up but there’s just something about an Easter dress… oh, well. Maybe one day I will have granddaughters to make for!
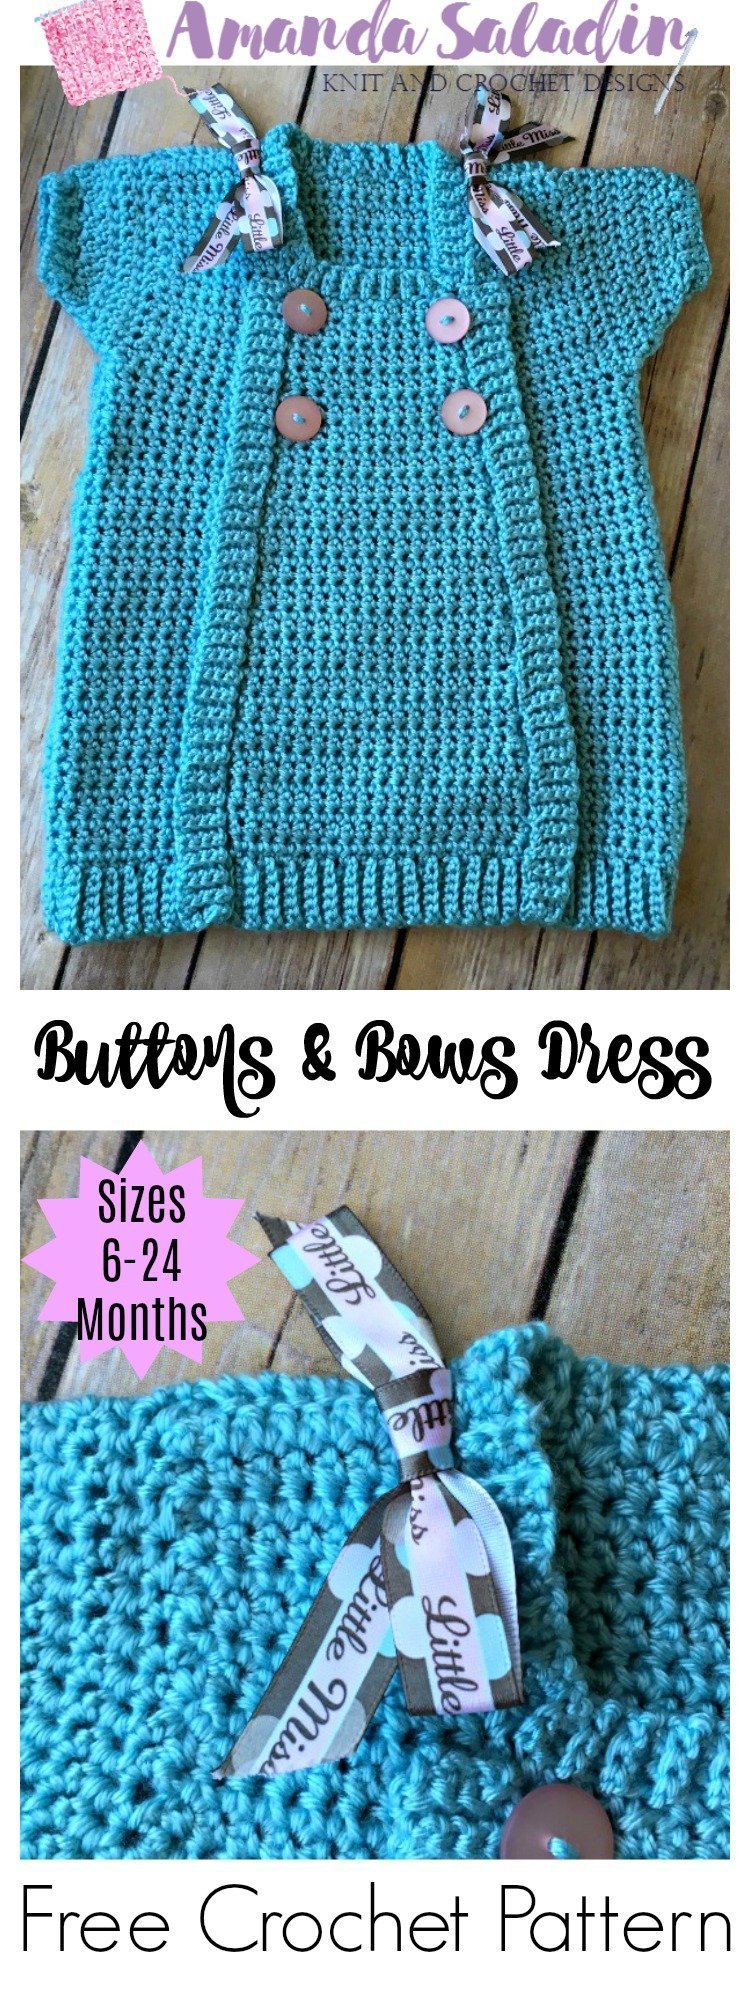
This dress uses extended single crochet and a DK yarn. The front is made up of three panels and sewn together and the buttons are decorative. You can buy pre-made bows or make them from ribbon. I couldn’t find any bows I liked so I bought this ribbon at my local JoAnn and made the bows myself. I think they turned out pretty well considering I’d never done it before!
Favorite this on Ravelry here!

What You’ll Need
Yarn: Deborah Norville Everyday Baby (100% acrylic; 308 yards [282 meters]/100 grams): 101-14 Aqua, 2 (2, 3, 3) balls
Hooks: US size H/8 (5.0 mm) for body; US size G/7 (4.0 mm) for ribbing
Notions: Tapestry needle; four 3/4” (19 mm) buttons; two 3” wide bows
Size: Finished Chest Size 17 (18, 19, 20)” to fit size 6 (12, 18, 24) months
Gauge: 16 sts and 16 rows = 4” [10 cm] in Stitch Pattern after blocking
Abbreviations
Blo – back loop only
Special Stitches
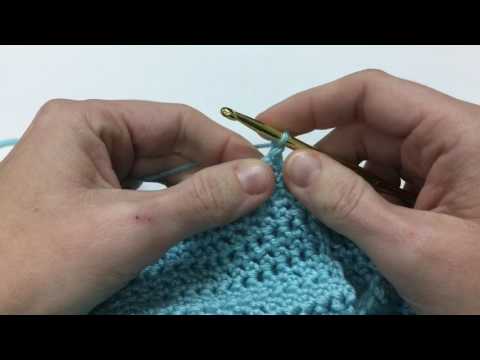
Extended single crochet (esc): Insert hook in next st, pull up a loop, yo, pull through 1 loop on hook, yo, pull though final 2 loops on hook.
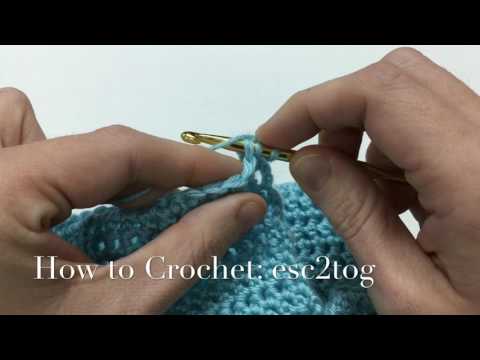
Extended single crochet two together (esc2tog): Insert hook in first st, pull up a loop, yo, pull through 1 loop on hook, insert hook into next st, yo, pull through 1 loop on hook, yo, pull through final 3 loops on hook.
Pattern Notes
When working collar and sleeve ribbing, attach ribbing to body by using a sc2tog in last st and body. Skip every other row or stitch of body when sc2tog to create an even rib.

Buy the ad-free PDF and crochet on the go!
Pattern
Back Ribbing
With smaller hook, ch 7.
Row 1: Sc in 2nd ch from hook and in each ch across, turn – 6 sc.
Row 2: Ch 1, sc in blo in each sc across, turn.
*Rep Row 2 until piece meas 10½ (11, 11½, 12)”, ending with a WS row.
Back
Change to larger hook.
Row 1: Ch 1, sc in 42 (44, 46, 48) evenly across ribbing, turn – 42 (44, 46, 48) sts.
Rows 2-8: Ch 1, esc in each st across, turn.
Row 9: Ch 1, esc2tog, esc in each st to last 2 sts, esc2tog, turn – 40 (42, 44, 46) sts.
Rows 10-17: Rep Rows 2-9 – 38 (40, 42, 44) sts.
Rows 18-25: Rep Rows 2-9 – 36 (38, 40, 42) sts.
Rows 26-33: Rep Rows 2-9 – 34 (36, 38, 40) sts.
Sizes 18 (24) months only
Work 4 (6) rows even in esc.
All Sizes
Armhole Shaping
Row 1: Sl st in first 2 (3, 3, 4) sts, ch 1, esc in each st to last 2 (3, 3, 4) sts, leave last 2 (3, 3, 4) sts unworked, turn – 30 (30, 32, 32) sts.
Rows 2-12 (14, 15, 16): Ch 1, esc in each st across, turn.
Neck Shaping
Row 1: Ch 1, esc in next 9 (9, 10, 10) sts, leave rem sts unworked – 9 (9, 10, 10) sts.
Row 2: Ch 1, esc2tog, esc in each st to end – 8 (8, 9, 9) sts.
Join yarn at opposite side and repeat neck shaping.
Front
Center Panel
Work ribbing same as Back until piece meas 5” from beginning.
Change to larger hook.
Row 1: Ch 1, sc 20 evenly across long side of ribbing, turn – 20 sts.
Rows 2-8: Ch 1, esc in each st across, turn.
Row 9: Ch 1, esc2tog, esc in each st to last 2 sts, esc2tog, turn – 18 sts.
Rows 10-17: Rep Rows 2-9 – 16 sts.
Rows 18-25: Rep Rows 2-9 – 14 sts.
Rows 26-33: Rep Rows 2-9 – 12 sts.
Rows 34-43: Ch 1, esc in each st across, turn.
Fasten off.
Side Panel (make 2)
Work ribbing same as Back until piece meas 2¾ (3, 3¼, 3½)” from beginning.
Change to larger hook.
Row 1: Ch 1, sc 11 (12, 13, 14) evenly across long side of ribbing, turn – 11 (12, 13, 14) sts.
Rows 2-33: Ch 1, esc in each st across, turn.
Sizes 18 (24) months only
Work 4 (6) rows even in esc.
Armhole Shaping
Row 1: Sl st in first 2 (3, 3, 4) sts, ch 1, esc in each st to end – 9 (9, 10, 10) sts.
Rows 2-8 (2-10, 2-11, 2-12): Ch 1, esc in each st across, turn.
Neck Shaping
Sizes 6 (12, 24) months only
Row 1: Ch 1, esc in each st to last 2 sts, esc2tog, turn – 8 (8, 9) sts.
Size 18 months only
Row 1: Ch 1, esc2tog, esc in each st to end, turn – 9 sts.
All Sizes
Work 5 rows even in esc.
Fasten off.
Front Ribbing (make 2)
With smaller hook, ch 4.
Row 1: Sc in 2nd ch from hook and in next 2 sts, turn – 3 sts.
Row 2: Ch 1, sc in blo in each st across.
Rep Row 2 until piece meas 11¾”.Sew side panels to
Sew side panels to center panel. Sew Front ribbing at seams as shown in photo.
Block. Sew Front to Back at shoulder seams.
Sleeve
With larger hook, join yarn at corner of Left Front armhole.
Row 1: Ch 1, esc in next 28 (32, 34, 36) sts evenly to Back armhole corner, turn – 28 (32, 34, 36) sts.
Rows 2-3: Ch 1, esc in each st across.
Row 4: Ch 1, esc2tog, esc in each st to last 2 sts, esc2tog, turn – 26 (30, 32, 34) sts.
Row 5: Ch 1, esc2tog, esc in each st to last 2 sts, esc2tog, turn – 24 (28, 30, 32) sts.
Row 6: Rep Row 5 – 22 (26, 28, 30) sts.
Sizes 18 (24) months only
Work 2 (4) rows even.
Change to smaller hook.
Sleeve Ribbing
Ch 4.
Row 1: Sc in 2nd ch from hook and next ch, sc2tog last ch and last esc of Row 6 of Sleeve – 3 sts.
Row 2: Ch 1, sc in blo in each st across.
Row 3: Ch 1, sc in blo in first 2 sts, sc2tog last st and second esc of Row 6 of Sleeve.
Rep Rows 2-3 until you have worked around Sleeve edge.
Fasten off, leaving a long tail.
Use tail to sew underarm and side seam.
Repeat Sleeve for right side, joining yarn at corner of Back Right armhole.
Collar
With smaller hook, join yarn at Right Shoulder seam.
Ch 4.
Row 1: Sc in 2nd ch from hook and next ch, sc2tog last ch and next row of Body – 3 sts.
Row 2: Ch 1, sc in blo in each st across.
Row 3: Ch 1, sc in blo in first 2 sts, sc2tog last st and next row of Body.
Rep Rows 2-3 around Neck Edge, working sc2tog in every other st or row of Body.
Fasten off, leaving a long tail.
Use tail to sew ribbing together.

Finishing
Sew buttons in place using photo as guide. Attach bows to shoulders.
Weave in ends.
You might also like these 10 free crochet baby dress patterns!
What a sweet pattern! Thank you!
I need further information on doing the following rows:
NECK SHAPING
Row 1: Ch 1, esc in next 9 (9, 10, 10) sts, leave rem sts unworked – 9 (9, 10, 10) sts.
Row 2: Ch 1, esc2tog, esc in each st to end – 8 (8, 9, 9) sts.
Join yarn at opposite side and repeat neck shaping.
It is not obvious to me after row 1, that I need to turn to do row1.
What does it mean to “join yarn at opposite side and repeat neck shaping”? What yarn on opposite side? It does not say anything about fastening off at the end of row 2.
It is very confusing to me, this part of the directions.
Thank you in advance for your clarification.
AM
Hi AM. You should fasten off after row 2, I need to change that. Then, just join on the opposite side from row 1 to shape the other side of the neckline. And yes, turn at the end of the rows.