
Looking for a super squishy crochet pillow pattern? Check out the easy c2c crochet pillow – perfect for a dorm or kid’s room!

Buy the ad-free PDF of this pattern in my shop here!
Design Story and Inspiration for the Easy c2c Crochet Pillow
I’m in full out stash busting mode over here! I like quick and easy projects to make over the summer, and one of my sons has been asking me to make him a little pillow so I decided it was the perfect time to whip one up!
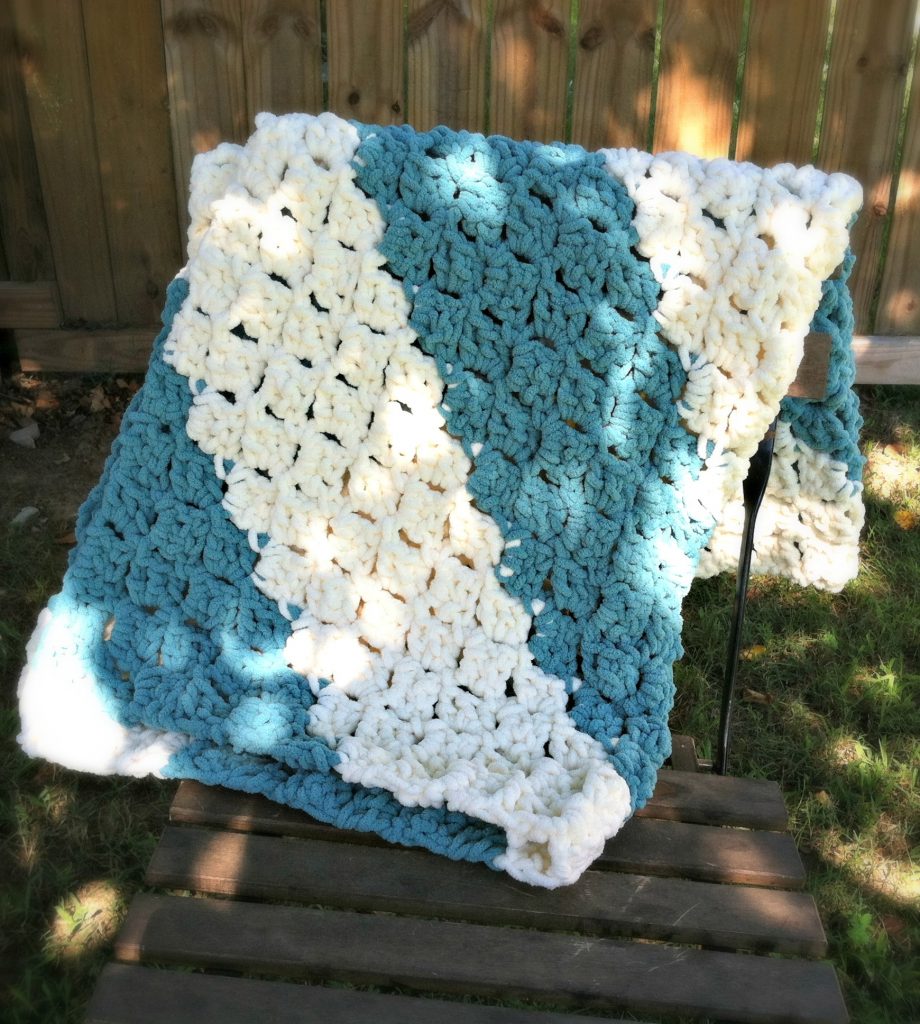
I wanted something that was super fast and I decided to c2c to give this striped yarn a chance to work in the diagonal. It worked up in just a couple of hours – including finishing!
Now I’m planning on making some more crochet pillows for the couch and I’m excited to work them up and share them with you.
Yarn Options for this Comfy Crochet Cushion
I used Bernat Pipsqueak Stripes, but any cozy fluffy yarn would do. This striped version of the yarn has been discontinued, but you can easily substitute a couple of skeins of regular Bernat Pipsqueak or other fun novelty yarn.
If you used Bernat Blanket yarn you could make a matching pillow for the Quick and Easy Baby Blanket! I also think a baby velvet yarn would work well and make for a super soft pillow.
If you go with a thinner yarn make sure you adjust your hook size. I went with the size recommended on my ball band.
Before we begin… let’s get Social!
I would love for you to come follow me on
Instagram (get sneak peeks of what’s coming up!)
My Facebook Page (come join the fun!)
Follow me on Pinterest (I pin tons of free patterns to my boards!)
Join my Facebook group (lots of awesome crochet talk there)
Also, you can find me on Ravelry or join my subscribers on YouTube.
Crocheted Pillow Pattern Details
This throw pillow is crocheted in two panels and slip stitched or single crocheted together.
You can stuff it with fiberfill or do what I did, which is to use scrap yarn! Keep in mind that if you do this with smaller yarn you might need to place the yarn in pantyhose or fabric to keep the strands from escaping between stitches. I had two large skeins of the Pipsqueak Stripes and put the rest of my yarn in my pillow and it worked great. Talk about a yarn pillow! Haha!
You can also use a pillow insert, which makes it even easier.
How to Customize Your Pillow Crochet Pattern
It’s easy to make this any size you want by continuing the increases until the long side is the size you like, then follow the decrease section as written.
If you’d like a rectangular shape for a pillow case, increase to the size you want the short side, then work the beginning of the increase section and the end of the decrease section, so you are adding one block on one side and slip stitching into the other side.
If you would like to make this a crochet pillow cover pattern it’s easy to do by adding closures to one end. You have several options for this, but if I was going to do it I would close up three sides and then single crochet a strip about two inches wide on one of the panels on the open side, then add buttons or snaps so I could get a pillow form in and out easily.
More Free Home Decor Patterns

Easy C2C Crochet Pillow
What You’ll Need
Yarn: Bernat Pipsqueak Stripes (bulky yarn #5), 1 skein (could also substitute 3 skeins regular Pipsqueak yarn)
Crochet Hook: US Size I/9 (5.5mm)
Notions: Yarn needle/Tapestry needle, scissors, stuffing/stash yarn/pillow form
Gauge: 5 blocks = 4″
Finished Size: Approximately 10″ x 10″, perfect crochet throw pillow or pillow for small child
Stitch Abbreviations
Chain (ch)
Slip Stitch (sl st)
Single Crochet (sc)
Double Crochet (dc)
Free Crochet Pillow Pattern
Panel (Make 2)
Ch 6.
Row 1: Dc in 4th ch from hook and next 2 ch; turn – 1 block made.
Row 2: Ch 6, dc in 4th ch from hook and next 2 ch, (sl st, ch 3, 3 dc) in next ch-3 sp; turn – 2 blocks made.
Row 3: Ch 6, dc in 4th ch from hook and next 2ch, (sl st, ch 3, 3 dc) in all ch-3 spaces of previous row; turn.
Rows 4-13: Repeat row 3. Each row should increase one block until there are a total of 13 blocks.
Row 14: Sl st in 3 dc, (sl st, ch 3, 3 dc) in next ch-3 sp of previous row to last ch-3 sp, sl st in last ch-3 sp; turn – do not make a block in the last space.
Rows 15-25: Repeat row 14, ending with last block as row 25. Fasten off.
Finishing
There are two ways I would recommend attaching your panels.
The first is to simply hold the two panels together and single crochet around the edge. If you want a decorative edge you could work several rounds of single crochet. Make sure to stuff it when you get three edges done, then work across the top.
The way I did mine was to slip stitch around three sides, flip it right side out (although there really isn’t a “right” or “wrong” side to this), stuff it and single crochet along the top of the last side.
I also kept my ends inside and the only end left to weave in was the yarn tail used to work the slip stitch and single crochet. Even easier. 🙂
You could also sew the panels together with a stitch like the whip stitch if you like.
Weave in ends.
That’s it! I hope you’ve enjoyed this free pattern for the Easy c2c Crochet Pillow. Two of my kiddos are already fighting over mine so I think I’d better choose some stash yarn and get to making another! Haha!
Happy Crocheting!
Amanda