
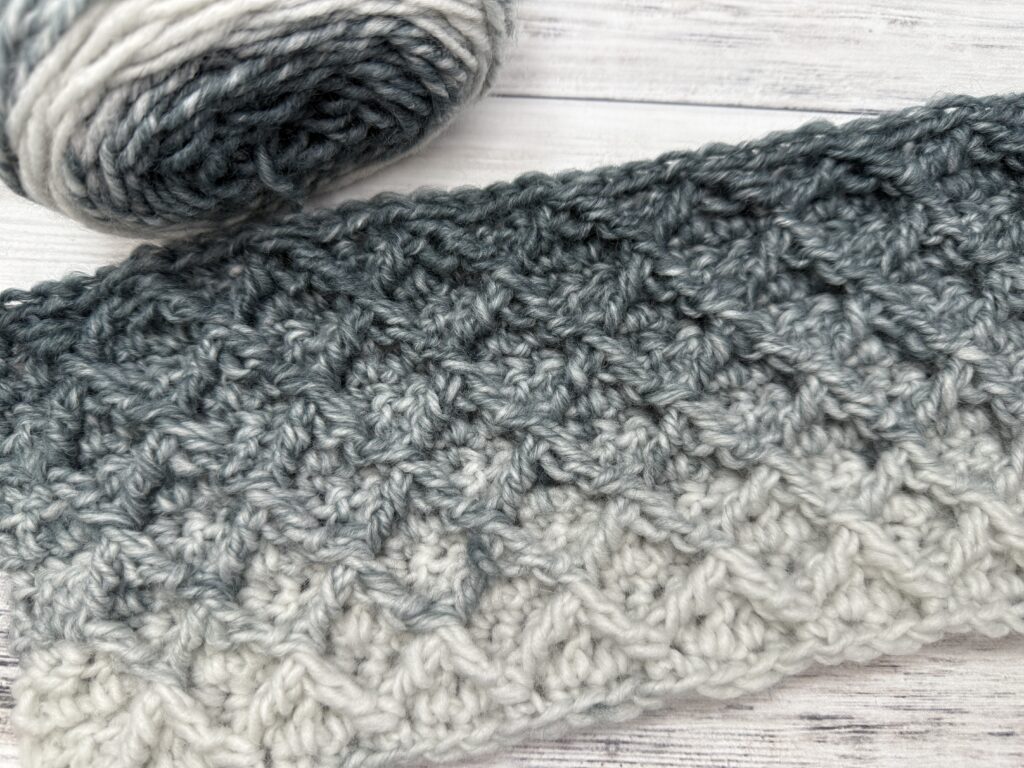
The crochet diamond stitch is a beautiful and textured stitch that adds an elegant touch to any project. With its unique raised diamond pattern, it’s perfect for creating cozy blankets, stylish scarves, or eye-catching accessories.
While it might look intricate, it’s surprisingly easy to learn once you understand the basic steps. This tutorial will walk you through the process of crocheting the diamond stitch, offering helpful tips and tricks along the way.
How to Crochet the Diamond Stitch
This tutorial will guide you through creating a sample swatch of the diamond stitch. Once you master the swatch, you can easily adapt it to larger projects like the scarf pattern provided.
Materials:
- Yarn (yarn used in the sample is Lion Brand Scarfie)
- Crochet hook (size appropriate for your yarn, mine is a size L/8.00mm)
- Scissors
- Yarn needle
Abbreviations:
- Ch: Chain
- Sc: Single crochet
- Dc: Double crochet
- Fptr: Front post treble crochet
- Fptr2tog: Front post treble two together
Special Stitches:
Fptr2tog (Front Post Treble Two Together): *Yarn over twice, insert hook into stitch indicated, yarn over, draw loop through, (yarn over, draw through 2 loops) twice (two loops left on hook); repeat from * with three loops on hook, yarn over and draw through all three loops.
Notes
Ch 3 on an even row always counts as a dc (see the video for a chainless dc hack!).
Crochet Diamond Stitch Instructions:
Chain a multiple of 4 + 1. For my swatch in the video, I chained 21.
Row 1: Sc in the 2nd chain from the hook and in each chain across; turn. (If you’re following my swatch, you will have 20 sts on this and all future rows).
Row 2: Ch 3 (counts as a dc in this and all even rows), dc in each stitch across; turn.
Row 3: Ch 1, sc 3, Fptr2tog, inserting hook into second sc two rows below and sixth sc two rows below (skipping 3 sc in between), *sc 3, Fptr2tog, inserting hook into same sc two rows below as second leg of last Fptr2tog, skip 3 sc two rows below, complete Fptr2tog in next sc two rows below; repeat from * to last st, sc 4; turn.
Row 4: Ch 3, dc in each stitch across; turn.
Row 5: Ch 1, sc in first st, fptr, inserting hook around post of fptr2tog two rows below, *sc 3, fptr2tog, inserting hook around same fptr2tog two rows below and next fptr2tog two rows below; repeat from * to last 2 sts, fptr, inserting hook around last post of fptr2tog two rows below, sc3, fptr in last fptr2tog two rows below, sc 2; turn.
Row 6: Ch 3, dc in each stitch across. Turn.
Row 7: Ch 1, *sc 3, Fptr2tog, inserting hook around fptr2tog two rows below and next fptr2tog two rows below; repeat from * to last st, sc 4; turn.
Repeat Rows 4-7: Continue repeating these rows to create the diamond pattern.
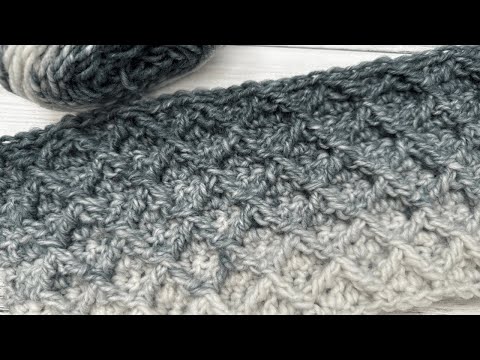
Diamond Stitch Video Tutorial
Tips for the Perfect Diamond Stitch
- Tension: Maintain consistent tension throughout your project to ensure the diamond pattern comes out evenly. Too loose or too tight tension can distort the design.
- Stitch Counts: Pay close attention to your stitch counts, especially on the rows with the Fptr2tog. Accurate stitch counts are crucial for maintaining the pattern. A big problem is forgetting to skip the stitch behind the front post stitches.
- Practice Swatches: Before starting a large project, create a practice swatch to get comfortable with the stitch. This will help you identify any issues with your tension or understanding of the pattern.
- Yarn Choice: While the diamond stitch works well with various yarns, a smoother yarn will showcase the texture more effectively. Consider using a yarn with good stitch definition.
- Blocking: Blocking your finished piece will help to even out the stitches and enhance the diamond pattern.
Final Thoughts on the Diamond Stitch
The crochet diamond stitch is a fantastic stitch to add to your repertoire. It offers a beautiful, textured design that’s perfect for a wide range of projects. While it may seem a bit complex at first, with a little practice and patience, you’ll be creating stunning diamond stitch pieces in no time. So grab your hook and yarn, and give this elegant stitch a try! You’ll be delighted with the results.
Happy Crocheting!
Amanda