
This post is sponsored by Clover USA. All opinions are my own.
When Clover approached me with the idea of using the Mini Weaving Loom in a project, I was intrigued. I’ve taught fashion design at the high school level for several years and we always do a small weaving project.
The challenge was thinking outside the box and not making the same things I’d seen before: wall hangings, coasters, simple scarves made with several strips. What could I make that was different?

It took some time of thinking it over to decide on a fall-themed project that most people love: pumpkins! If you can make a pumpkin from a rectangle of purchased fabric, why couldn’t you make one from a rectangle of fabric you wove yourself?
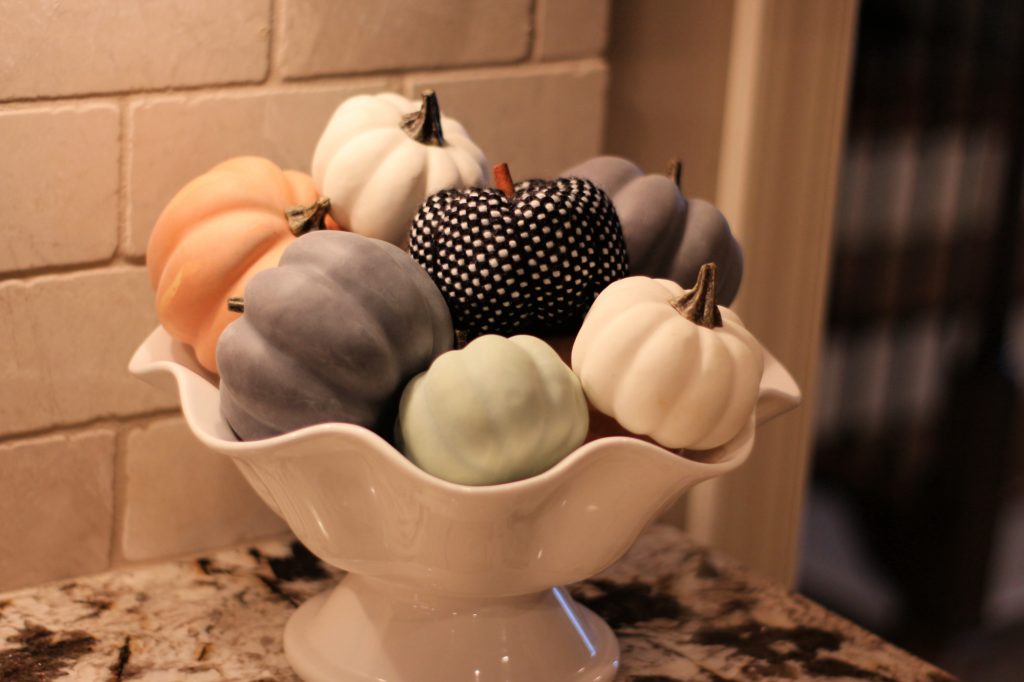
Turns out, it works out perfectly!! I really love how these turned out and we enjoyed experimenting with different yarns. I say we because three different people wove pumpkins in my house: myself, my husband, and Christian (my 9-year-old son who does the Yarn Crafts for Kids videos on my YouTube channel).
Our last yarn we tried was the Bernat Velvet and it made my favorite pumpkin – so much so that we ended up making another velvet pumpkin to match the first! See all the wonderful colors it comes in here!
Top these off with an inexpensive cinnamon stick and you have a perfect fall project that you can create yourself – even if you can’t knit or crochet! The Clover Mini Weaving Loom is so easy to use that kiddos can use it to make these, too!
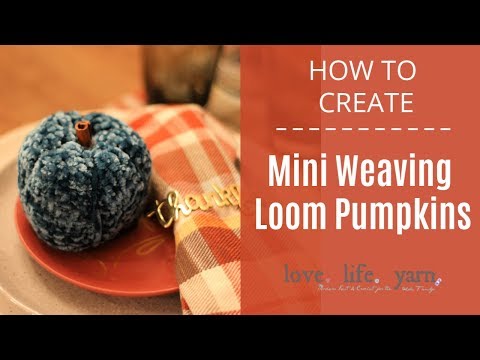
Mini Weaving Loom Fall Pumpkins
What You’ll Need
Yarn: Any bulky or super bulky yarn. We used Red Heart Soft Essentials for the black and white pumpkin, Lion Brand Wool Ease Thick & Quick for the gray pumpkin, and Bernat Velvet for the Velvet Pumpkins
Loom: Clover Mini Weaving Loom (Double) – Make sure you use the double loom, or you will end up with a square instead of a rectangle!
Notions: Yarn Needle, Fiberfill for stuffing, hot glue gun and sticks, cinnamon sticks (check out these inexpensive ones)
(Optional – throw some fall spices in with the fiberfill for extra yumminess!)
How to Use the Loom
**Please use the video tutorial above if you have any questions about these steps.
Step One: Set up the warp
Tie a knot at the bottom right corner of the loom. With the yarn secured with a knot to the loom, pull the yarn from the back of the loom to the lower groove and wind it up to the upper groove following the direction of the arrows. To finish, secure the yarn with a knot on the back of the loom at the top left.
Step Two: Wind the weft
Hold the end of the yarn and wind the yarn in a figure eight-motion so that the amount of yarn on the right and left sides are the same. At the end, wind the yarn around the center, too. Total thickness should not exceed 3/4″.
Step Three: Set up the shed stick
Pass the shed stick through the even numbered strands of the warp yarn. This will help pass the shuttle back through the loom.
Step Four: Begin Weaving
With the shuttle, scoop the odd-numbered strands of warp yarn and pass it through them. Be sure to leave a long tail for gathering the bottom of the pumpkin.
When making the first row, create an arch shape and use the weaving comb to pull the weft yarn towards you to the bottom of the loom.
Turn the shed stick upright to separate the even numbered strands of the warp yarn. Pass the shuttle through the shed of the warp.
After each pass, use the weaving comb to pull the weft yarn towards you to the bottom of the loom.
Step Five: Remove shed stick when it gets difficult to pass the shuttle through
Still use the shuttle for weaving, but remove the shed stick when it gets in the way.
Step Six: Use the needle for the last rows
When it becomes difficult to pass the shuttle through because you are close to the top, unwind the yarn from the shuttle, thread the needle that comes with the loom, and continue weaving with the needle.
Step Seven: Remove the woven piece from the loom
You can do this by removing the spacing bars, or you can do what I like to do and pull off each loop when making the last row.
Step Eight: Even out the yarns
Use the comb to even out your weave.
Step Nine: Sew the side edges together
Use the mattress stitch to sew the side edges together, creating an enclosed tube of fabric.
Step Ten: Gather and stuff
Use the yarn tail left from the beginning or end of the weave and pull tightly to close. Use the yarn needle to secure the end. Stuff tightly with fiberfill. Put in spices if using. Gather top the same way as bottom.
Step Ten: Attach the stem
Use a hot glue gun to attach a small piece of cinnamon stick to the top of the pumpkin. Use whichever side you like best for the top.

These work so wonderfully for place settings and decorations around the house! I love how they all turned out and I plan on making more of these (or having Christian make some! haha) so we can be ready for fall!
Be sure to check out all of my free crochet patterns and free knitting patterns. More weaving and other yarn craft items coming soon!
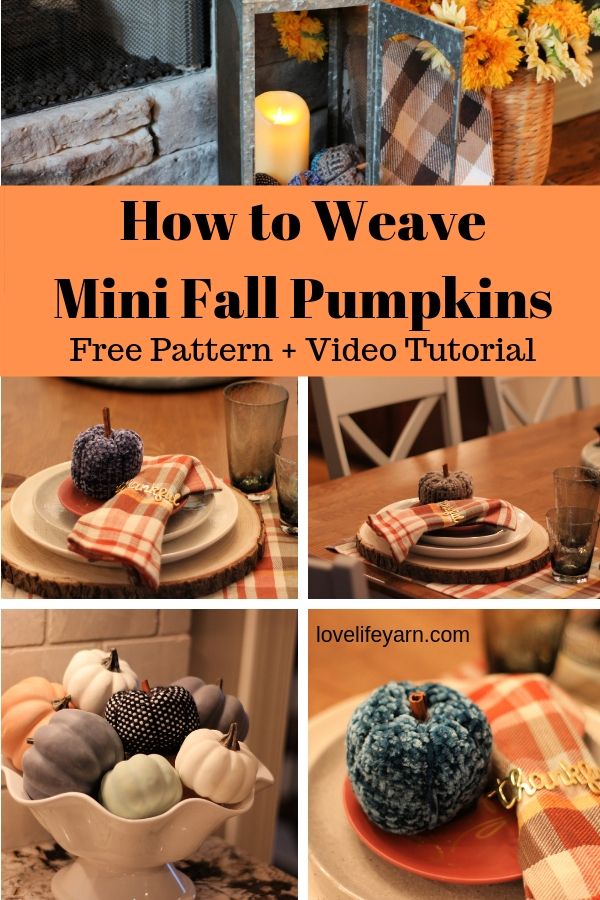
I hope you enjoy this free weaving project – if you want to save this project for later, be sure to click on the image below to pin it!
AMANDA, HAVE YOU EVER TRIED A KNITTING MACHINE NEEDLE?? I USED TO KNIT ON KNITTING MACHINES AND ONE THING I GOT FROM THEM WAS A 3 OR 4 INCH NEEDLE WITH AN EYE ON EACH END AND WHEN I QUIT USING THE MACHINES I STILL USE THOSE NEEDLES WITH MY HAND CROCHET AND LOOMING AMD KNITTING TO HIDE ENDS,,, WORKS SO NICE FOR MY 74 YEAR OLD HANDS. I RELY LIKE YOUR E-MAILS…
I haven’t tried that but it sounds like a wonderful idea! 😀