Learn how to crochet these easy crochet mittens from the top down with this simple free crochet pattern – includes a complete video tutorial, too!

Buy the ad-free PDF of this pattern on Etsy here
Design Story and Inspiration for this Crochet Mittens Pattern
I designed this easy crochet mittens pattern as part of the Holiday Maker’s Challenge, an 8-week event where a group of crocheters all work together to make as many holiday gifts as possible before Christmas.
All of the patterns need to be easy enough for an advance beginner, use up stash yarn, be quick enough to make in a weekend, and be something that is well-received by the person you’re gifting it to!
This crochet mitten pattern fits the bill! I had such a blast making these and I got to use up a skein of my stash yarn. These are for one of my sons’ teachers (with four boys I have a lot of teachers to make for!).
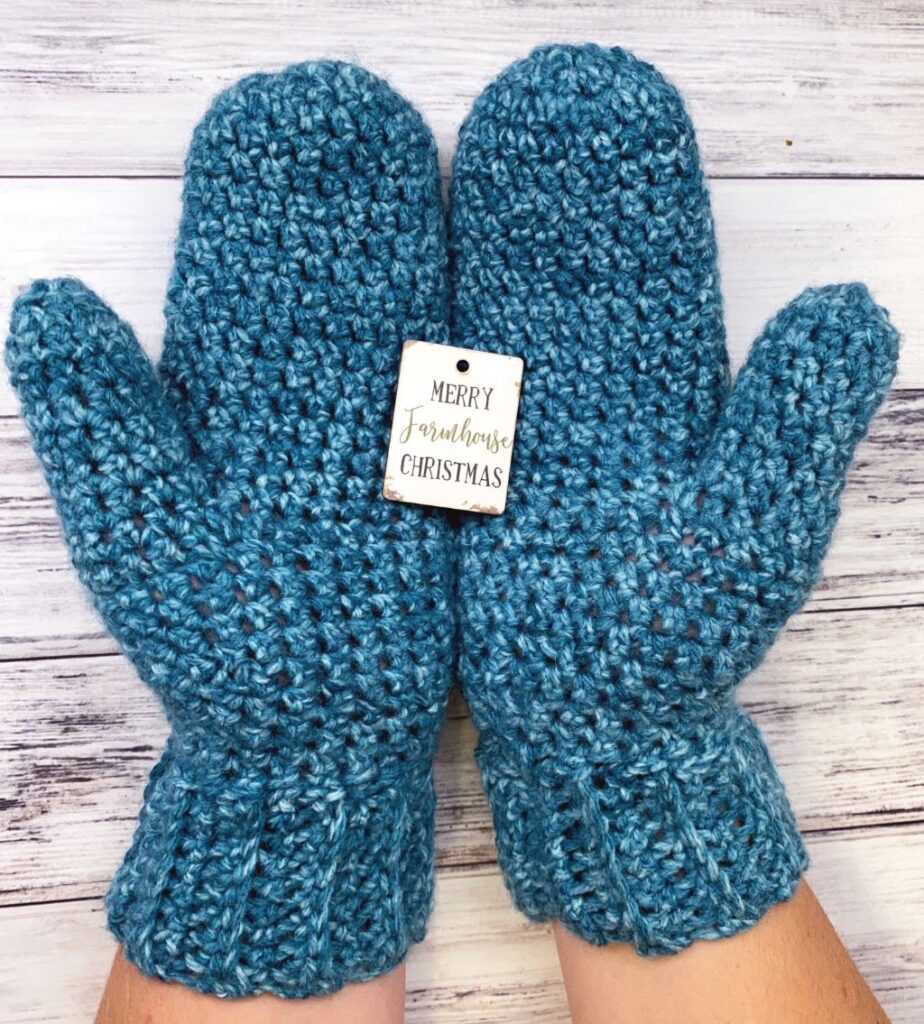
Yarn Options for this Crochet Mitten Pattern
For this pattern you will need a worsted weight yarn. I used Mary Maxim Starlette, which is a 100% acrylic yarn that is machine washable. It worked up great! I love this teal heather color, too.
You can use any worsted weight yarn that gets gauge for this pattern. Most of us have an odd skein or two of this yarn weight (category #4) lying around, so this pattern will fit the bill perfectly. If you don’t happen to have this yarn weight on hand, try holding a couple of strands of sport weight or even a lighter dk weight yarn together. (Be sure to check gauge!)
Click here to see the best yarn for mittens!
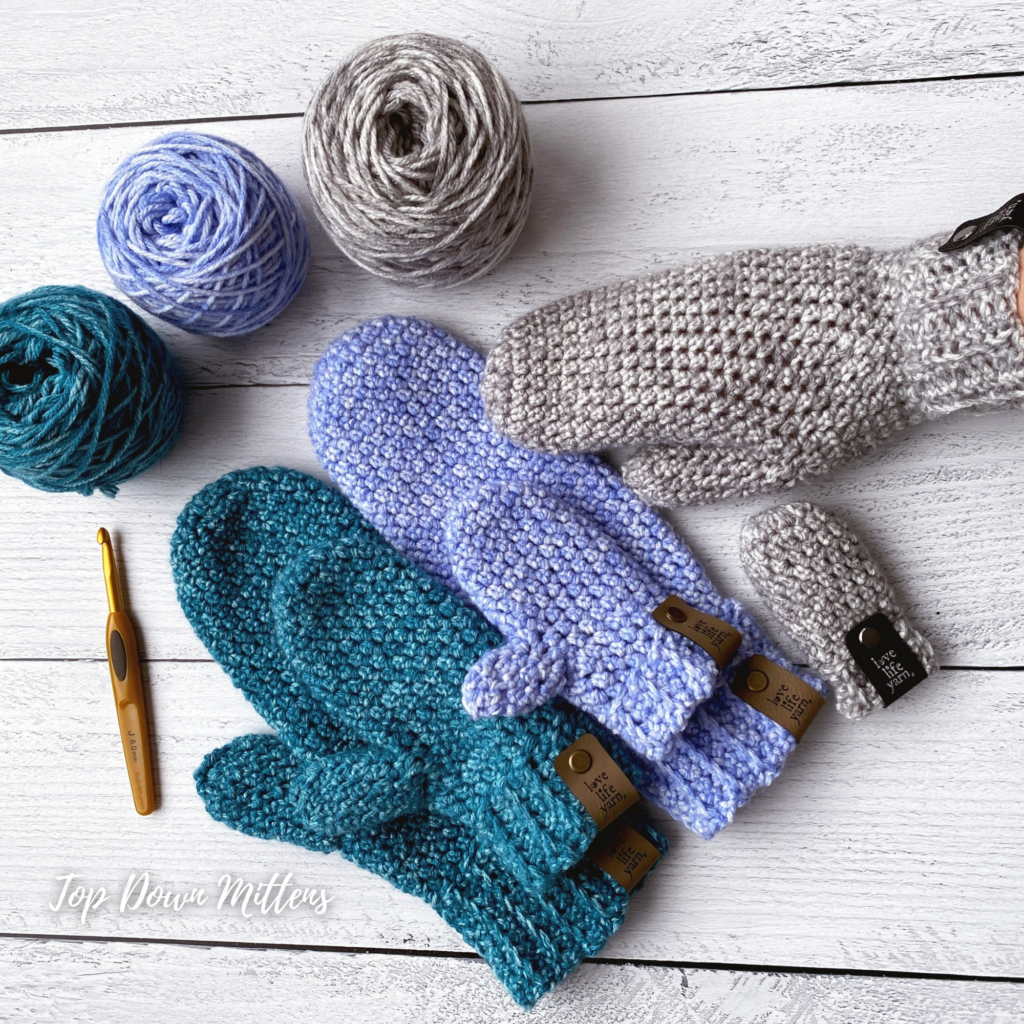
Purchase the ad-free PDF with six sizes and link to video tutorial!
Before we begin… let’s get Social!
I would love for you to come follow me on
Instagram (get sneak peeks of what’s coming up!)
My Facebook Page (come join the fun!)
Follow me on Pinterest (I pin tons of free patterns to my boards!)
Join my Facebook group (lots of awesome crochet talk there)
Also, you can find me on Ravelry or join my subscribers on YouTube.
Crocheted Mittens Pattern Details
This pattern is worked from the top down beginning at the fingertips with a magic circle. The thumb is added by chaining and leaving a thumb opening, then the thumb is worked last on these stitches.
This pattern is worked entirely in extended single crochet stitches, which is a slight variation on the basic single crochet.
More Free Cozy Crochet Mittens

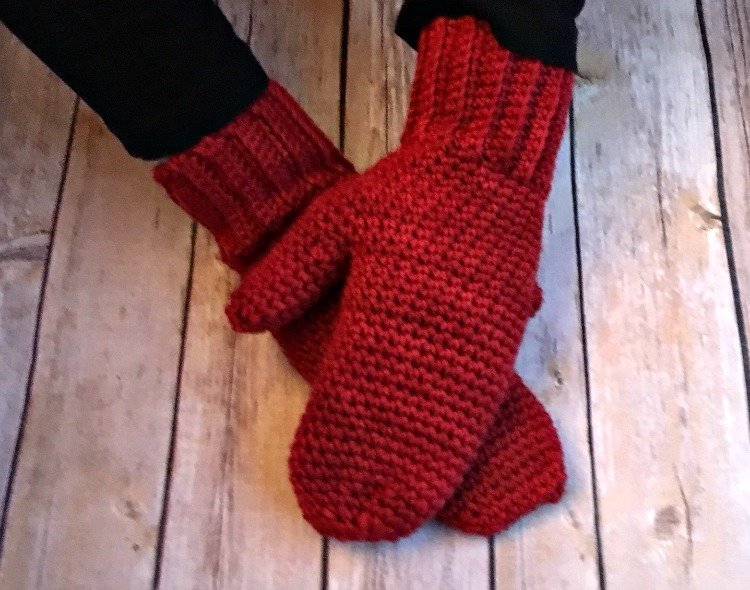
Easy Crochet Mittens
What You’ll Need
Yarn: Mary Maxim Starlette, 1 skein Teal Heather (or other worsted weight #4 yarn that gets gauge)
Crochet Hook: US J/10 (6.00mm)
Notions: Yarn needle, stitch marker, scissors
Gauge: 14 sts and 16 rows = 4″ (10cm) in esc
Finished Sizes:
Baby: Approx. 4.5” hand circumference
3-6 Years: Approx. 5” hand circumference
7-10 Years: Approx. 6” hand circumference
Adult S: Approx. 7″ hand circumference
Adult M: Approx. 7.5” hand circumference
Adult L: Approx. 8” hand circumference
Pattern Notes
Mitten is worked from the top down with the thumb added last. (Except baby size, which has no thumb.)
Do not join rounds. Rounds are worked continuously to ribbing. Use a stitch marker to keep track of first stitch.
Ribbing of cuff is worked in rows back and forth and attached to body of mitten with slip stitch.
Stitch Abbreviations and Descriptions
chain (ch)
extended single crochet (esc) – insert hook into stitch, yarn over and draw up a loop, yarn over and draw through one loop, yarn over and draw through both loops on hook.
Decrease (dec) – use the invisible decrease technique – insert hook into front loop only of next 2 sts, yarn over and pull up a loop, yarn over and draw through one loop, yarn over and draw through both loops on hook.
Easy Crochet Mittens Pattern

Buy the ad-free PDF of this pattern and crochet on the go!
Infant
Make magic ring.
Round 1: Ch 1, work 8 esc in ring (8 sts).
Round 2 (Inc Rnd): Work 2 esc in each st (16 sts).
Round 3-9: Esc in each st around (16 sts).
Round 10 (Dec Rnd): *Esc 2, dec; repeat from * around (12 sts).
Do not break yarn.
Ribbing for Cuff
Ch 6.
Row 1: Esc in 3rd ch from hook and each ch, slip st in next 2 sts of mitten body; turn (4 sts).
Row 2: Do not chain, sk sl sts, esc in back loop only of each st; turn (4 sts).
Row 3: Ch 1, esc in back loop only of each st; sl st in next 2 sts of mitten body; turn.
Repeat rows 2-3 around bottom of mitten to last st of body. Seam ribbing with yarn needle or slip st seam together.
Finishing
Weave in ends.
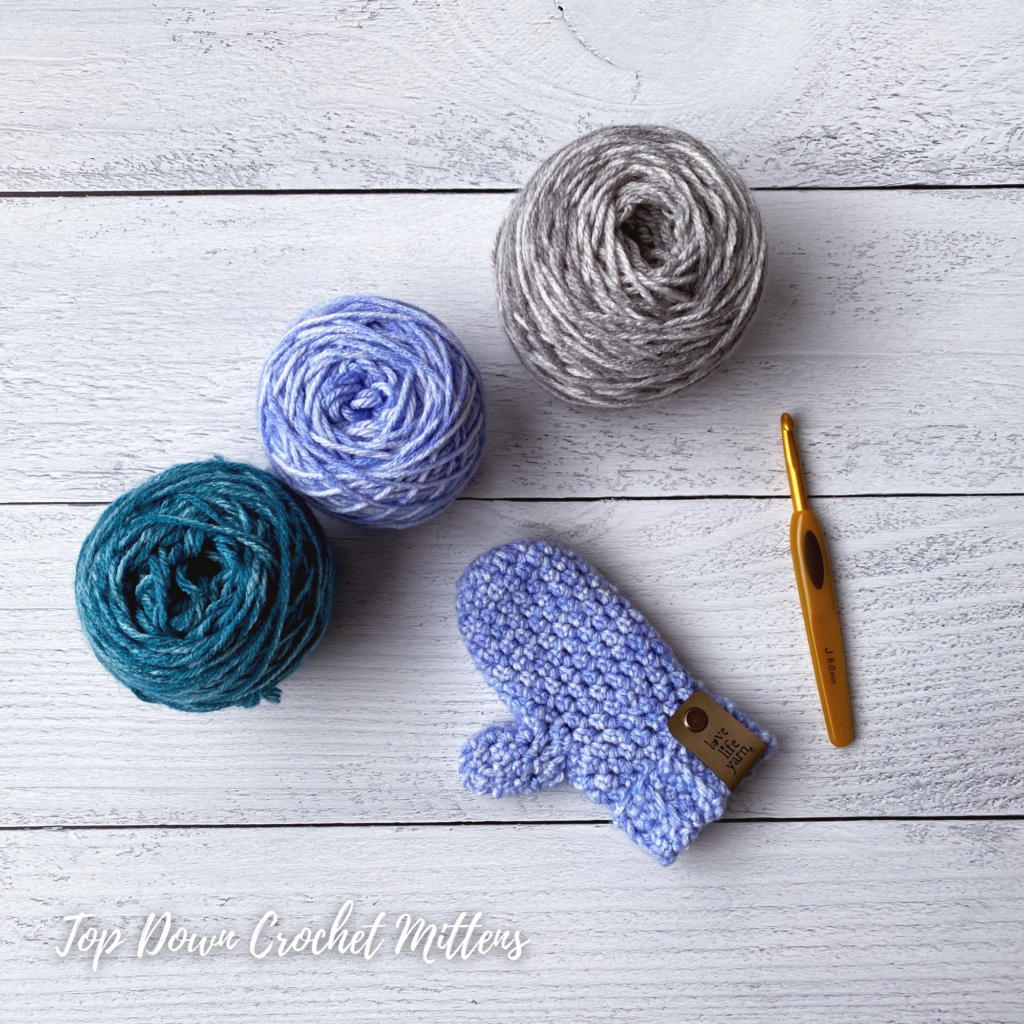
3-6 YEARS
Make magic ring.
Round 1: Ch 1, work 8 esc in ring (8 sts).
Round 2 (Inc Rnd): Work 2 esc in each st (16 sts).
Round 3 (Inc Rnd): *Esc 7, 2 esc in next st; repeat from * around (18 sts).
Rounds 4-10: Esc in each st around (18 sts).
Round 11 (Create Thumb Hole): Ch 4, skip 2 sts, esc in each st to end (20 sts).
Round 12: Esc in each st around (20 sts).
Round 13 (Dec Rnd): *Esc 3, dec; repeat from * around (16 sts).
Round 14: Esc in each st around (16 sts).
Do not break yarn.
Ribbing for Cuff
Ch 6.
Row 1: Esc in 3rd ch from hook and each ch, slip st in next 2 sts of mitten body; turn (4 sts).
Row 2: Do not chain, sk sl sts, esc in back loop only of each st; turn (4 sts).
Row 3: Ch 1, esc in back loop only of each st; sl st in next 2 sts of mitten body; turn.
Repeat rows 2-3 around bottom of mitten to last st of body. Seam ribbing with yarn needle or slip st seam together.
Thumb
Join yarn at corner of thumb hole.
Round 1: Ch 1, esc in same space as join, esc 7 more sts evenly around (this will mean working into the corners as well as in each stitch) – (8 sts).
Round 2-4: Esc in each st around (8 sts).
Round 5 (Dec Rnd): *Dec; repeat from * around (4 sts).
Finishing
Break yarn, leaving a long tail. Weave tail through remaining 4 sts and pull tightly to close.
Weave in ends.
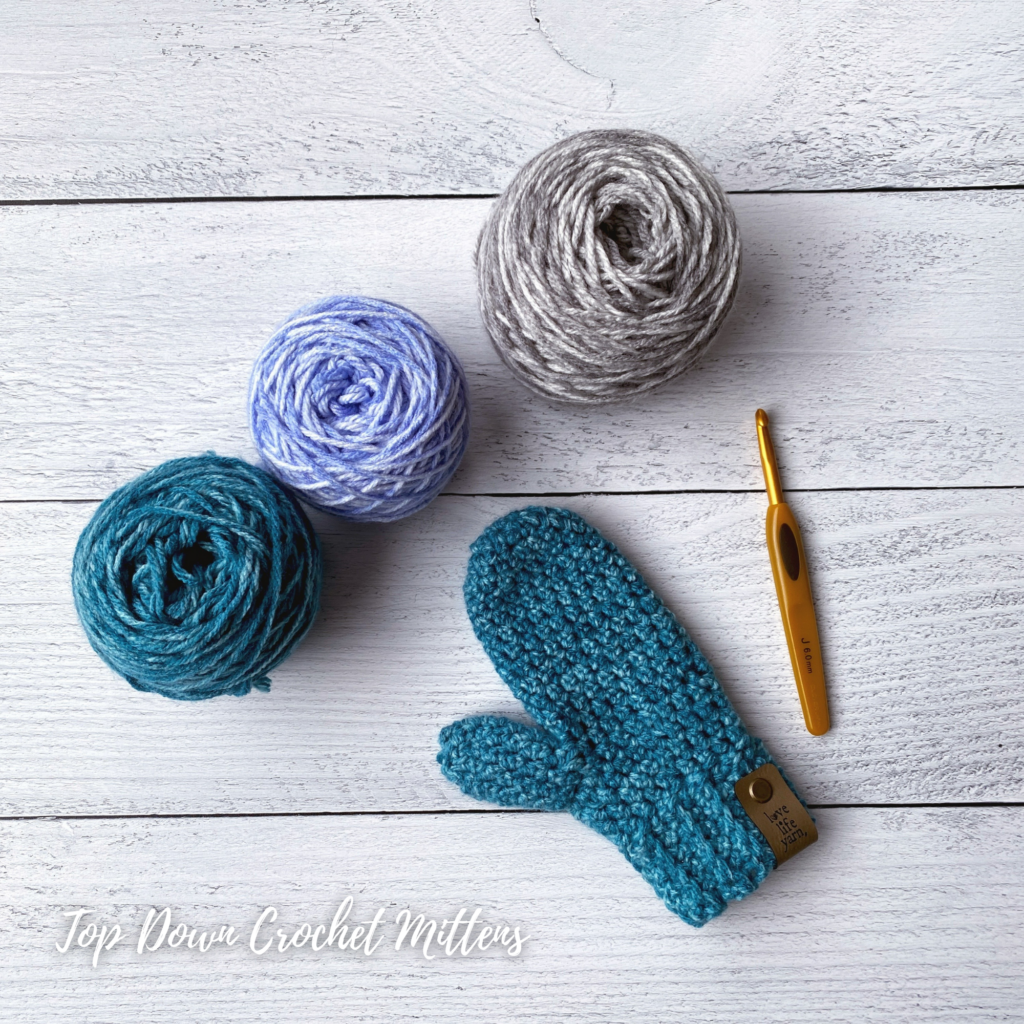
7-10 YEARS
Make magic ring.
Round 1: Ch 1, work 8 esc in ring (8 sts).
Round 2 (Inc Rnd): Work 2 esc in each st (16 sts).
Round 3 (Inc Rnd): *Esc 3, 2 esc in next st; repeat from * to end (20 sts).
Rounds 4-13: Esc in each st around (20 sts).
Round 14 (Create Thumb Hole): Ch 6, skip 2 sts, esc in each st to end (24 sts).
Round 15: Esc in each st around (24 sts).
Round 16 (Dec Rnd): *Esc 4, dec; repeat from * around (20 sts).
Round 17: Esc in each st around (20 sts).
Round 18 (Dec Rnd): *Esc 8, dec; repeat from * around (18 sts).
Do not break yarn.
Ribbing for Cuff
Ch 8.
Row 1: Esc in 3rd ch from hook and each ch, slip st in next 2 sts of mitten body; turn (6 sts).
Row 2: Do not chain, sk sl sts, esc in back loop only of each st; turn (6 sts).
Row 3: Ch 1, esc in back loop only of each st; sl st in next 2 sts of mitten body; turn.
Repeat rows 2-3 around bottom of mitten to last st of body. Seam ribbing with yarn needle or slip st seam together.
Thumb
Join yarn at corner of thumb hole.
Round 1: Ch 1, esc in same space as join, esc 9 more sts evenly around (this will mean working into the corners as well as in each stitch) – (10 sts).
Round 2-6: Esc in each st around (10 sts).
Round 7 (Dec Rnd): *Dec; repeat from * around (5 sts).
Finishing
Break yarn, leaving a long tail. Weave tail through remaining 6 sts and pull tightly to close.
Weave in ends.

Adult Small
Make magic ring.
Round 1: Ch 1, work 8 esc in ring (8 sts).
Round 2 (Inc Rnd): Work 2 esc in each st (16 sts).
Round 3 (Inc Rnd): *Esc, 2 esc in next st; repeat from * to end (24 sts).
Rounds 4-18: Esc in each st around (24 sts).
Round 19 (Create Thumb Hole): Ch 7, skip 3 sts, esc in each st to end (28 sts).
Rounds 20-23: Esc in each st around (28 sts).
Round 24 (Dec Rnd): *Esc 5, dec; repeat from * around (24 sts).
Round 25: Esc in each st around (24 sts).
Round 26 (Dec Rnd): *Esc 4, dec; repeat from * around (20 sts).
Do not break yarn.
Ribbing for Cuff
Ch 11.
Row 1: Esc in 3rd ch from hook and each ch, slip st in next 2 sts of mitten body; turn (9 sts).
Row 2: Do not chain, sk sl sts, esc in back loop only of each st; turn (9 sts).
Row 3: Ch 1, esc in back loop only of each st; sl st in next 2 sts of mitten body; turn.
Repeat rows 2-3 around bottom of mitten to last st of body. Seam ribbing with yarn needle or slip st seam together.
Thumb
Join yarn at corner of thumb hole.
Round 1: Ch 1, esc in same space as join, esc 11 more sts evenly around (this will mean working into the corners as well as in each stitch) – (12 sts).
Round 2-8: Esc in each st around (12 sts).
Round 9 (Dec Rnd): *Dec; repeat from * around (6 sts).
Finishing
Break yarn, leaving a long tail. Weave tail through remaining 6 sts and pull tightly to close.
Weave in ends.

Adult Medium
Make magic ring.
Round 1: Ch 1, work 8 esc in ring (8 sts).
Round 2 (Inc Rnd): Work 2 esc in each st (16 sts).
Round 3 (Inc Rnd): *Esc, 2 esc in next st; repeat from * to end (24 sts).
Round 4 (Inc Rnd): *2 esc in next st, esc 11; repeat from * (26 sts).
Rounds 5-20: Esc in each st around (26 sts).
Round 21 (Create Thumb Hole): Ch 9, skip 3 sts, esc in each st to end (32 sts).
Rounds 22-25: Esc in each st around (32 sts).
Round 26 (Dec Rnd): *Esc 6, dec; repeat from * around (28 sts).
Round 27: Esc in each st around (28 sts).
Round 28 (Dec Rnd): *Esc 5, dec; repeat from * around (24 sts).
Do not break yarn.
Ribbing for Cuff
Ch 11.
Row 1: Esc in 3rd ch from hook and each ch, slip st in next 2 sts of mitten body; turn (9 sts).
Row 2: Do not chain, sk sl sts, esc in back loop only of each st; turn (9 sts).
Row 3: Ch 1, esc in back loop only of each st; sl st in next 2 sts of mitten body; turn.
Repeat rows 2-3 around bottom of mitten to last st of body. Seam ribbing with yarn needle or slip st seam together.
Thumb
Join yarn at corner of thumb hole.
Round 1: Ch 1, esc in same space as join, esc 12 more sts evenly around (this will mean working into the corners as well as in each stitch) – (13 sts).
Round 2-8: Esc in each st around (13 sts).
Round 9 (Dec Rnd): *Dec; repeat from * around, esc in last st (7 sts).
Finishing
Break yarn, leaving a long tail. Weave tail through remaining 7 sts and pull tightly to close.
Weave in ends.
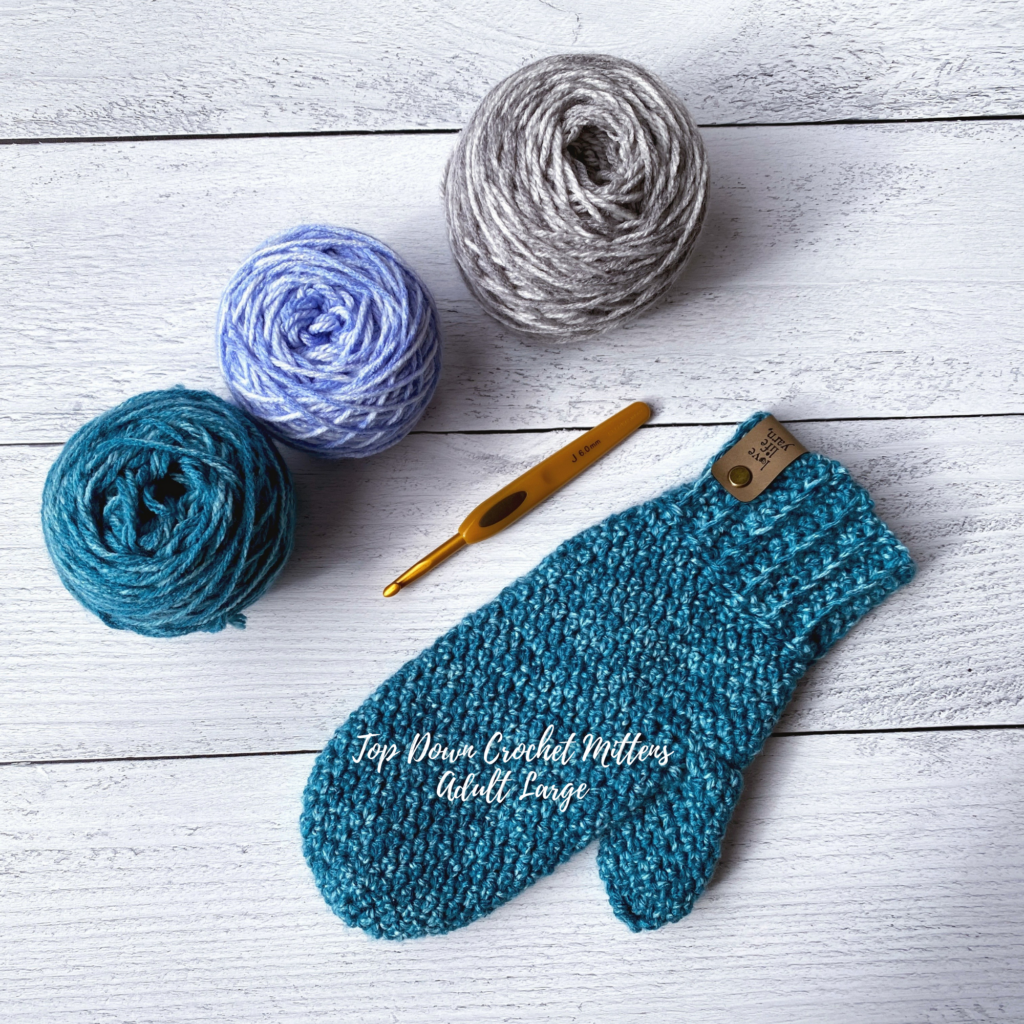
Adult Large
Make magic ring.
Round 1: Ch 1, work 8 esc in ring (8 sts).
Round 2 (Inc Rnd): Work 2 esc in each st (16 sts).
Round 3 (Inc Rnd): *Esc, 2 esc in next st; repeat from * to end (24 sts).
Round 4 (Inc Rnd): *2 esc in next st, esc 5; repeat from * (28 sts).
Rounds 5-20: Esc in each st around (28 sts).
Round 21 (Create Thumb Hole): Ch 9, skip 3 sts, esc in each st to end (34 sts).
Rounds 22-25: Esc in each st around (34 sts).
Round 26 (Dec Rnd): *Esc 6, dec; repeat from * to last 2 sts, esc 2 (30 sts).
Round 27: Esc in each st around (30 sts).
Round 28 (Dec Rnd): *Esc 5, dec; repeat from * to last 2 sts, esc 2 (26 sts).
Do not break yarn.
Ribbing for Cuff
Ch 11.
Row 1: Esc in 3rd ch from hook and each ch, slip st in next 2 sts of mitten body; turn (9 sts).
Row 2: Do not chain, sk sl sts, esc in back loop only of each st; turn (9 sts).
Row 3: Ch 1, esc in back loop only of each st; sl st in next 2 sts of mitten body; turn.
Repeat rows 2-3 around bottom of mitten to last st of body. Seam ribbing with yarn needle or slip st seam together.
Thumb
Join yarn at corner of thumb hole.
Round 1: Ch 1, esc in same space as join, esc 13 more sts evenly around (this will mean working into the corners as well as in each stitch) – (14 sts).
Round 2-8: Esc in each st around (14 sts).
Round 9 (Dec Rnd): *Dec; repeat from * around (7 sts).
Finishing
Break yarn, leaving a long tail. Weave tail through remaining 7 sts and pull tightly to close.
Weave in ends.
Even More Free Mittens Patterns
I hope you’ve enjoyed this free pattern for the Easy Crochet Mittens! I sure had fun designing them!
Happy Crocheting!
Amanda


Hello! This looks like a great pattern! I would like to make these mittens for a 4-5 year-old girl. Could I adjust the pattern for her size mittens?
You could try working less increases to fit a smaller hand and try it on to see when to shape the thumb hole. I’m planning on making some kid’s mittens this year (I have four boys from 12 down to 3!) so hopefully there will be a child’s mitten on this blog soon. 🙂
Hi, great pattern, but the video did not show how to join the rib to the mitten. I have kinda got lost. slip st in next two sts.?
Then not sure about Row 2: Do not chain, sk sl sts ?
thanks
Oh no!! I just looked and apparently that segment of the video disappeared… you slip stitch into one stitch of the body of the mitten to attach the rib, then the slip stitch in the next stitch counts as the ch-1. Then you will skip those 2 sl sts and sc back loop only in the main sts of the ribbing.