
Created with only single crochet and chains, this crochet jacket works up super quickly even for advanced beginners!

Design Story and Inspiration for This Jacket Pattern
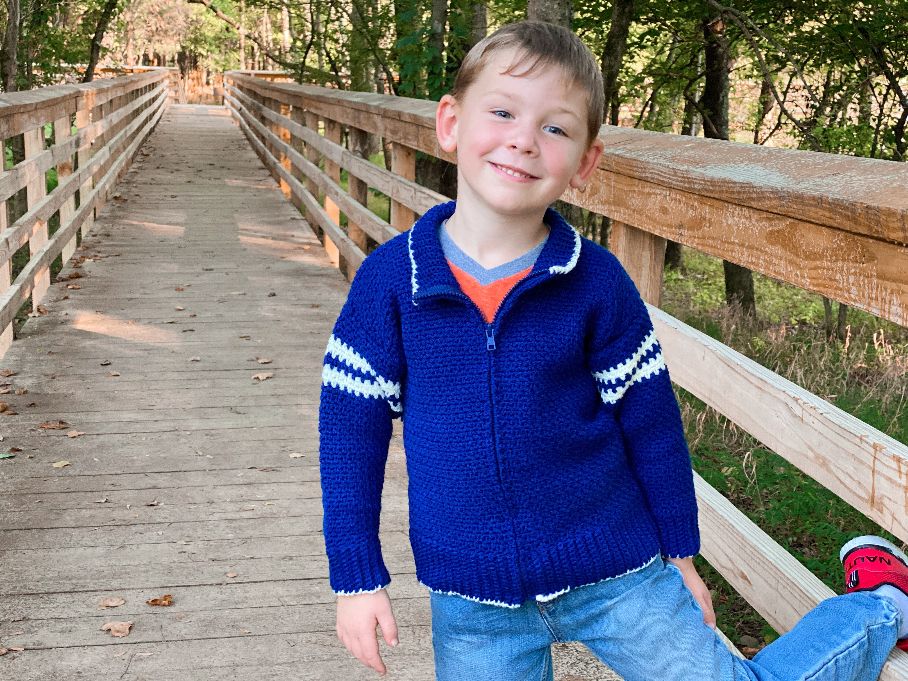
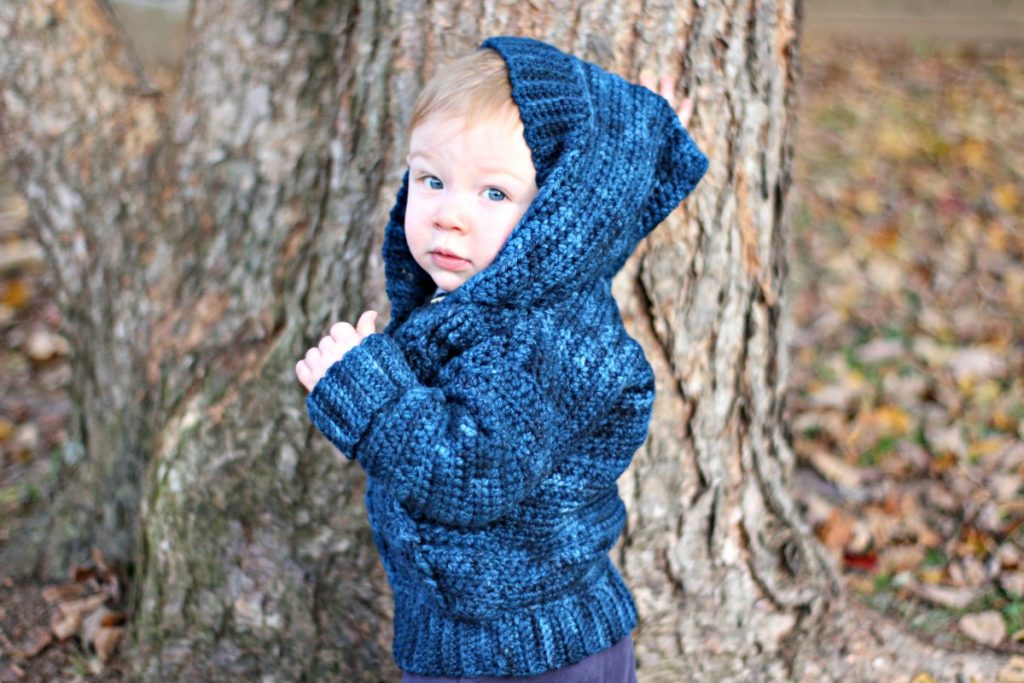
My sons love it when I design a sweater for them, and I wanted an easy zippered design that could be worn when there was a chill in the air but it wasn’t too cold.
I really love the crochet moss stitch (also called the seed stitch) and wanted to design a sweater using it.
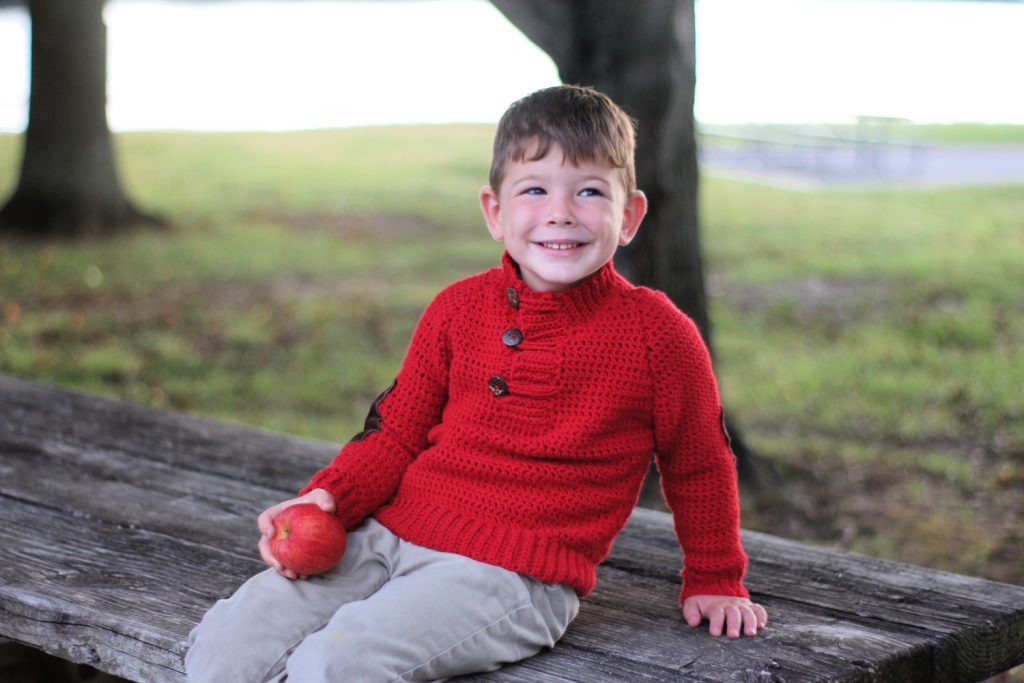
I originally intended to sew on a patch on the left front, but ended up loving it just the way it is and decided to go without – but it would also be cute with a football or other patch!
Yarn Options for a Crochet Jacket
This crochet jacket is made using DK weight yarn, which is a category #3 on the Craft Yarn Council’s Yarn Weight System. It’s a nice weight for a light jacket since it’s warm but still has nice drape and not too warm. I’m thinking fall here. (Finally!)
You can use any DK yarn that gets gauge. I chose an acrylic yarn because I’m sure this will need washing and most acrylics are easy to care for (and don’t shrink). Wool or a blend would also be a great choice as it is outerwear. Cotton would make for a more spring season top.
Before we begin… Let’s get Social!
I would love for you to come follow me on
Instagram (get sneak peeks of what’s coming up!)
My Facebook Page (come join the fun!)
Follow me on Pinterest (I pin tons of free patterns to my boards!)
Join my Facebook group (lots of awesome crochet talk there)
Also, you can find me on Ravelry or join my subscribers on YouTube.
Crochet Jacket Pattern Details
This jacket is made in individual parts and seamed. I find that garments work best when there is a side seam, although I know some disagree. This is just my personal preference and the way I design a lot of my sweaters.
You made the fronts, back piece and sleeves separately and seam them together.
Seam as follows: first, the shoulder seams. Then, measure and place your sleeves as there is no shaping for armholes. (Just find the center of the sleeve and place it at the shoulder seam, then ensure that it is even down the front and the back). Sew sleeves to body, then sew the bottom of the sleeve and the side seams at the same time.
I use the mattress stitch when seaming, which requires you to have the right sides facing.
Once the seaming is all done, work the collar and edging, then set in the zipper. Sometimes I set in the zipper before assembling when the front is flat, but not always. For this sample I did the zipper last, except for weaving in all the ends.
If you can’t find exactly the right length of zipper, don’t fear. Just buy a longer one! The only navy colored separating zipper I could find when I made this was 26″! Way too long, but I just placed the bottom where it needed to be and cut the extra off the top.
If you have to do this with the zipper, make sure you run the thread along the top of the zipper to keep the zipper pull from popping off, or use one of these methods.
How to Customize This Easy Kid’s Jacket Pattern
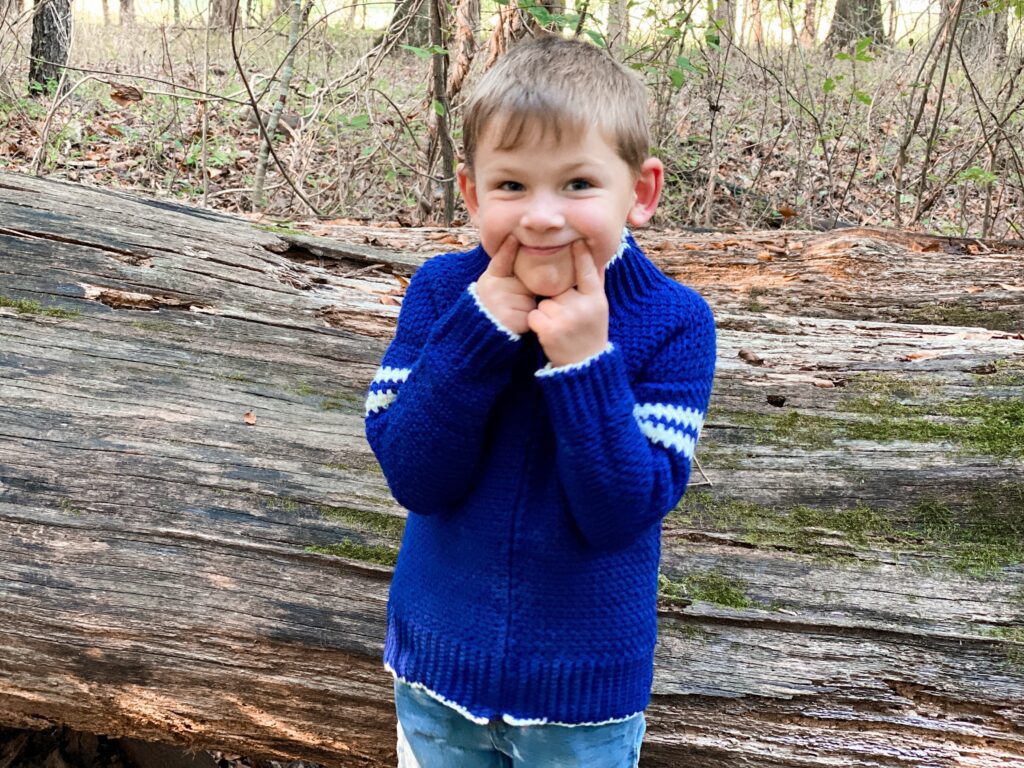
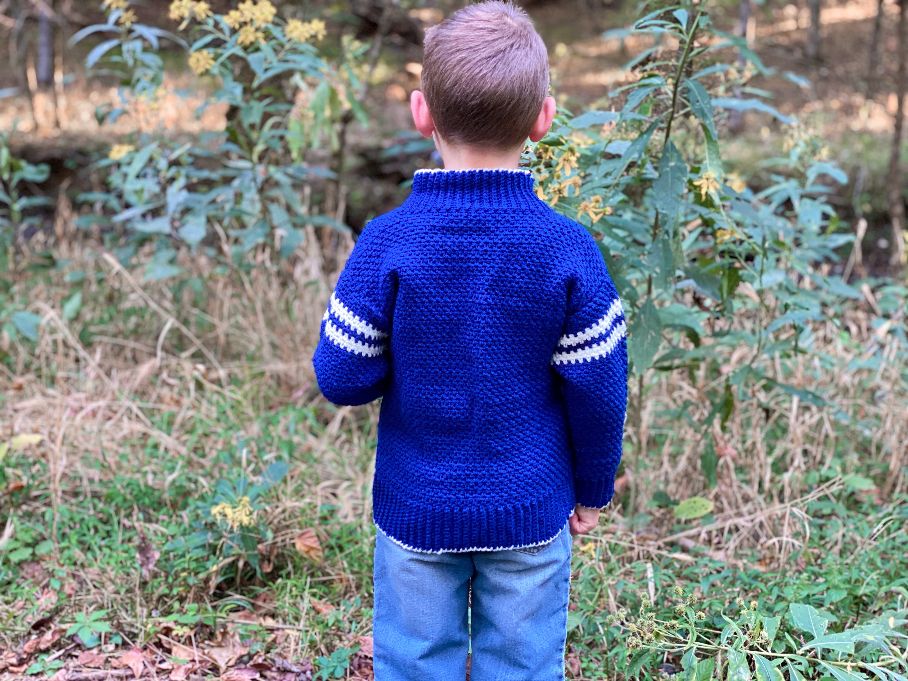
I think this would look great in all kinds of colors and patterns, so feel free to get creative with your colors. Want different stripes than just the sleeves? No problem! Make the whole sweater striped!
You could also choose to do just one sleeve striped more like a baseball sweater – and a baseball patch would look super awesome!
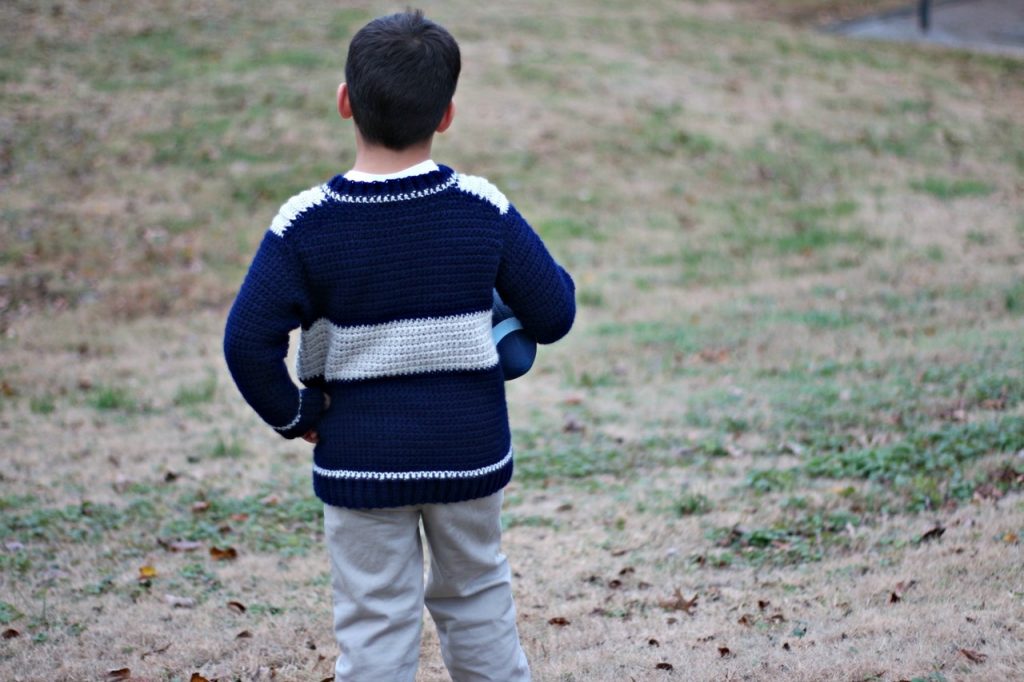
This would also look nice with stripes along the chest.
More Free Kid’s Sweater Patterns
Kid’s Crochet Jacket
WHAT YOU’LL NEED:
Yarn: Paintbox Yarns Simply DK: 2 (3, 4, 4) balls Midnight Blue (MC), 1 ball Champagne White (CC).
Hook: Sizes F (3.75mm) and G (4.0mm) or size to obtain correct gauge.
Zipper: 14 (16, 18, 20) inch separating zipper
Notions: Yarn Needle, Scissors
SKILL LEVEL: Easy
YARN WEIGHT: DK #3
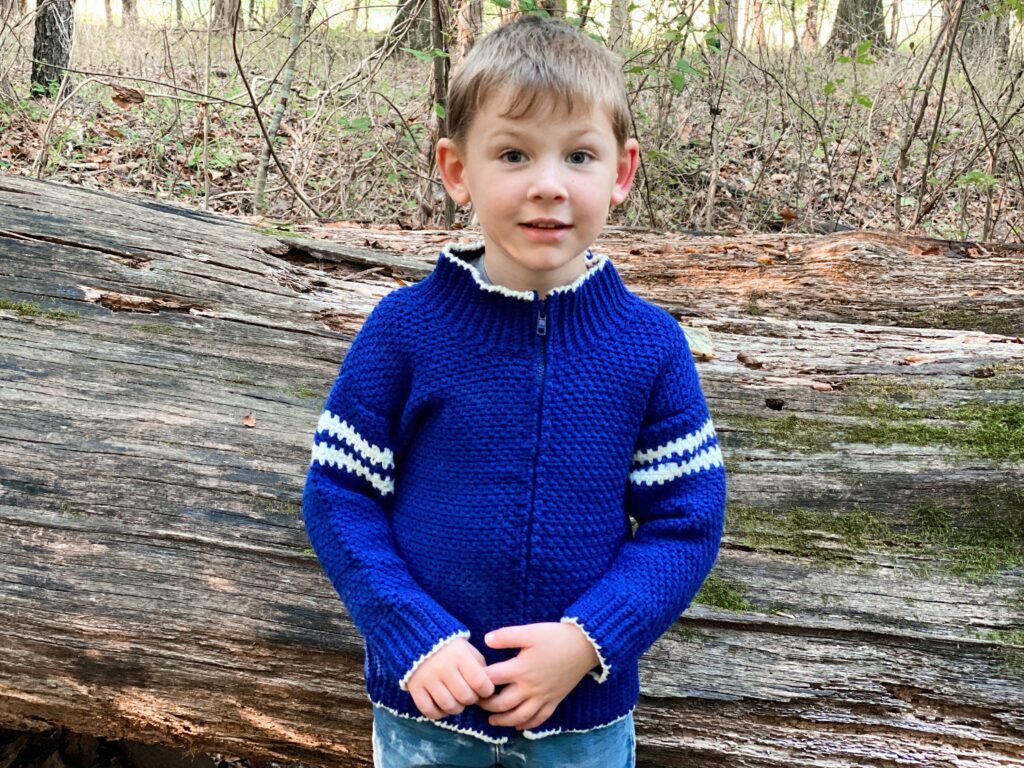
FINISHED MEASUREMENTS: Chest: 26 (28, 30, 32) inches Length: 14 (16, 18, 20) inches, Sized for child’s 4 (6, 8, 10). Model shown in size 6.
GAUGE: 20 sts and 20 rows = 4” in sc, ch-1 pattern
TO SAVE TIME, TAKE TIME TO CHECK GAUGE
Stitch Abbreviations
Chain (ch)
Single Crochet (sc)
PATTERN STITCH:
Row 1: Ch 1. Sc in first sc, *ch 1, sk next sc, sc in next ch-1 sp. Repeat from * to last two sts, sc in ch-1 sp, sc in last sc.
_________________
Crochet Jacket Pattern
Back Ribbing:
With smaller hook and MC, ch 13.
Row 1: Sc in 2nd ch from hook and each ch across; turn – 12 sc.
Row 2: Ch 1, sc in back lp only of each sc across; turn.
*Repeat row 2 until piece measures 13 (14, 15, 16)”, ending with a WS row.
Back:
Change to larger hook and continue across long side of ribbing as follows:
Row 1: Ch 1. Sc 60 (70, 80, 90) sts evenly along side of ribbing; turn.
Row 2: Ch 1. Sc in first sc, *ch 1, sk next sc, sc in next sc. Repeat from * to last sc, sc in last sc.
Work even in pattern stitch until piece measures 14 (16, 18, 20)” from beginning. Fasten off.
Front Ribbing:
Work same as back ribbing until piece measures 6 ½ (7, 7 ½, 8)”, ending with a WS row.
Right Front:
Change to larger hook and continue across long side of ribbing as follows:
Row 1: Ch 1. Sc 30 (34, 40, 44) sts evenly along side of ribbing; turn.
Row 2: Ch 1. Sc in first sc, *ch 1, sk next sc, sc in next sc. Repeat from * to last sc, sc in last sc.
Work even in pattern stitch until piece measures 11 (13, 15, 17)” from beginning.
Neck shaping:
Row 1: Ch 1. Work in pattern stitch for 22 (26, 30, 34) sts, leave last 8 (8, 10, 10) sts unworked.
Row 2: Ch 1. Sc2tog in first 2 sts, work in pattern to end – 21 (25, 29, 33) sts.
Row 3: Ch 1. Work even in pattern st.
Rows 4-5: Repeat rows 2 & 3 – 20 (24, 28, 32) sts.
Rows 6-7: Repeat rows 2 & 3 – 19 (23, 27, 31) sts.
Rows 8-9: Repeat rows 2 & 3 – 18 (22, 26, 30) sts.
Rows 10-11: Repeat rows 2 & 3 – 17 (21, 25, 29) sts.
Rows 12-13: Repeat rows 2 & 3 – 16 (20, 24, 28) sts.
Work even in pattern st until piece measures 14 (16, 18, 20)” from beginning. Fasten off.
Left Front:
Work as right front until piece measures 11 (13, 15, 17)” from beginning.
Neck shaping:
Row 1: Sl st in first 8 8 (10, 10) sts, ch 1, work in pattern st to end – 22 (26, 30, 34) sts.
Row 2: Ch 1. Work in pattern st to last 2 sts, sc2tog in last 2 sts. – 21 (25, 29, 33) sts.
Row 3: Ch 1. Work even in pattern st.
Rows 4-5: Repeat rows 2 & 3 – 20 (24, 28, 32) sts.
Rows 6-7: Repeat rows 2 & 3 – 19 (23, 27, 31) sts.
Rows 8-9: Repeat rows 2 & 3 – 18 (22, 26, 30) sts.
Rows 10-11: Repeat rows 2 & 3 – 17 (21, 25, 29) sts.
Rows 12-13: Repeat rows 2 & 3 – 16 (20, 24, 28) sts.
Work even in pattern st until piece measures 14 (16, 18, 20)” from beginning. Fasten off.
Sleeve (Make 2)
With smaller hook and MC, ch 11.
Row 1: Sc in 2nd ch from hook and each ch across; turn – 10 sc.
Row 2: Ch 1, sc in back lp only of each sc across; turn.
*Repeat row 2 until piece measures 7 (7 ½, 8, 8 ½)”, ending with a WS row.
Change to larger hook and continue along long side of ribbing as follows. Work rows 30-32 (35-37, 40-42, 45-47) and 35-37 (40-42, 45-47, 50-52) in CC.
Row 1: Ch 1. Sc 36 (38, 40, 42) sts evenly along side of ribbing; turn.
Row 2: Ch 1. Sc in first st, *ch 1, sk next sc, sc in next sc. Repeat from * to last st, sc in last st.
Row 3: Ch 1. 2 sc in first sc, *ch 1, sk next st, sc in next ch-1 sp. Repeat from * to last sc; turn. Sc 2 in last sc – 38 (40, 42, 44) sts.
Rows 4-5: Ch 1. Sc in first 2 sc, *ch 1, sk next st, sc in next ch-1 sp. Repeat from * to last sc; turn. Sc in last sc; turn.
Row 6: Ch 1. 2 sc in first st, sc in ch-1 sp, work in pattern st to end, 2 sc in last st – 40 (42, 44, 46) sts.
Row 7: Ch 1. Sc in first st, *ch 1, sk next st, sc in ch-1 sp. Repeat from * to last 3 sts, ch 1, sk first st, sc in next 2 sts; turn.
Row 8: Work even in pattern st.
Row 9: Repeat row 3 – 42 (44, 46, 48) sts.
Rows 10-39: Repeat rows 4-9 five times more – 62 (64, 66, 68) sts.
Rows 40-42: Repeat rows 4-6 – 64 (66, 68, 70) sts.
Sizes 6 (8, 10) only:
Rows 43-47 (43-52, 43-57): Work even in pattern st. Fasten off.
Sew shoulder seams. Sew in sleeves. Sew side and sleeve seams.
Collar:
With MC and smaller hook, join yarn with sl st at right front neck opening. Ch 14.
Row 1: Sc in 2nd ch from hook and next 11 ch, sc last ch and next st of body together – 13 sts.
Row 2: Ch 1. Sc back lp only in each sc across; turn.
Row 3: Ch 1. Sc back lp only in first 12 sts. Sc last sc back lp only and next st of body together – 13 sts.
Repeat rows 2 and 3 around right front neck, back neck, and left neck edge. Fasten off.
Edging:
With CC and smaller hook, work one round of reverse sc (crab stitch) at top of collar, bottom hem, and bottom sleeves.
Finishing:
Sew in zipper in front from lower edge to top of collar.
Weave in ends.
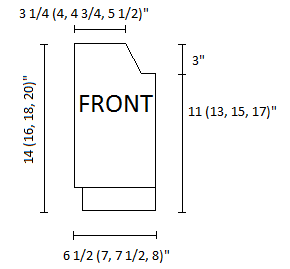
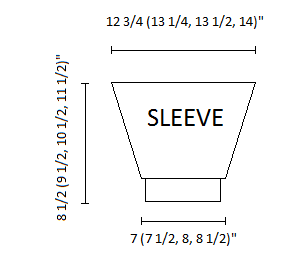
SCHEMATIC:

Final Thoughts on Our Kid’s Crochet Jacket Pattern
I hope you’ve enjoyed this free crochet pattern! I had a blast designing this and my youngest son absolutely adores it! Makes me one happy Mama to see one of my sons enjoying something I made. Even if you’ve never tried a sweater before, don’t be intimidated. Just ensure you are getting gauge and use the schematic to ensure your pieces are the right size.
Happy Crocheting!
Amanda
Hi Amanda, I left a comment on the wrong pattern. I would love to make this little jacket in a size 12 or 14. Do you have any suggestions on how to make that happen?
Thank you.