
Try this fun baby sock knitting pattern with a wonderful texture!

Purchase the ad-free PDF of this pattern in my shop here!
Design Story and Inspiration for Our Baby Sock Knitting Pattern
I really love designing socks. They are so much fun! A while ago I released the adult version of the Ray of Honey Socks and I really love the way this stitch works up. Hint: It’s called the Ray of Honey stitch, which is where the sock name comes from!
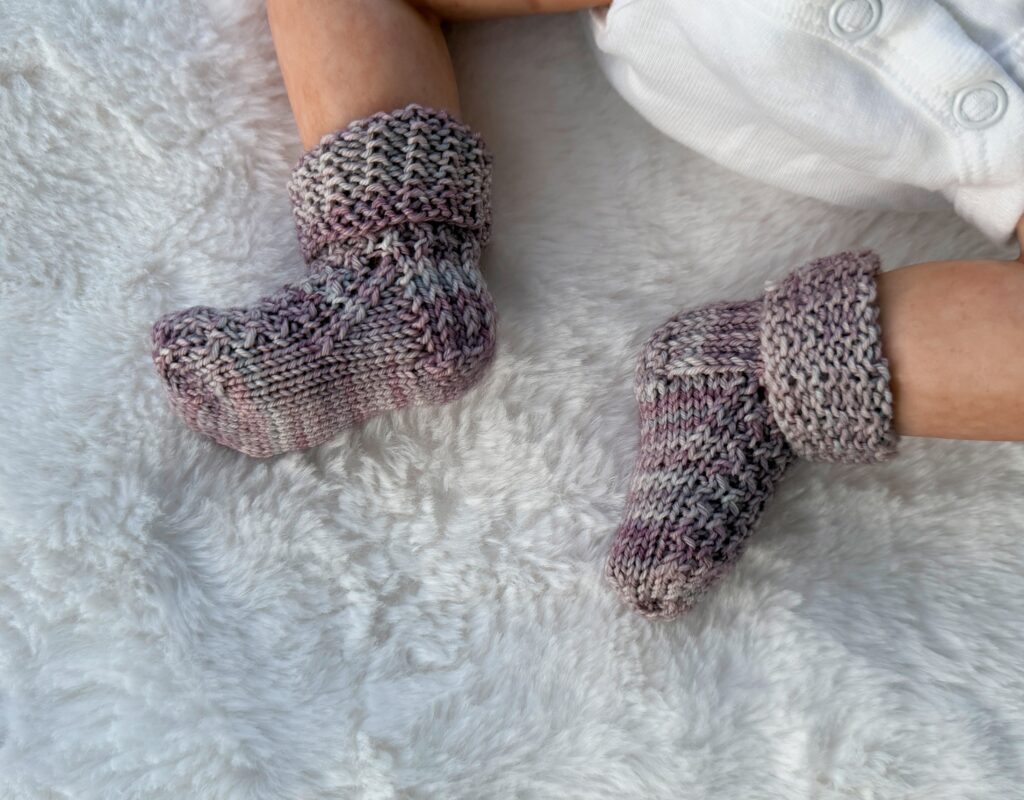
It was very easy to decide to do a baby version of this sock pattern, and I love the baby socks even more than the adult pair. 😍
Yarn Options for the Ray of Honey Baby Socks
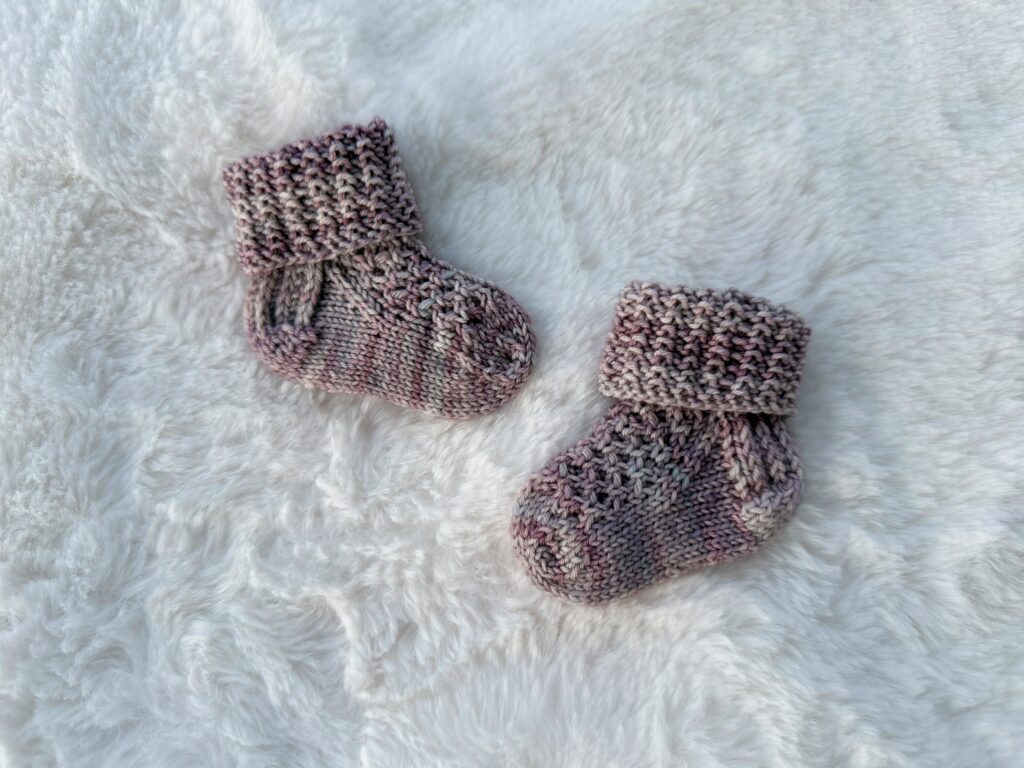
For this pattern I used Malabrigo Ultimate Sock, a wonderful superwash wool. The tiny ball you see in the photos with the baby socks is what is left over after knitting an adult pair of socks AND this baby pair – so there is generous yardage in one hank.
I have been in love with Malabrigo yarns for a long time, and honestly I’ve never seen a skein of Malabrigo that I didn’t adore the colorway. The subtle color changes in their yarns are incredible, and I keep going back again and again.
Pattern Details for These Knit Baby Socks
These socks are knit cuff to toe, the way I like to design socks. They begin with a broken rib stitch for the cuff and then transition to the Ray of Honey Stitch.

Buy the ad-free PDF of this pattern in my shop and knit on the go!
Ray of Honey Knit Baby Socks
What You’ll Need
Yarn: Malabrigo Ultimate Sock, 1 skein (440yds/100g)
Needles: 5 dpn, US size 2 (2.75mm)
Notions: Yarn needle, scissors, stitch marker
Style: Cuff to Toe
Finished Size: 0-3m (3-6m, 12m, 18m) with 4 (4.5, 5, 5.5” foot circumference)
Gauge: 32 sts and 40 rows = 4” (10cm) in St st
Stitch Guide
Knit (k)
Purl (p)
Slip (sl) – slip st purlwise
With Yarn in Front (wyif)
Beginning of Round (BOR)
Special Stitches
Twist two Back (T2B) – place next stitch on cable needle and hold at back of work, knit the next stitch, purl stitch from cable needle
Twist two Front (T2F) – place next stitch on cable needle and hold at front of work, purl next stitch, knit stitch from cable needle.
Pattern Stitch
Row 1: *T2B, T2F; rep from *.
Row 2: Knit.
Row 3: *T2F, T2B, rep from *.
Row 4: Knit.
PATTERN
Sock Start:
Cast on 32 (36, 40, 44) sts loosely.
Divide sts on 4 dpns as follows:
N1: 8 (9, 10, 11) heel sts
N2: 8 (9, 10, 11) instep sts
N3: 8 (9, 10, 11) instep sts
N4: 8 (9, 10, 11) heel sts
Join. BOR
Cuff:
Rnd 1: Knit.
Rnd 2: (K1, p1) to end.
Work cuff for 16 rnds. [1.5” from cast on edge]
Work in pattern stitch for 16 (24, 26, 26) rnds, completing sts on N3. Stop. [3 (3.75, 4, 4)” total from the cast on edge.]
Heel Flap with Heel Stitch:
Slip N4 sts onto N1. 16 (18, 20, 22) sts
With RS facing, work back and forth on N1 as follows:
Rw 1: *Sl 1 purlwise, k1. Repeat from * to end. Turn.
Rw 2: Sl 1 purlwise, p to end. Turn.
Repeat these 2 rows until 14 (18, 24, 24) rows are complete.
Turn Heel:
Note: Sl 1 = slip 1 purlwise, turn after each row.
Rw 1: (RS) K 10 (10, 12, 12), ssk, k1.
Rw 2: (WS) Sl 1, p 5 (3, 5, 3), p2tog, p1.
Rw 3: (RS) Sl 1, k 6 (4, 6, 4), ssk, k1.
Rw 4: (WS) Sl 1, p 7 (5, 7, 5), p2tog, p1.
Size 0-3m ONLY
Rw 5: (RS) Sl 1, k 8, ssk.
Rw 6: (WS) Sl 1, p 8, p2tog.
Size 3-6m (12m) ONLY
Rw 5: Sl 1, k 6 (8), ssk, k1.
Rw 6: Sl 1, p 7 (9), p2tog, p1.
Rw 7: Sl 1, k 8 (10), ssk.
Rw 8: Sl 1, p 8 (10), p2tog.
Size 18m ONLY
Rw 5: Sl 1, k 6, ssk, k1.
Rw 6: Sl 1, p 7, p2tog, p1.
Rw 7: Sl 1, k 8, ssk, k1.
Rw 8: Sl 1, p 9, p2tog, p1.
Rw 9: Sl 1, k 10, ssk.
Rw 10: Sl 1, p 10, p2tog.
All Sizes
10 (10, 12, 12) sts remain.
Work 5 (5, 6, 6) sts. Place BOR marker.
Want to print without ads? Get the ad-free PDF of this pattern here!
Heel Gusset:
With a free needle, knit remaining 5 (5, 6, 6) heel sts. [N1]
Continuing with the same needle, pick up 7 (9, 12, 12) sts along the side of the heel.
Pick up and knit a st from row below the first instep st to prevent a hole. [N1: 13 (15, 19, 19) sts total]
With a free needle, work across 8 (9, 10, 11) instep sts in pattern. [N2]
With a free needle, work across 8 (9, 10, 11) instep sts in pattern. [N3]
With free needle, pick up and knit from row below the first heel st to prevent a hole.
With same needle, pick up 7 (9, 12, 12) sts along side of the heel and work across remaining heel sts. [N4: 13 (15, 19, 19) sts total] BOR
Shape Gusset:
Rnd 1: (Dec Rnd)
N1: Knit to 3 sts from end. K2tog, k1.
N2: (Instep) Work even in pattern.
N3: (Instep) Work even in pattern.
N4: K1, ssk, knit to end.
Rnd 2: Work even in established pattern.
Repeat Rnds 1 and 2 until there are 32 (36, 40, 44) sts remaining.
Foot:
Continue working in rnds in established pattern (pattern sts for instep, St st for sole sts) until foot measures 2.5 (3, 3.5, 3.75) inches from base of heel.
Complete sts on N4. BOR
Shape Toe – Classic Standard
Change to all k sts.
Rnd 1:
N1: (Sole) Knit to last 3 sts, k2tog, k1.
N2: (Instep) K1, ssk, knit to end.
N3: (Instep) Knit to last 3 sts, k2tog, k1.
N4: (Sole) K1, ssk, complete round.
Rnd 2: Work even.
Repeat Rnds 1 and 2 until 24 (28, 28, 32) total sts remain.
Work decrease rnd only until 16 sts remain. [8 instep sts, 8 sole sts]
Finishing
Work sts on N1. Slip sts from N4 to opposite end of N1.
Slip sts from N3 onto N2.
Holding two needles together, graft sts using Kitchener Stitch.
Weave in ends.
Work second sock.
Final Thoughts on the Ray of Honey Knit Baby Socks
I hope you enjoy this free baby sock knitting pattern as much as I enjoyed designing it! I love designing socks, and my sample knitter Amanda loves knitting them (and is much, much faster than I am at knitting them!).
I hope to see some baby socks flying off your needles. 💕
Happy Knitting!
Amanda
I wish you a speedy recovery. H[pe you are doing well.
Thank you so much! ☺️