
Looking for a quick way to finish off that crochet blanket in style? Try this simple two round ribbed crochet blanket border!
I love crocheting blankets, especially baby blankets, and I’m always on the lookout for simple and pretty crochet borders.
This crochet border isn’t just for blankets, though! You could add this ribbed edge to any crochet project.
Tips for a Perfect Crochet Border
1. For a really even border, it’s best to work a simple single crochet or double crochet around the edge of the blanket first, even if the pattern doesn’t call for it. This helps even out the sides of your rows and gets the blanket ready for a more elaborate border, if you’re using one. This ribbed border already calls for a foundation row of double crochet, so you’re covered there!
2. The best idea is to work these single crochet or double crochet stitches in the same color as the project, even if you’re going to use a different colored yarn for the border. When working into the sides of the rows, the stitches are often at different depths into the fabric, and working them in the same color as the body of the blanket can help them look more even. Of course, this isn’t always possible, such as yarns with lots of color changes, or stripes, but if possible this will give you the most even border. For this application, I would choose to use the single crochet stitch border, and then work from there in my other color(s).
3. Work 3 stitches in each corner (whether they be single or double crochet), or you can work a stitch, ch 1, work another stitch in the same corner. For this border, I use a (dc, ch 1, dc) in each corner, which works well with the post stitches.
4. When working into the sides of stitches, you should work 1 stitch into each sc row, 2 sc into the side of each dc row, and 3 sts into the side of each treble crochet row. Of course, this is a guide only. Check your work after a few stitches to see if they are lying flat. Sometimes I find that I need less stitches in the side of each row.
How to Crochet a Ribbed Edging
For this border, you can work into any number of stitches around your project, because at the corners we will work a (dc, ch 1, dc) into the ch-1 space of the previous row, so you don’t have to worry about the post stitch lining up for the next side. So there is no need to worry about having an even or odd stitch count.
Basic Stitches You Should Know:
These are very basic stitches, with the difference in the post double crochet stitch being that a front post double crochet is worked around the post with the post at the front, and the back post double crochet is worked around the post with the post at the back. Then they are worked like a regular double crochet stitch.
You could also work this with half double crochet and work front and back post, but it works best with double crochet.
Crochet Ribbing Border Video Tutorial
Crochet Ribbing Border Crochet Tutorial
Let’s work this simple border together! If you get stuck, refer to the video above.
Yarn: Any weight yarn that is appropriate for the crochet project (So if you make a baby blanket with Bernat blanket yarn, you can use the same yarn for the border).
Crochet Hook: Use one appropriate for the size yarn used. Check the pattern or ball band for recommendations, and you can always use the same hook you used for the body of your crochet afghan.
Stitch Abbreviations
Chain (ch)
Slip Stitch (sl st)
Double Crochet (dc)
Front Post Double Crochet (fpdc)
Back Post Double Crochet (bpdc)
Need help with post stitches? Learn how to crochet post stitches here.
Blanket Border Notes
You join each round with a slip stitch in the turning chain.
For this tutorial, I use a chain 3 for the first stitch. In the video, you will see that I use a chainless double crochet, which gives a better join. Either will work for this tutorial.
After the row of double crochet, you repeat row 2. You can easily adjust the width of this border by repeating row 2. For the tutorial we will cover just the first two rows for the stitch pattern.
How to Crochet a Ribbed Blanket Border
Start in any corner. Typically I do not fasten off my blanket body and keep working at the corner that I last worked into.
Always work the corner stitches into the chain stitch from the round below.
Round 1: Ch 3 (or work chainless dc as seen in video), double crochet evenly around blanket, working (dc, ch 1, dc) in each corner, until you get to the join. Work (dc, ch 1) in the same space as your ch-3 or chainless dc, join with sl st to first st (turning ch or chainless dc).


Round 2: Ch 3 or chainless dc (counts as corner stitch), *fpdc, bpdc; repeat from * to corner ch-1 space, (dc, ch 1, dc) in ch-1 space. Repeat from * to next corner and work (dc, ch 1, dc) in corner. Always begin with a fpdc after each corner, and it doesn’t matter if you end with a front or back post before the ch-1 space. When you get to the join, work (dc, ch 1) in same space as ch-3 or chainless dc, join with slip st.
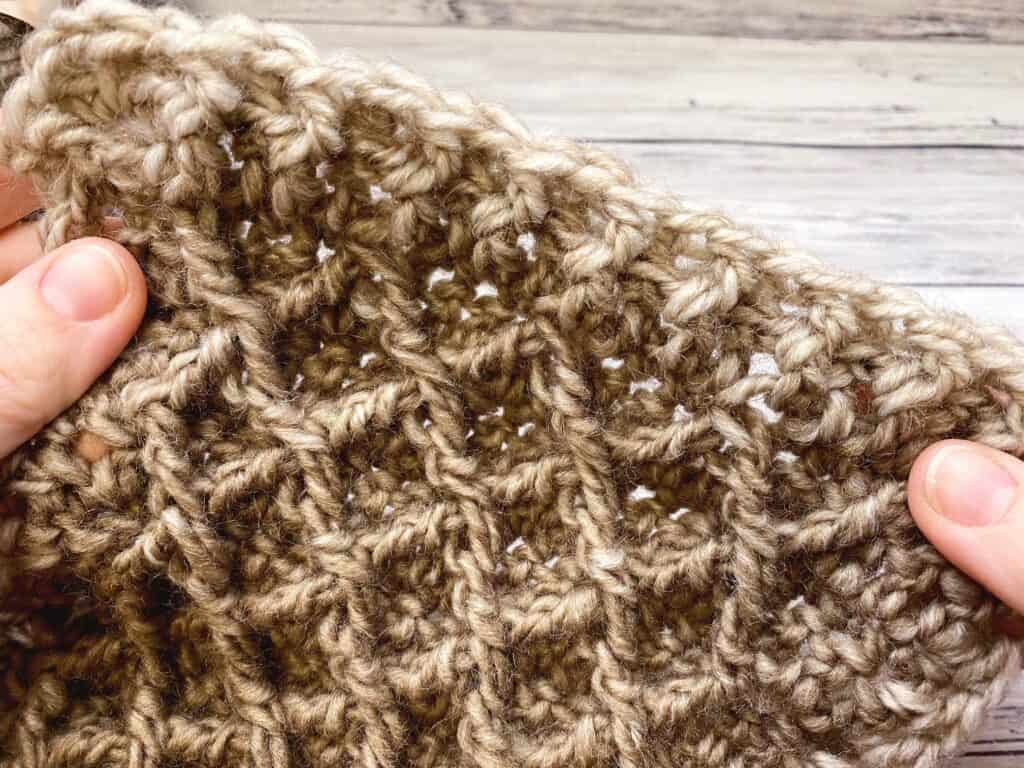


If this is wide enough, just fasten off. If you want to make this border wider, just repeat round 2, working a fpdc around a fpdc from the round below and a bpdc into a bpdc from the round below and always working (dc, ch 1, dc) in each ch-1 space in the corner.
That’s it! Easy peasy!
I came up with this simple variation of the basic ribbed border when I wanted a simple rib on the Diamond Stitch Crochet Blanket. I love the way it turned out with the diamond stitch. Be sure to check out that free pattern!
Looking for another crochet blanket pattern? You might like these faves:
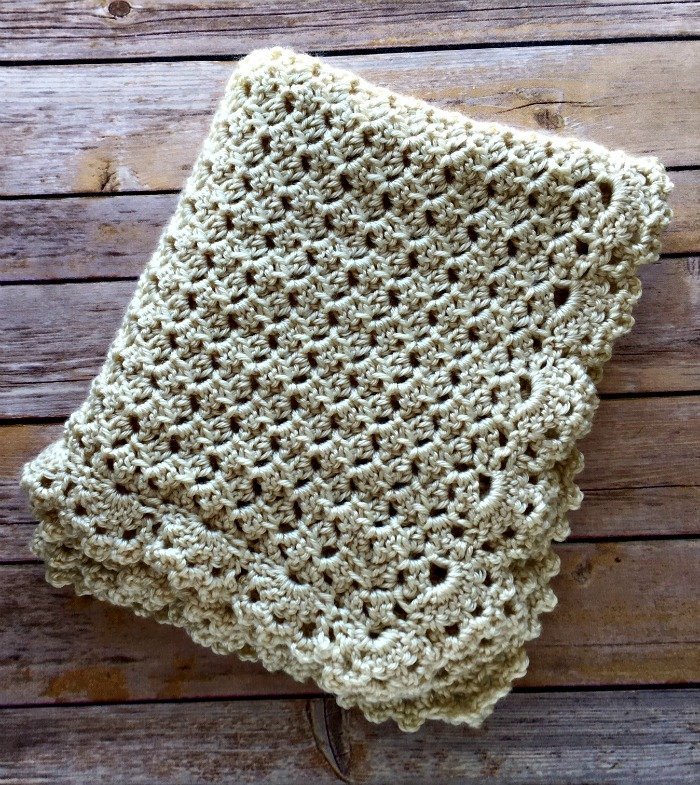
The Duchess Baby Blanket is a reader fave! This baby blanket pattern uses the duchess lace stitch for wonderful texture, and then has a lacy border that uses a shell stitch foundation and a lacy edge. Sure to become an hierloom!
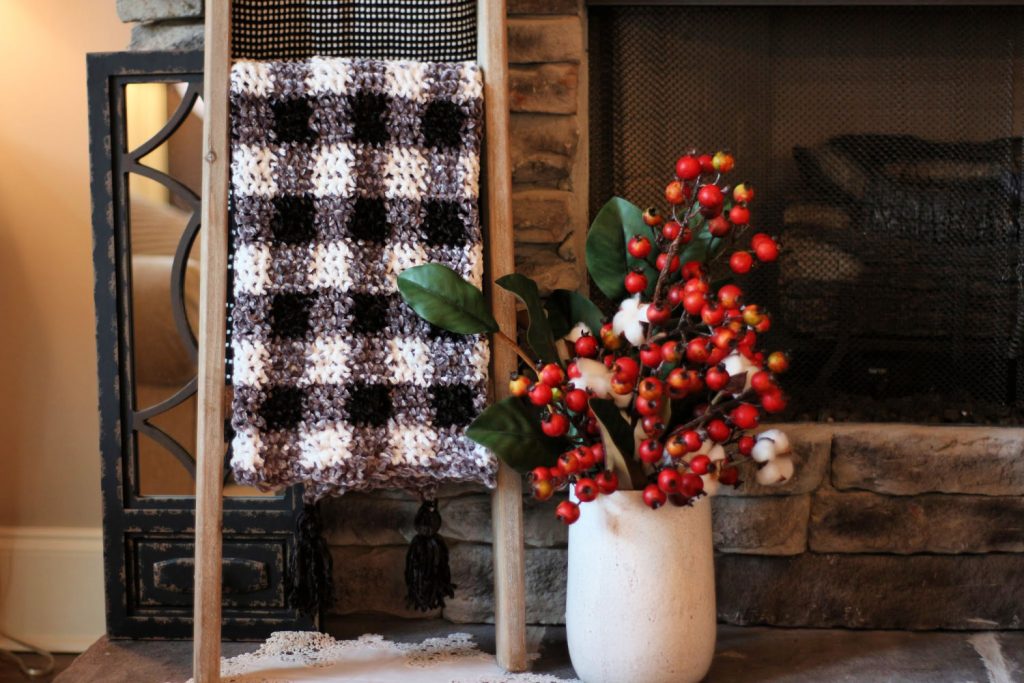
The Velvet Plaid Blanket takes advantage of the wonderful soft, squishy velvet yarn to create a blanket that is both beautiful and cozy. Make it in three skeins Bernat Velvet yarn – and you can even add tassels to the ends for a boutique look.
I hope you’ve enjoyed this tutorial for the Crochet Ribbed Border and will use it on one of your next projects!
Happy Crocheting!
Amanda