
Learn how to crochet the Harlequin Stitch in this quick and easy tutorial.

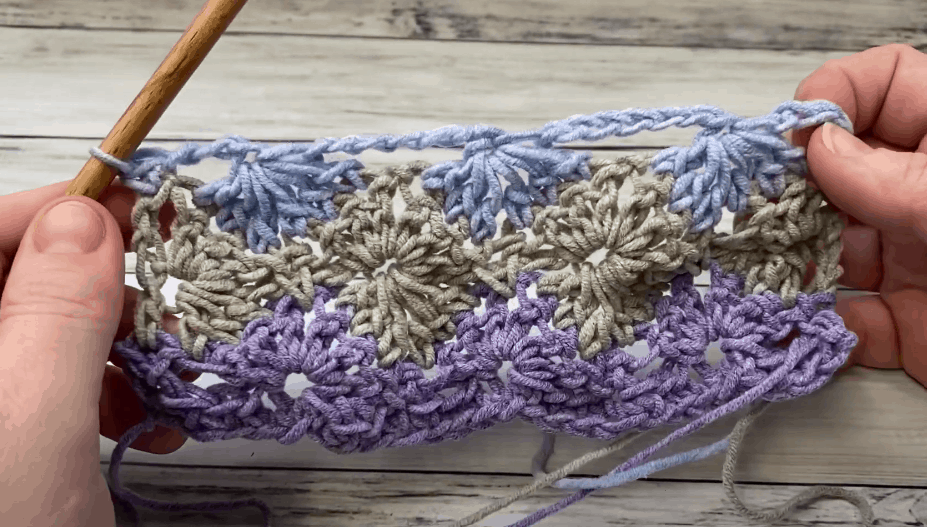
The crochet harlequin stitch is a decorative crochet stitch that has a wonderful wheel-type effect that is similar to the catherine’s wheel stitch. It’s best done in different color combinations so that the “wheel” effect can be seen. You use a combination of cluster stitch patterns, chains and single crochet for this crochet stitch pattern.
Common Questions about the Harlequin Stitch
This stitch can be a bit tricky since some of the shaping relies on working several stitches together, such as dc6tog. You work a combination of shell stitches, single crochets, and dc together to create a “wheel” effect.
This stitch pattern is amazing in different colors and can be used for many things such as a pillow, baby blanket, hat, scarf or even a colourful gradient blanket, since it works so well with stripes of different colors. It makes a fabric with wonderful texture.
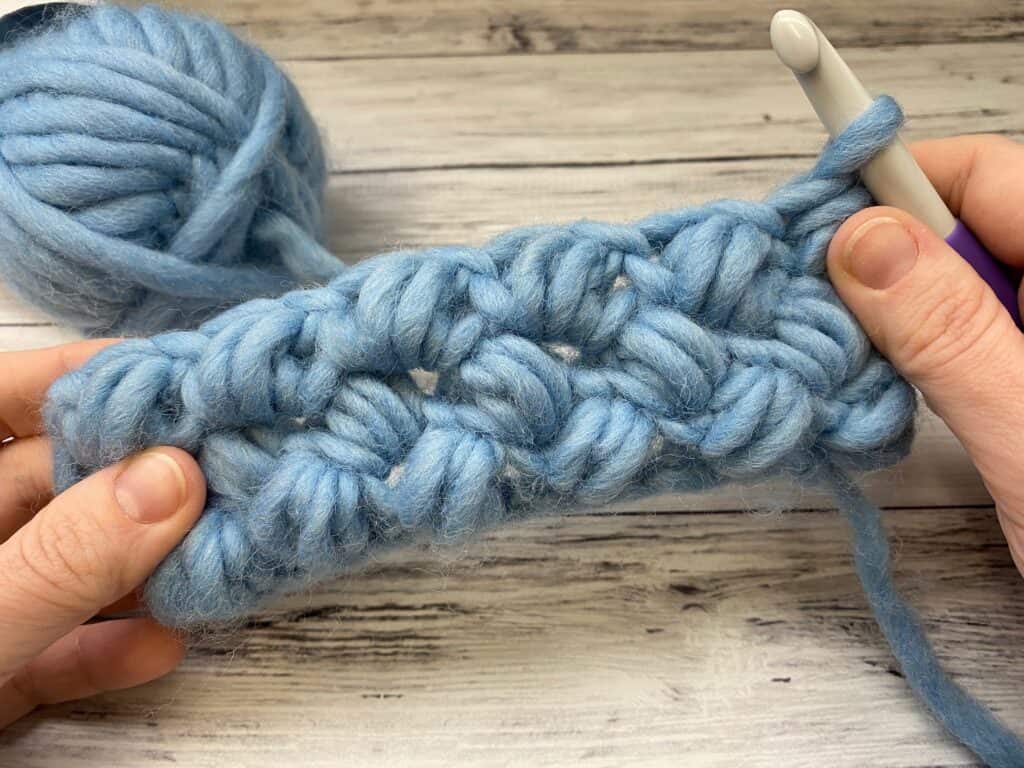
You can use any weight of yarn for this stitch, but anything larger than bulky yarn starts to get clunky. That’s why I didn’t use super bulky yarn for this tutorial even though it’s what I normally favor. Any fiber should work, whether cotton yarn or acrylic or animal fibers.
This is very similar to the catherine’s wheel stitch and the starburst stitch. There are slight variations in each that make them unique, but they do have a similar look.
Before we begin… let’s get Social!
I would love for you to come follow me on
Instagram (get sneak peeks of what’s coming up!)
My Facebook Page (come join the fun!)
Follow me on Pinterest (I pin tons of free patterns to my boards!)
Join my Facebook group (lots of awesome crochet talk there)
Also, you can find me on Ravelry or join my subscribers on YouTube.
Harlequin Stitch Video Tutorial
In this video tutorial, I will teach you step by step how to crochet the Harlequin Stitch. The skill level for this stitch/technique is for those with intermediate crochet skills.
How to Crochet the Harlequin Stitch
Stitch Abbreviations
Chain (ch)
Single Crochet (sc)
Double Crochet (dc)
Double Crochet # Together (dc3tog) (dc6tog) – work the number of double crochet stitches to the last loop. You will have one more loop on the hook at the end than the number of dc tog (so if it’s a dc6tog you will have 7 loops on the hook before you yarn over and pull through all loops). **Please see video tutorial if you need help with this.
Notes
This crochet stitch is worked in a multiple of 8 stitches plus 2, so you will chain to any multiple of 8 you prefer, then add 2 chains for the turning chain.
When changing colors, work to last stitch of row with old color and leave the last 2 loops of the last stitch on the hook. Yarn over and draw new color through. (See video for help).
Yarn
You can use any weight yarn you prefer, ideally in three or four different colors to show off this spectacular stitch.
Choose a crochet hook size appropriate for your yarn. If you are unsure, check the ball band and look for the recommendation.
Classic Crochet Harlequin Stitch Crochet Tutorial
Chain a multiple of 8 + 2 for the foundation chain.
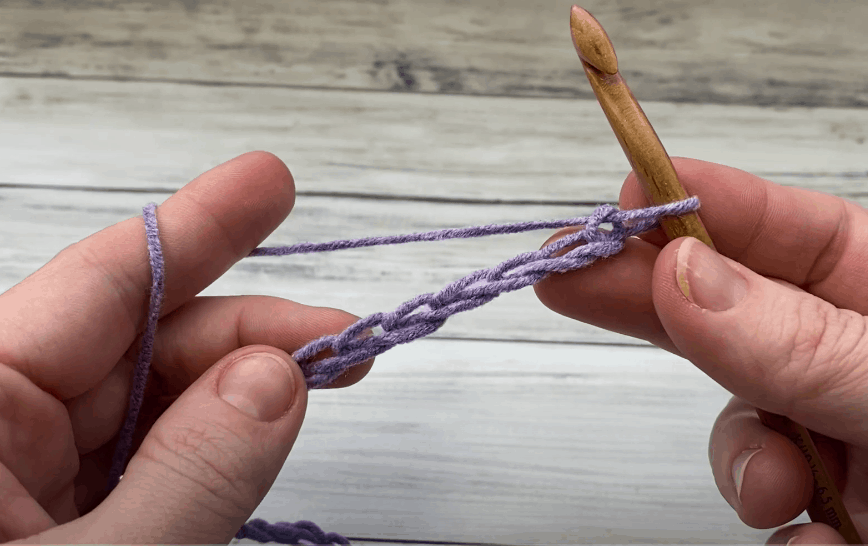
Row 1: Sc in 2nd ch from hook and each ch across; turn.
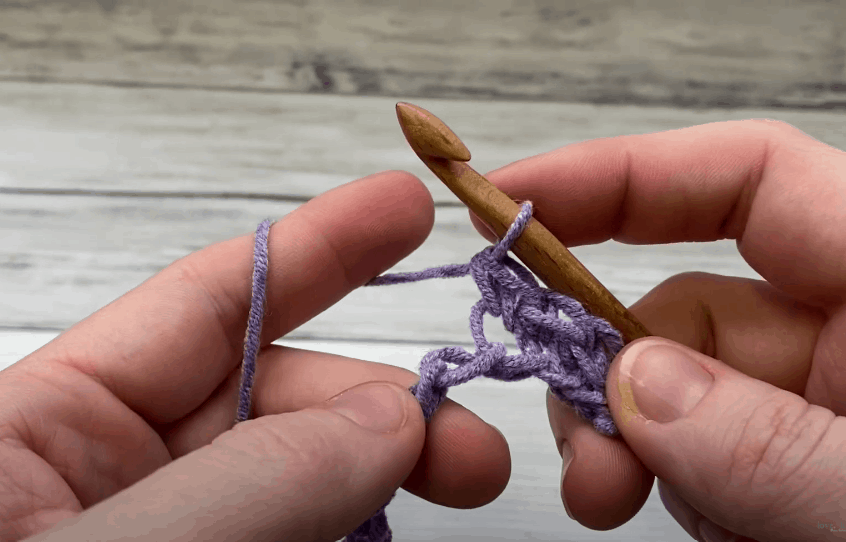
Row 2: Ch 1, sc in first st, skip 3 sts, *(3 dc, ch 1, 3 dc) in next st, skip 3 st, sc; repeat from * to end of row; turn.
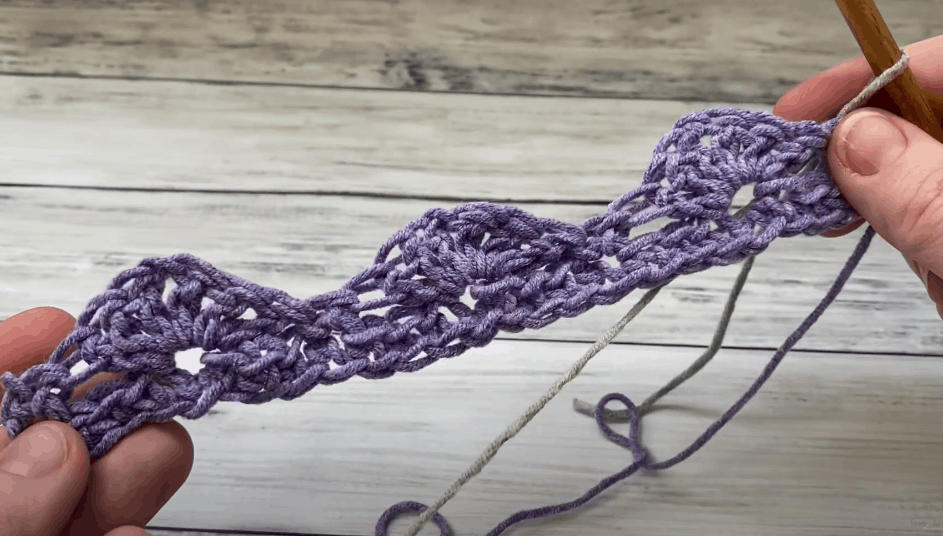
Row 3: Ch 4, dc3tog in first 3 dc, ch 7, *skip ch-1 space, dc6tog in next 6 dc (skipping over the center sc), ch 7; repeat from * until 3 dc’s remain, skip ch-1 space, dc3tog; dc in last sc; turn.


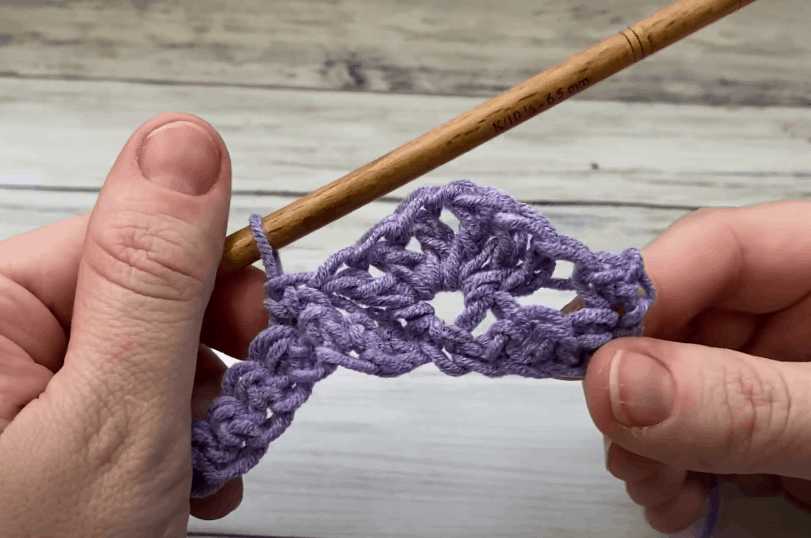
Row 4: Ch 3, make 3 dc in top of dc3tog from previous row, sc in ch 1 two rows below, catching the ch-7 from row 3, * make (3 dc, ch 1, 3 dc) into next dec st, sc in ch 1 two rows below, catching the ch-7 from row 3; repeat from * until you reach the last dc3tog, 3 dc into dc3tog, dc into top of turning ch; turn.

Row 5: Ch 4, dc6tog (skip over the center sc), * ch 7, skip ch-1 space, dc6tog (skipping over the center sc) repeat from * to end, ch 3, sc into top of turning ch; turn.
Row 6: Ch 1, sc in 1st st, make (3 dc, ch 1, 3 dc) into top of next dec st, *sc in ch-1 space 2 rows below, catching ch-7 in st, make (3 dc, ch 1, 3 dc) into of next dec st; repeat from * to end, sc in 1st ch of starting ch 4 from prev row; turn.
Repeat rows 3-6 for stitch pattern.
Tips for working the Harlequin Stitch
When working a crochet pattern that uses the Harlequin Stitch, you might find that your edges get tight. If this happens, make sure to ch 4 at the beginning of each row that calls for a ch 3. This can help loosen it up.
Remember, for the even color change make sure you draw the new color through the last 2 loops of the last stitch on the row before the new color starts.
What to Make with the Crochet Harlequin Stitch
The most common crochet project using the harlequin stitch is a whimsical harlequin stitch baby blanket, which is perfect for a baby shower gift. This goes great with a fantastic moss stitch border (a simple moss stitch edging) or a ribbed crochet border.
To make a baby blanket with this stitch, choose your favorite yarn colors (I love fresh spring colors for a classic baby blanekt) chain as wide as you would like the blanket to be in multiples of 8 and then add 2. Follow the instructions above for the harlequin stitch and then end with a border of your choice.
It’s also a fun stitch for dishcloths and washcloths, and a lovely stitch for a harlequin stitch placemat or table runner. You can also make a harlequin stitch purse, which is really wonderful in a dramatic color scheme!
Final Thoughts on the Crochet Harlequin Stitch
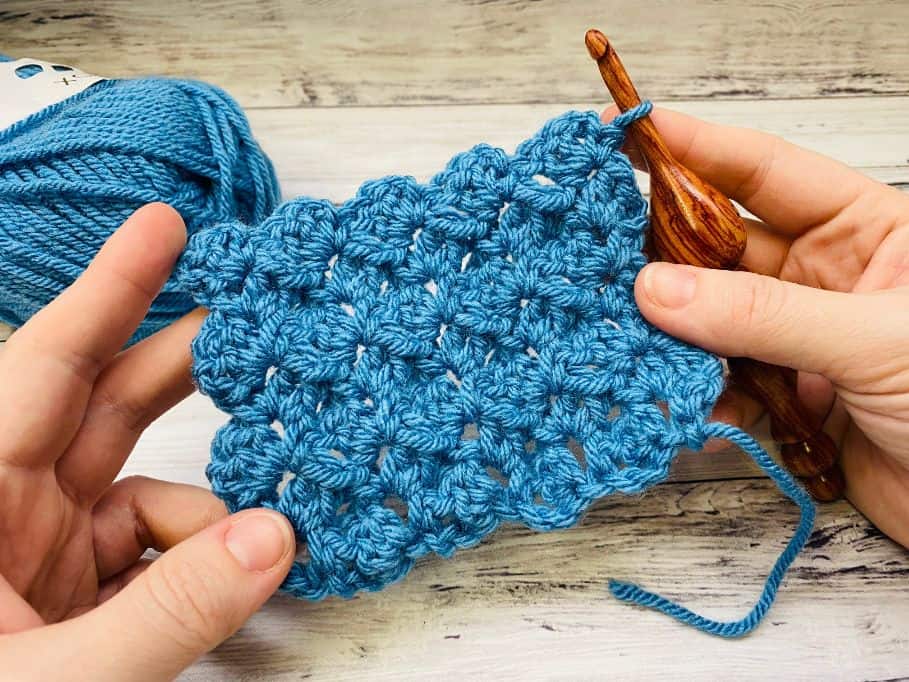
This stunning stitch is so much fun to work in a pretty combination of colors. You can also work it in a solid color of yarn if you like, you just won’t see the “wheels” as much. It’s really a vintage stitch that can look modern and clean.
So the next time you want a pretty stitch with texture, try the harlequin stitch with its combination of single crochet stitches, chains, and double crochet stitches!
Remember to check out the step by step video tutorial if you have any questions!
I hope you’ve enjoyed this crochet stitch tutorial!
How to Crochet the Harlequin Stitch

Learn how to crochet the Harlequin Stitch in this quick and easy tutorial.
Materials
- Yarn of choice
Tools
- Crochet hook appropriate for yarn (check yarn label for recommendation if you are unsure)
- Yarn needle for weaving in ends
- Scissors
Instructions
- Sc in 2nd ch from hook and each ch across; turn.
- Ch 1, sc in first st, skip 3 sts, *(3 dc, ch 1, 3 dc) in next st, skip 3 st, sc; repeat from * to end of row; turn.
- Ch 4, dc3tog in first 3 dc, ch 7, *skip ch-1 space, dc6tog in next 6 dc (skipping over the center sc), ch 7; repeat from * until 3 dc’s remain, skip ch-1 space, dc3tog; dc in last sc; turn.
- Ch 3, make 3 dc in top of dc3tog from previous row, sc in ch 1 two rows below, catching the ch-7 from row 3, * make (3 dc, ch 1, 3 dc) into next dec st, sc in ch 1 two rows below, catching the ch-7 from row 3; repeat from * until you reach the last dc3tog, 3 dc into dc3tog, dc into top of turning ch; turn.
- Ch 4, dc6tog (skip over the center sc), * ch 7, skip ch-1 space, dc6tog (skipping over the center sc) repeat from * to end, ch 3, sc into top of turning ch; turn.
- Ch 1, sc in 1st st, make (3 dc, ch 1, 3 dc) into top of next dec st, *sc in ch-1 space 2 rows below, catching ch-7 in st, make (3 dc, ch 1, 3 dc) into of next dec st; repeat from * to end, sc in 1st ch of starting ch 4 from prev row; turn.
Chain a multiple of 8 + 2.
Repeat rows 3-6 for stitch pattern.
Notes
This crochet stitch is worked in a multiple of 8 stitches plus 2, so you will chain to any multiple of 8 you prefer, then add 2 chains for the turning chain.
When changing colors, work to last stitch of row with old color and leave the last 2 loops of the last stitch on the hook. Yarn over and draw new color through. (See video for help).

Happy Crocheting!
Amanda
The repeat sign * in Row 2 should be placed before the first skip 3, not before (3dc, ch1,3dc). Otherwise it looks like you start the cluster immediately after the sc without skipping 3.